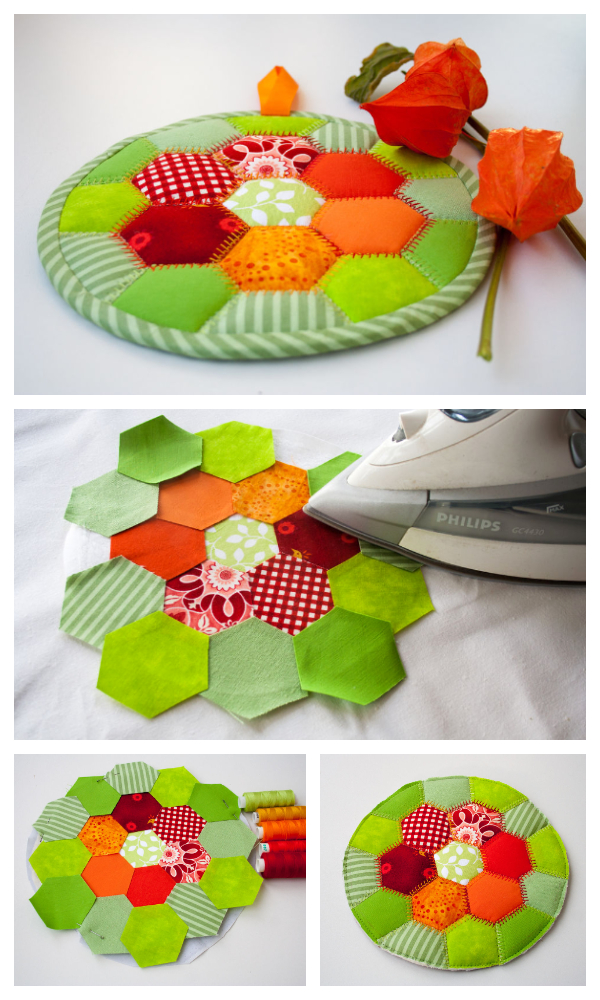
DIY Fabric Hexi Hot Pad Free Sewing Pattern & Tutorial

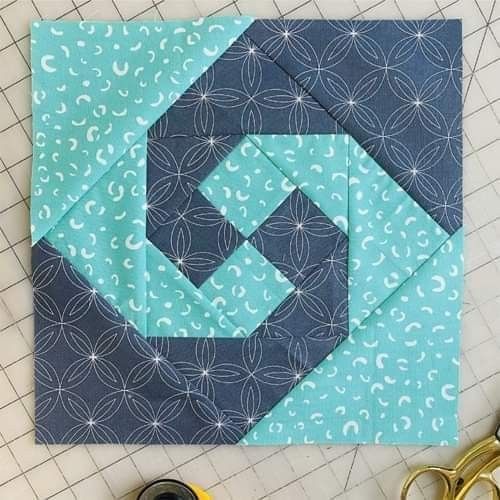
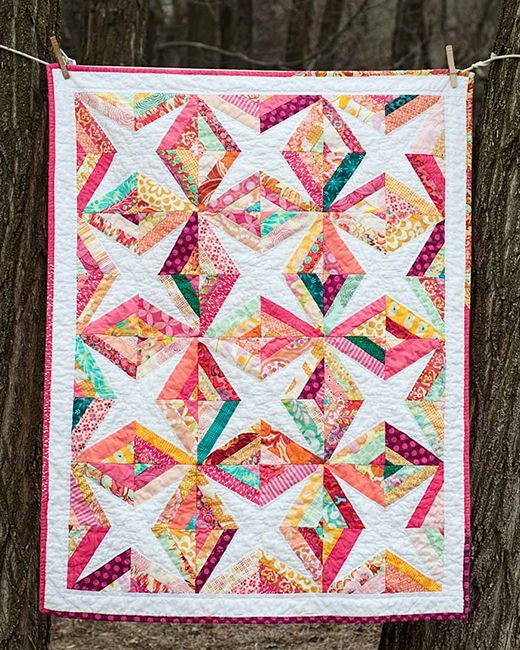
If you’re looking for a fun and engaging quilting technique, this Twister Block Tutorial is the perfect guide to get you started. The Twister Block is a playful and dynamic pattern that creates a swirling pinwheel effect, giving your quilt a whimsical and modern flair. Whether you’re a seasoned quilter or a curious beginner, this Twister Block Tutorial will walk you through the steps with clarity and creativity.
The beauty of the Twister Block lies in its transformation. What begins as a simple layout of squares evolves into a dazzling series of twisted pinwheels through a clever cutting and piecing method. It’s an ideal project to use up charm packs, layer cakes, or fabric scraps while adding movement and visual interest to your quilts. Plus, the Twister Block Tutorial makes it easy to adapt the technique for table runners, wall hangings, or full-size quilts.
In this article, you’ll learn how to prepare your fabrics, use a twister ruler (or create your own template), cut your blocks, and reassemble them into a beautiful finished quilt. From fabric selection to final stitching, this Twister Block Tutorial ensures your success with helpful tips, clear instructions, and creative inspiration.
Before starting your Twister Block Tutorial, gather your materials. For this project, you’ll need pre-cut fabric squares or fabric yardage, a rotary cutter, cutting mat, and either a twister ruler or a homemade template. Having the right tools at hand will make the process smoother and more enjoyable.
Choose fabrics with contrast to make the twisting effect stand out. Solid colors, bold prints, or a mix of both work well. Think about a color palette that complements your home or the person you might be gifting your quilt to. This step is essential to bring out the pinwheel effect that the Twister Block Tutorial is famous for.
Start by sewing together your fabric squares in a simple grid pattern. Typically, a 6×6 or 7×7 layout works great for beginners, but you can experiment with different sizes depending on your desired quilt dimensions. Add a border around the sewn-together squares, as this will become part of the twister design when cut.
Once your grid is pieced and pressed, it’s time to bring out the twister ruler or template. This is where the magic begins. Align the ruler carefully over each block and make your cuts. The precise placement and cutting technique in this Twister Block Tutorial is key to ensuring that the finished pinwheels line up beautifully.
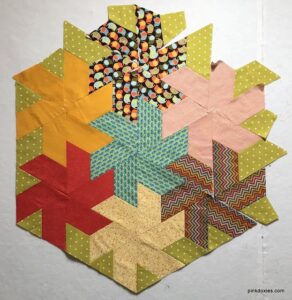
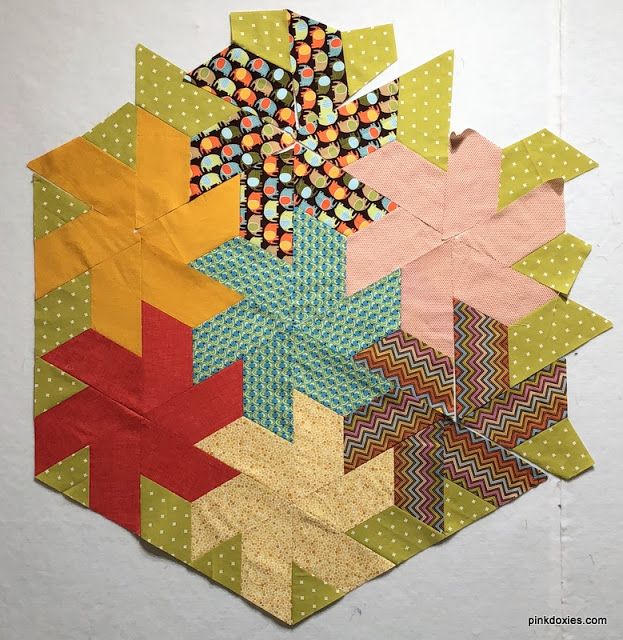
After all blocks are cut, you’ll rearrange them following the order shown in the tutorial. This reassembly phase is where your quilt really takes shape. It may look like a puzzle at first, but each piece has its place, and the result is a dynamic twist pattern that’s both elegant and playful.
Pin and sew the blocks row by row, taking care to match seams. Press each row as you go to maintain crisp lines. Watching the twister pattern come alive is incredibly rewarding and showcases the brilliance of this quilting method.
Once your squares are sewn into the initial grid, the cutting process begins. This Twister Block Tutorial emphasizes precision, so take your time during this step. Place the twister ruler over each intersection of your fabric squares, ensuring the guidelines match perfectly.
Carefully use your rotary cutter to cut around the template. Each square you cut becomes the centerpiece of a twisted pinwheel, and how you reassemble them determines the flow of your quilt. It’s fascinating how such small shifts in fabric placement can result in such a lively design.
After cutting, you’ll notice the blocks are smaller than your original squares. That’s normal. The twist effect shrinks the overall size slightly, which is why we recommend starting with a slightly larger quilt top. Be sure to lay out your new blocks in the order they were cut to avoid confusion later.
Sewing the new blocks back together row by row will recreate the pinwheel motion. As you stitch, press your seams open or to one side, depending on your preference. Consistency in pressing will help your quilt top lay flat and make final quilting easier.
This reassembly is the most satisfying part of the Twister Block Tutorial. You’ll start to see your once-simple fabric grid become a swirling composition of color and movement. Don’t be afraid to step back and admire your progress—it’s part of the fun!
Once all the blocks are sewn back together, give the entire quilt top a final press. You’re now ready to add borders, batting, and backing fabric. The transformation from basic squares to a twister masterpiece is a true quilting triumph.
Adding a border to your Twister Block quilt not only frames the design beautifully but also enhances the finished size. Choose a complementary fabric that picks up one of the colors from your blocks to tie everything together visually. A solid border can provide contrast, while a patterned one can add extra flair.
Cut your border fabric in long strips and sew them to each side of the quilt top, pressing as you go. Borders help stabilize the edges and give a polished look to your project. This Twister Block Tutorial recommends using a 2.5″ to 4″ border for a balanced appearance.
Once the borders are attached, it’s time to prepare your quilt sandwich: top layer (your twister blocks), batting in the middle, and backing fabric underneath. Baste the layers together using safety pins or quilting spray, depending on your preference.
Now you’re ready to quilt! You can follow the lines of the twister blocks with straight-line stitching, or go for free-motion quilting if you’re feeling adventurous. The spinning pinwheel shapes make great guides for spiral or swirl designs. Let the pattern inspire your quilting style.
After quilting, trim the excess batting and backing to match your quilt top. Bind the edges using coordinating fabric strips, folding and sewing carefully to create neat corners and secure edges. The binding is your final chance to add a finishing color accent.
Finally, press the completed quilt and enjoy your handiwork. Whether you display it, gift it, or use it every day, your Twister Block Tutorial creation is a testament to your creativity and sewing skill.
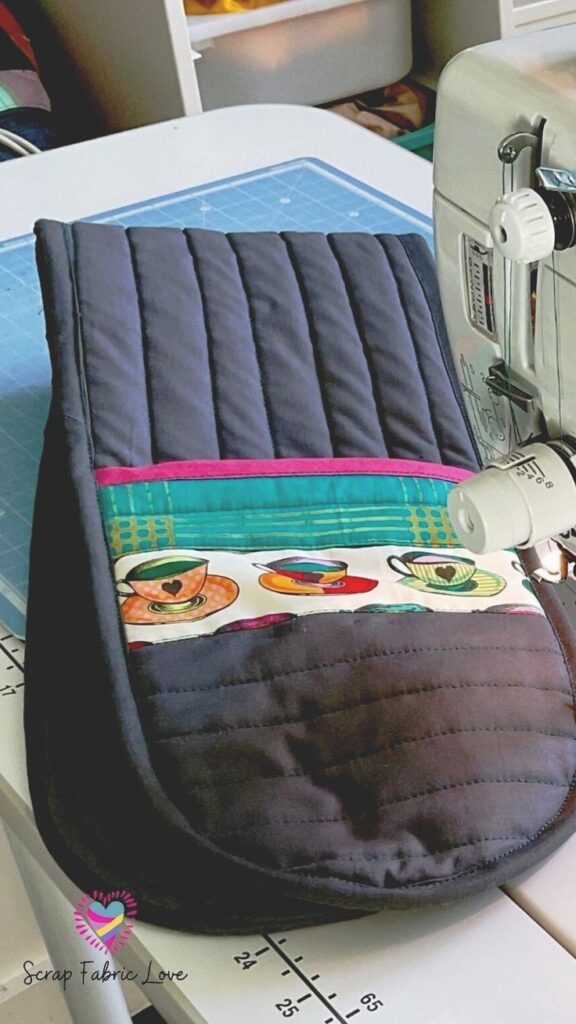
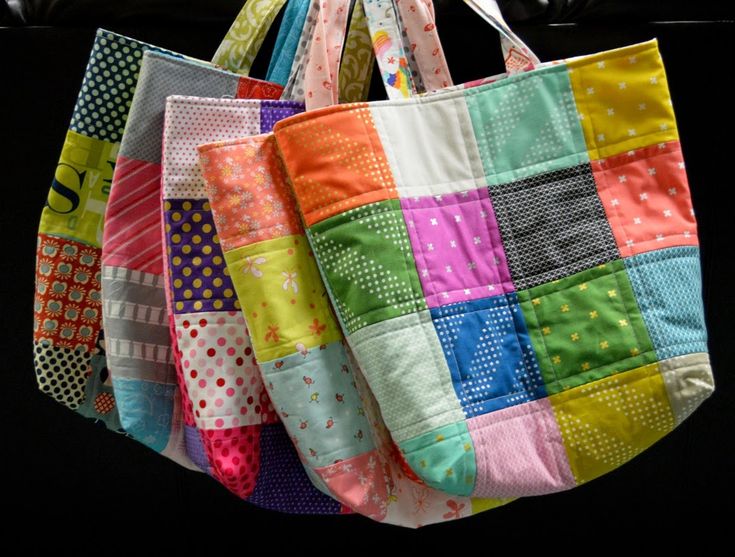
One of the best aspects of the Twister Block Tutorial is its versatility. You can apply this technique to small or large projects. Consider using mini twister templates for smaller items like placemats or cushions, or go big for a bed-sized quilt.
Try creating themed versions of the twister block using seasonal fabrics—think autumn colors for fall, reds and greens for Christmas, or pastels for springtime. The twister technique adapts well to holiday décor and makes wonderful handmade gifts.
Don’t hesitate to mix up your fabric choices. Experiment with gradients, ombre fabrics, or even batiks for a unique visual effect. The contrast between light and dark fabrics especially makes the pinwheel shapes pop, a key highlight in the Twister Block Tutorial.
If you enjoy upcycling, use old shirts, jeans, or leftover scraps from other quilting projects. The twister method breathes new life into otherwise forgotten fabrics, adding charm and eco-friendliness to your creations.
Keep a design wall or floor space available to lay out your blocks before final assembly. It helps ensure your color arrangement flows the way you want and prevents mistakes during sewing. A dry run layout is highly recommended in this Twister Block Tutorial.
Lastly, involve others! This project is a great group activity. Whether you’re part of a quilting guild, teaching a friend, or working with kids, the twister block method is engaging and easy to follow with practice.
– Twister Block Tutorial
What size squares do I start with for a twister block?
Most tutorials begin with 5″ charm squares, but you can adjust based on your desired finished quilt size. Remember, the blocks shrink after cutting and reassembling.
Do I need a special ruler for the twister block?
A twister ruler is recommended for precision, but you can create your own using cardboard and careful measurements. Accuracy is key for the pinwheels to align properly.
Can I use scraps instead of pre-cut squares?
Absolutely! Just ensure your fabric pieces are the same size and that there’s enough contrast between them for the twister effect to show.
Is this technique beginner-friendly?
Yes! While it involves several steps, the Twister Block Tutorial is easy to follow and suitable for beginners who are comfortable with basic sewing and rotary cutting.
How much fabric do I need for a small twister quilt?
For a small quilt (around 30″ x 30″), you’ll need approximately 36 charm squares, border fabric, batting, and backing. Adjust amounts depending on your quilt’s final size.
Can I machine quilt over the twister design?
Yes, and it’s encouraged! Stitch in the ditch or add decorative quilting to enhance the swirling motion. Just be sure your layers are basted well.
In this article, you’ve learned how to master the art of the twister block through a detailed and accessible Twister Block Tutorial. From fabric selection and cutting techniques to reassembly and finishing, each step is designed to help you create a stunning quilt full of motion and charm.
Whether you’re making a small wall hanging or a full-sized bed quilt, the twister method adds excitement and depth to your quilting projects. This versatile technique is a fantastic addition to any quilter’s skill set.
We hope this guide has inspired you to give it a try. If you’ve followed along with this Twister Block Tutorial, we’d love to hear your thoughts. Share your experience, offer suggestions, or leave a comment about your favorite part. Happy quilting!


