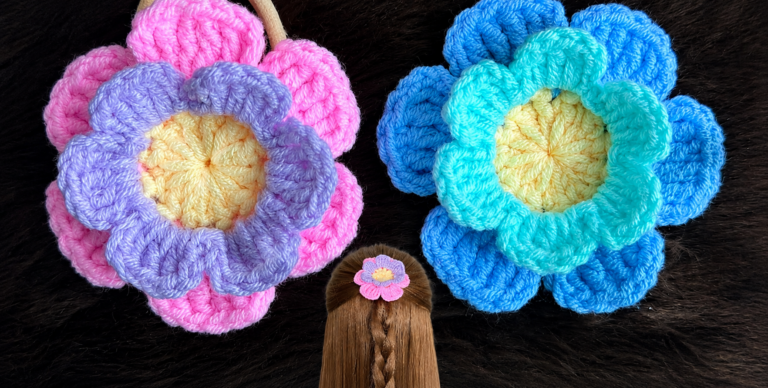
Crocheted Flower Headband - Pattern
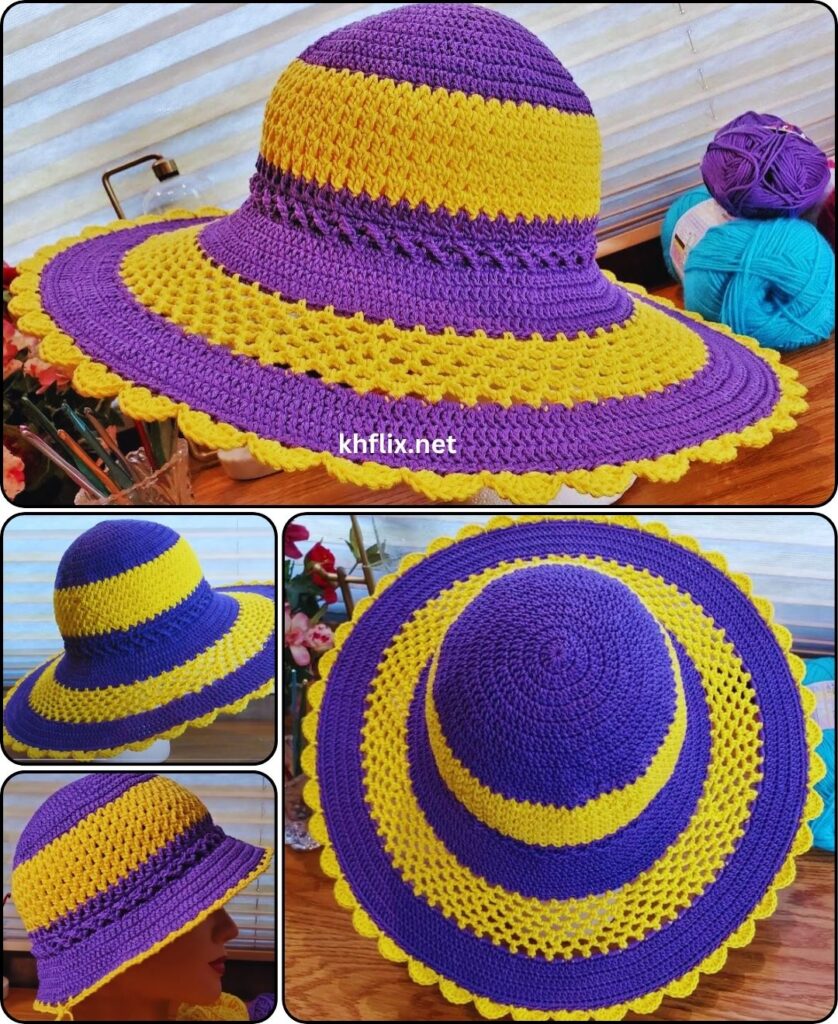
How to Crochet a Beautiful Striped Sun Hat is one of the most enjoyable and rewarding summer projects for any crochet enthusiast. Whether you’re new to crocheting or have years of experience, crafting your own sun hat offers not only stylish sun protection but also the joy of creating something handmade, personal, and practical. This project is a perfect way to combine your love of yarn with the vibrant colors of summer.
The beauty of a striped sun hat lies in its versatility. You can use different colors, yarn weights, and stitch combinations to achieve a look that reflects your personal style. The lightweight nature of the design makes it ideal for warm weather while still offering enough structure to shade your face. Plus, a striped design adds a cheerful and playful touch to your outfit.
If you’ve ever wondered how to crochet a beautiful striped sun hat, this guide will walk you through the materials, techniques, and steps needed to complete your project successfully. You’ll learn the basics, get ideas for color patterns, and discover tips to make your hat fit perfectly. Let’s dive into the creative process and start crocheting a piece you’ll love to wear all summer long.
When starting your striped sun hat, selecting the right yarn is essential. You’ll want to use a lightweight, breathable fiber such as cotton or a cotton blend. These materials provide comfort, shape, and durability, especially for warm-weather wear. Choose yarns that are labeled as DK (double knit) or worsted weight, depending on the desired thickness and structure of your hat.
Color selection is the fun part. Since we’re focusing on how to crochet a beautiful striped sun hat, pick at least three colors that complement each other. Stripes offer room for creativity—go for pastels for a soft, feminine look, or choose bold, contrasting colors for a vibrant and eye-catching effect.
Don’t forget your crochet hook! Typically, a 4.0 mm to 5.0 mm hook works well for sun hats, but always check the yarn label’s recommendations. You’ll also need a tapestry needle for weaving in ends and stitch markers to help keep track of your rounds.
Gauge is important in hat-making. Crochet a small swatch before beginning your hat to ensure your stitches match the pattern’s tension. A proper gauge ensures your striped sun hat won’t turn out too small or too large, saving time and frustration later on.
If you want a firmer brim that holds its shape well, consider using a bit of thin millinery wire or fishing line inserted around the edge of the brim. This is optional but adds a nice professional finish.
Finally, gather all your materials in one place before you begin. Having everything ready—your yarn, hook, scissors, stitch markers, and pattern—will make the crocheting process smoother and more enjoyable from start to finish.
To successfully learn how to crochet a beautiful striped sun hat, mastering a few basic stitches is key. The most commonly used stitch in sun hats is the single crochet (sc). This tight stitch provides a solid fabric that offers protection from the sun and structure to your hat.
Another essential stitch is the double crochet (dc), which adds some height and texture to your project. Alternating between these stitches can give your hat a unique look and feel, especially when incorporating stripes.
You’ll also need to become comfortable working in the round. Unlike flat crochet projects, a sun hat starts at the crown and works outward in a circular pattern. Using a magic ring or adjustable ring technique will help eliminate the hole that typically forms in the center of the crown.
Increases are also fundamental in shaping the crown of the hat. Learning how to crochet two stitches in one stitch space will help expand the circle evenly without creating bumps or waves.
When adding stripes, changing colors neatly is essential. Use the invisible color change technique to switch yarns cleanly at the end of a round. This keeps your stripes crisp and professional-looking.
Finally, finishing stitches like slip stitch (sl st) and reverse single crochet (crab stitch) can be used around the brim to add definition and stability. Practicing these techniques before starting your hat will help you feel more confident throughout the project.
Now that you’ve gathered your materials and practiced your stitches, it’s time to begin constructing your striped sun hat. Start at the crown using your main color. Create a magic ring and work six single crochets into the ring. Pull the ring tight and join with a slip stitch.
Continue to increase in each round by evenly spacing your increases. For example, in round two, make two single crochets in each stitch. In round three, alternate between one single crochet and two single crochets in the next stitch. Keep increasing until the crown measures about 5.5 to 6 inches in diameter, depending on your head size.
Once the crown is complete, begin working evenly around the sides of the hat without increases. This forms the body or “sides” of the hat that fit over your head. You can alternate between your chosen stripe colors every 2–3 rounds to create the striped pattern.
Maintain consistent stitch counts to ensure your hat fits snugly but comfortably. As you add stripes, make sure your color transitions are smooth and keep your yarn tails tidy by weaving them in as you go or saving them for later.
After about 5–6 inches of working straight (without increasing), begin shaping the brim. Start adding increases again, but more gradually. This is where you can get creative: widen the brim to create a dramatic sunhat or keep it shorter for a bucket-style version.
To help the brim stay firm, use a reverse single crochet stitch for the final round. This gives the edge a nice decorative finish and adds extra stiffness without wire.
After completing the brim, weave in any remaining yarn tails with your tapestry needle. Try on your finished hat and admire your handiwork—your striped sun hat is ready for sunny days!
One of the best parts about learning how to crochet a beautiful striped sun hat is the ability to make it uniquely yours. You can customize the hat to suit your personality, wardrobe, and head shape with a few thoughtful adjustments.
Adjusting the size is simple. If the hat feels too snug, go up a hook size or add extra increase rounds in the crown. If it’s too loose, decrease your hook size or reduce the number of stitches in the body section before the brim.
Brim style also makes a difference. A floppy brim gives a casual beachy vibe, while a more structured brim looks polished and elegant. Experiment with different numbers of increase rounds to shape the brim just how you like it.
Consider adding decorative touches like a crocheted bow, a string tie, or even fabric flowers. These elements add charm and turn your striped sun hat into a statement accessory.
You can also play with stripe width and color placement. Make thinner stripes for a more subtle look or thicker stripes for bold contrast. Use ombré yarn for a gradual color shift or randomize your stripe colors for a fun, eclectic feel.
Lining the brim with interfacing or inserting wire can elevate your hat from handmade to boutique-quality. If you’re gifting the hat, consider adding a personalized tag or label to give it that extra special touch.
Above all, make the hat fun and functional. Your crochet creation should reflect your creativity while keeping you cool and protected under the sun. After all, the heart of crafting lies in making something with love and purpose.
Can beginners make a striped sun hat?
Yes! This is a great beginner project as long as you’re familiar with basic stitches like single crochet and double crochet. Working in the round is a new but manageable challenge.
What type of yarn is best for sun hats?
Cotton yarn or a cotton blend is ideal. It’s breathable, light, and holds its shape well in hot weather.
How do I change colors neatly in crochet?
Use the invisible color change technique at the end of a round. Drop the old color before the final yarn-over and complete the stitch with the new color.
How big should the hat be?
A typical adult hat circumference is around 21–23 inches. You can adjust size by adding or removing increase rounds at the crown and measuring as you go.
Can I make a sun hat with a floppy brim?
Absolutely! Increase the number of stitches on the brim section to create a wider, more flowing brim. You can also use softer yarn to enhance the drape.
What’s the best way to stiffen the brim?
Use a reverse single crochet (crab stitch) for the final row or insert millinery wire into the brim’s edge. Some crocheters also lightly spray starch on the brim and shape it while it dries.
In this tutorial, we explored how to crochet a beautiful striped sun hat from start to finish. From choosing the right yarn and hook to mastering basic stitches, creating a clean striped design, and customizing your final piece—you now have all the tools you need to craft a sun hat that’s stylish, functional, and uniquely yours.
Crocheting your own striped sun hat is a satisfying and practical project that’s perfect for summertime. It allows you to express creativity while making something that you’ll use and enjoy. Whether for yourself or as a handmade gift, the hat becomes a special reminder of your talent and care.
hope you enjoyed this tutorial! If you made your own version, I’d love to hear about it. Please leave your honest opinion in the comments and share any suggestions or creative touches you added to make your sun hat special. Happy crocheting!


