Cathedral Block - Quilt Pattern
If you’re looking to elevate your quilting skills with a design that is both intricate and deeply symbolic, then Crafting Celtic Squares Block might just be the perfect next project. These beautiful blocks are inspired by ancient Celtic art, known for its graceful loops, knots, and interwoven lines that carry spiritual and cultural meanings. Incorporating the Crafting Celtic Squares Block into your quilting projects not only enhances visual appeal but also brings a timeless quality to your handmade items.
One of the most enjoyable aspects of Crafting Celtic Squares Block is the combination of precision and creativity it requires. While the structure of the pattern demands attention to detail, the options for color combinations, thread choices, and fabric textures allow for plenty of artistic expression. Whether you’re making a wall hanging, table runner, or full quilt, Celtic square blocks add elegance and depth to any creation.
This article will walk you through everything you need to know about Crafting Celtic Squares Block, from preparing your materials to stitching with confidence. We’ll explore the history, techniques, and personalization options that make this project both a fun challenge and a rewarding addition to your quilting repertoire. Ready to dive into a rich world of tradition and technique? Let’s begin!
To truly appreciate the art of Crafting Celtic Squares Block, it’s important to understand the inspiration behind it. Celtic designs date back thousands of years, known for their endless knot patterns symbolizing eternity, unity, and interconnectedness.
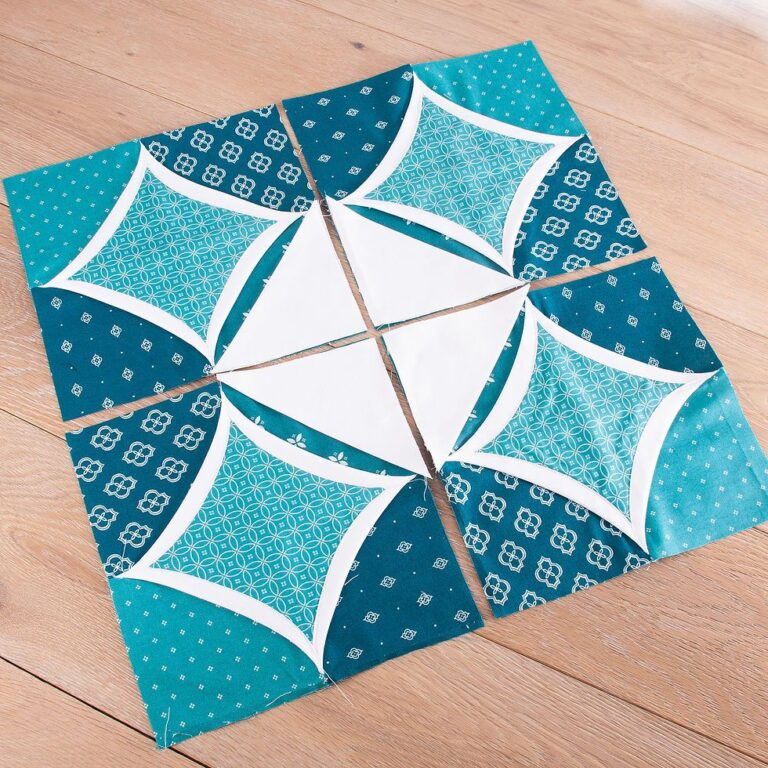
The Celtic square block typically features interlacing curves or bands that appear to weave over and under one another. These patterns can be created with bias tape, appliqué, or even embroidery, depending on the technique you prefer.
Celtic knotwork often follows geometric principles. Symmetry, balance, and repetition are key elements, which makes the design naturally suited for quilt blocks. Once you understand the flow of the curves, the process becomes intuitive and enjoyable.
When Crafting Celtic Squares Block, start with a paper template or printed pattern. This gives you a reliable guide to trace your fabric or place your bias tape. Many quilters use washable pens or chalk to mark the design onto the fabric.
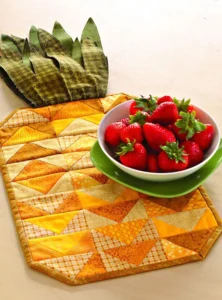
This type of block works beautifully as a centerpiece for a larger quilt or as a repeating motif across multiple blocks. It can be traditional in rich earth tones or made modern with bold, bright colors and contrasting backgrounds.
Pay attention to the scale of the design relative to the block size. Smaller knots might get lost in a large block, while oversized patterns could overwhelm. Striking the right balance is key to a harmonious design.
As with any intricate quilting project, the materials and tools you choose will greatly affect your results when Crafting Celtic Squares Block. From fabric to cutting tools, preparation is everything.
Start with a high-quality base fabric. Solid colors work best to show off the intricate Celtic design. Light backgrounds paired with darker knotwork provide good contrast, but you can also go bold with black and jewel tones.
Bias tape is the most commonly used material for forming the interwoven bands. You can buy pre-made bias tape or make your own using a bias tape maker. Choose colors that complement or contrast with your background.
For marking your design onto fabric, use tools that won’t damage or stain your material. Water-soluble markers, tailor’s chalk, or erasable pens are safe and easy to use. Always test them on a fabric scrap first.
You’ll also need sharp scissors or a rotary cutter, fabric glue or fusible webbing, pins or clips, and a sewing machine with a zigzag or appliqué stitch function. These tools make Crafting Celtic Squares Block much smoother.
Interfacing may be used on the back of your block to stabilize the fabric and prevent shifting during stitching. Lightweight interfacing works well for this purpose without adding bulk.
Before beginning, press your fabric thoroughly to remove wrinkles. A clean, flat surface ensures accurate tracing and prevents distortion of your Celtic design.
Now comes the most exciting part of Crafting Celtic Squares Block—bringing your design to life! Follow these steps to ensure your block turns out beautifully balanced and secure.
Begin by transferring your Celtic knot pattern onto your prepared fabric. Use your marking tool of choice and trace carefully. This outline will serve as a guide for placing the bias tape or stitched lines.
Next, prepare your bias tape. If making your own, cut fabric strips on the bias (diagonally) and run them through a bias tape maker. Press well and make sure the tape is flexible enough to curve around the design.
Lay out your bias tape following the design lines. Use pins or fabric glue to temporarily hold everything in place. When Crafting Celtic Squares Block, take time to ensure the tape crosses over and under accurately.
Once all pieces are secured, sew them onto the base fabric using a zigzag or appliqué stitch. Keep your stitches consistent and close to the edge for a clean, polished look. You may want to use a matching thread or invisible thread.
Continue stitching each section of the design, adjusting your fabric as needed to navigate tight curves or corners. Take breaks if necessary to avoid fatigue—precision is key in this step.
After completing the stitching, press the block gently to set the seams. Trim any excess threads and inspect the back for any loose stitches or skipped sections. Your block is now ready to be added to a larger quilt or used on its own.
Once you’ve completed the main block, there are several creative ways to finish and showcase your work when Crafting Celtic Squares Block. The possibilities are endless depending on your goal.
You can incorporate multiple Celtic blocks into a full-size quilt. Alternate with solid blocks or simple patchwork designs to give the eye a place to rest and highlight each intricate square.
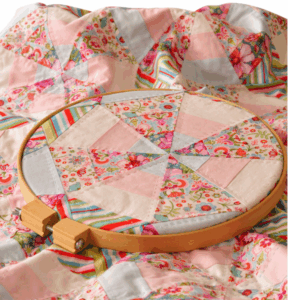
For a smaller project, use your block as the centerpiece for a decorative pillow, tote bag, or wall hanging. These make beautiful gifts and functional art pieces for your home.
Try experimenting with color gradients within the bias tape. Using ombré fabric or shifting colors across multiple blocks can create a stunning visual effect that enhances the knotwork.
Add extra embellishments such as hand embroidery, beads, or metallic thread to enhance certain sections of the design. These accents can add dimension and sparkle to your work.
If you’re feeling confident, adapt the basic square into other shapes such as hexagons or circles. This advanced technique requires more planning but can result in unique, show-stopping quilts.
Finally, always label your finished work with your name, date, and project title. Documenting your progress is a great way to track growth as a quilter and honor the effort put into Crafting Celtic Squares Block.
What is a Celtic squares block in quilting?
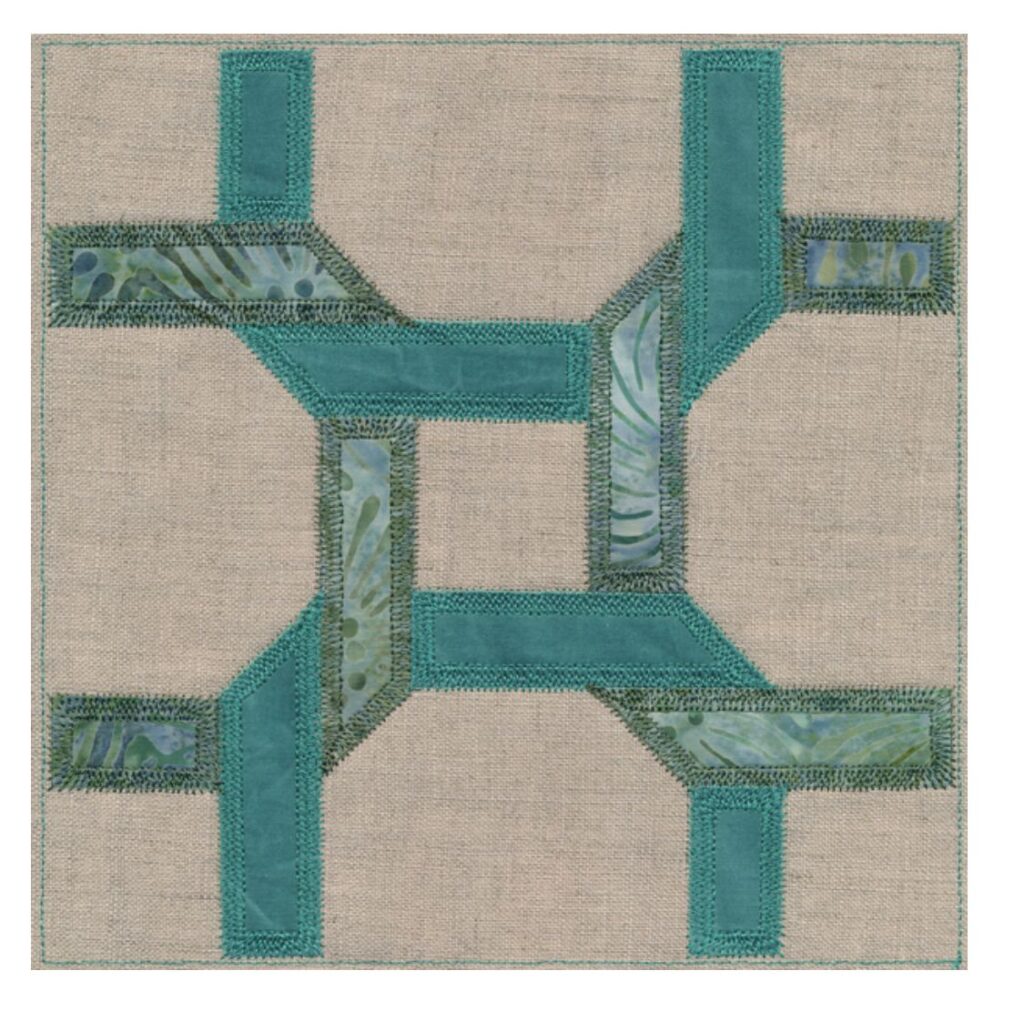
A Celtic squares block is a quilt block featuring interlaced knot designs inspired by Celtic art. The patterns are typically made using bias tape or appliqué methods to replicate woven lines.
Can beginners try crafting Celtic squares blocks?
Yes, while the design looks complex, beginners can successfully complete a block by starting with simple knot patterns and taking time with each step. Patience and careful marking make a big difference.
What’s the best fabric for making Celtic squares blocks?
Solid cotton fabric works best for the background, and bias tape (homemade or store-bought) is ideal for creating the knotwork. Choose high-contrast colors to make the design stand out.
How do I get the overlapping effect of Celtic knots?
The overlapping appearance is achieved by carefully placing the bias tape and stitching it so that parts appear to weave over and under. Planning and precision are key to this effect.
Can I wash items made with Celtic squares blocks?
Yes, but wash gently. Use cold water and mild detergent, and avoid rough agitation. If you’ve used fabric glue or fusible webbing, follow the product’s washing instructions.
How do I make my own bias tape for this project?
Cut fabric strips diagonally across the grain, use a bias tape maker, and press the folds. Homemade bias tape allows you to perfectly match or complement your chosen fabric palette.
Crafting Celtic Squares Block is more than just a quilting technique—it’s an artistic expression rooted in ancient tradition. By exploring these elegant designs, you’re not only improving your sewing skills but also creating meaningful, timeless art. From understanding the symbolism of the knots to learning the precise techniques involved in layout, stitching, and finishing, this project is both challenging and deeply satisfying.
We covered the design origins, material selection, construction methods, and creative applications of Celtic squares in your quilting practice. With this foundation, you’re ready to begin your own journey into this fascinating and beautiful form of needlecraft.
I hope this guide to Crafting Celtic Squares Block has inspired you and answered your most pressing questions. If you’ve tried this project or have tips of your own, please leave a sincere opinion and share your suggestions. Your feedback helps build a more connected and creative crafting community!


