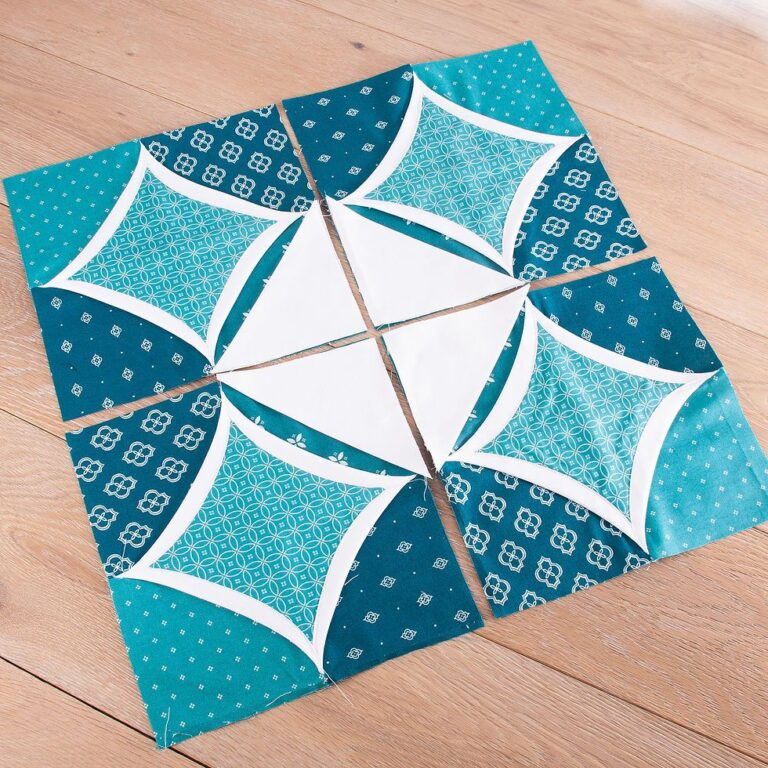
Cathedral Block - Quilt Pattern
Starting a Tutorial for Hanging Basket – Quilt Pattern is an exciting journey for anyone who loves quilting. This charming design not only adds a decorative touch to your home but also allows you to practice essential patchwork skills in a creative way. Many quilters adore this pattern because of its versatility: it can be adapted for wall hangings, table runners, or even as part of a larger quilt project.
When you begin working on a Hanging Basket quilt pattern, you are not just sewing fabrics together—you are telling a story with colors, textures, and stitches. This pattern reflects warmth and tradition while giving you space to play with your own creative ideas. Whether you are a beginner eager to learn or an experienced quilter seeking a fresh project, this tutorial provides the foundation you need to succeed.
The goal of this Tutorial for Hanging Basket – Quilt Pattern is to guide you through every step with clarity and simplicity. You will discover fabric choices, cutting instructions, piecing techniques, and quilting tips that bring this timeless block to life. By the end of this article, you will feel confident enough to create your own hanging basket quilt with pride.
The Hanging Basket quilt pattern is rooted in traditional patchwork. The design usually represents a basket filled with flowers or symbolic shapes, creating a delicate and elegant block. Its charm comes from the way triangles and squares come together to form a basket-like appearance.
Many quilters appreciate this block because it is both simple and striking. It can be stitched as a stand-alone wall quilt or repeated to form a cohesive larger quilt. The design flexibility allows you to experiment with colors, whether you prefer soft pastels or bold contrasts.
The beauty of this Tutorial for Hanging Basket – Quilt Pattern lies in the balance between geometry and imagination. Once you understand the structure, you can introduce floral fabrics or seasonal prints to give the quilt personality. Each version becomes unique, carrying the touch of the quilter’s style.
In quilting history, basket patterns were often connected with celebrations of harvest and abundance. That symbolic meaning continues today, making the Hanging Basket quilt pattern not just decorative, but also meaningful.
If you are new to quilting, don’t be intimidated. The steps are beginner-friendly, focusing on straight seams and accurate cutting. For seasoned quilters, the challenge lies in fabric selection and achieving perfect alignment.
This blend of accessibility and sophistication makes the Hanging Basket quilt pattern a must-try block for every quilter who enjoys blending tradition with creativity.
Before you begin sewing, choosing the right fabrics is essential. The Hanging Basket quilt pattern comes to life when you combine prints and solids that highlight the basket’s shape. Think of soft backgrounds that let the basket stand out, paired with vibrant tones that add depth.
Cotton fabrics are the most popular choice for this design. They are easy to cut, sew, and press, making them perfect for beginners following this Tutorial for Hanging Basket – Quilt Pattern. You may also experiment with textured fabrics, but ensure they are not too heavy for smooth stitching.
Pre-washing fabrics is highly recommended. It prevents shrinkage and color bleeding after quilting. Ironing them before cutting ensures sharp, accurate shapes, which is crucial for maintaining clean lines in your basket block.
For this project, consider preparing small fabric scraps as well. Many quilters enjoy using leftover pieces to make the baskets, creating a scrappy, charming effect. This approach not only adds character but also makes your quilt more sustainable.
The background fabric should be neutral, such as white, beige, or light gray. This allows the basket motif to remain the center of attention. A darker background can also be chosen if you prefer a modern look.
Finally, always have extra fabric on hand. Accidents happen, and having a bit more ensures you can correct mistakes without interrupting your quilting flow. Preparation is the secret to a smooth quilting journey.
To start sewing your Hanging Basket quilt pattern, begin with accurate cutting. The block is made up of squares and triangles, so precision is key. Using a rotary cutter, self-healing mat, and quilting ruler will save time and provide cleaner cuts.
The base of the basket is typically formed with half-square triangles. These are created by sewing two squares together diagonally and cutting them apart. Pressing the seams carefully will help keep your basket flat and neat.
Next, focus on assembling the basket shape. Arrange your cut pieces on a flat surface before stitching. Visualizing the layout beforehand reduces mistakes and makes the sewing process smoother.
When sewing, always use a consistent seam allowance, usually ¼ inch. This small detail ensures that all the pieces align correctly when joined together. Consistency is what turns individual pieces into a cohesive quilt block.
Once the basket base is assembled, you can add decorative touches such as appliqué flowers or embroidery. These details enhance the visual appeal and make your Hanging Basket quilt pattern more personal and artistic.
After completing one block, press it gently with an iron. Multiple blocks can then be joined to form a quilt top, or a single block can be bordered and turned into a charming wall hanging.
Finishing is the stage where your quilt comes to life. Once you have pieced your Hanging Basket quilt pattern, it’s time to layer it with batting and backing fabric. This process is called “quilt sandwiching.”
Lay your backing fabric flat, place the batting on top, and position your quilt top over it. Smooth out wrinkles to avoid puckering later. Securing the layers with pins or temporary spray adhesive helps keep everything in place.
Now comes quilting. You can choose straight-line quilting for a classic look or free-motion quilting to add texture. Stitching along the basket lines enhances the design and gives it dimension. This step turns your fabric layers into a solid, durable quilt.
After quilting, trim the edges and add binding. Binding frames your quilt and gives it a polished finish. Choose a color that complements your basket, either blending softly or standing out with bold contrast.
Don’t forget the label! Adding your name, date, and perhaps a message gives your quilt a personal history. This transforms the Hanging Basket quilt pattern from a simple project into a treasured keepsake.
Finally, display your creation proudly. Whether on a wall, as part of a larger quilt, or given as a gift, the Hanging Basket design will always radiate charm and tradition.
What size should I cut my fabric for the Hanging Basket quilt pattern?
The sizes vary depending on the block you want to create, but standard instructions often start with 3 to 5-inch squares for the basket and background.
Is the Hanging Basket quilt pattern suitable for beginners?
Yes, it is very beginner-friendly. The block mainly involves squares, triangles, and straight seams, making it ideal for those learning patchwork.
What type of fabric works best for this quilt pattern?
100% cotton fabric is highly recommended because it is easy to handle, durable, and holds its shape well when cut and stitched.
Can I use scraps to make the Hanging Basket quilt?
Absolutely! Scrappy baskets often look delightful and unique. Using leftover fabrics adds charm and reduces waste.
How do I quilt the Hanging Basket design after piecing?
You can quilt along the seams for a traditional look, or experiment with free-motion quilting to add floral or geometric textures.
What can I make with the Hanging Basket quilt pattern besides quilts?
This pattern works beautifully for wall hangings, table runners, pillow covers, and even small decorative mats.
The Tutorial for Hanging Basket – Quilt Pattern shows that quilting is both creative and accessible. From fabric selection to finishing, each step allows you to express your personality while honoring quilting traditions. With patience and care, your basket block will grow into a piece that can decorate your home or be given as a heartfelt gift.
Now it’s your turn! Have you ever tried making a Hanging Basket quilt pattern? Share your honest thoughts, experiences, and suggestions—I would love to hear your opinion and see how this timeless design inspires your quilting journey.


