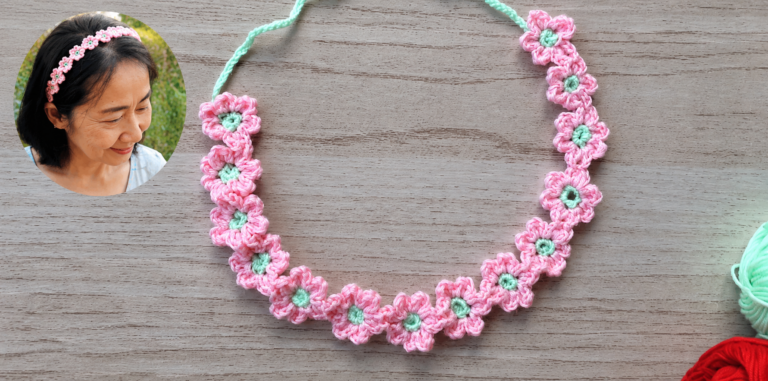
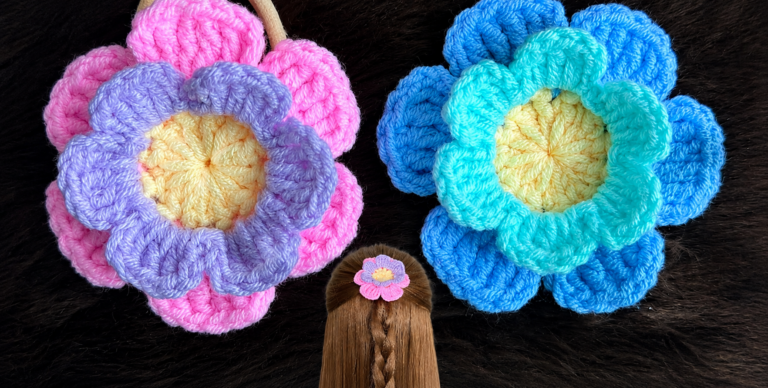
Crocheted Flower Headband - Pattern
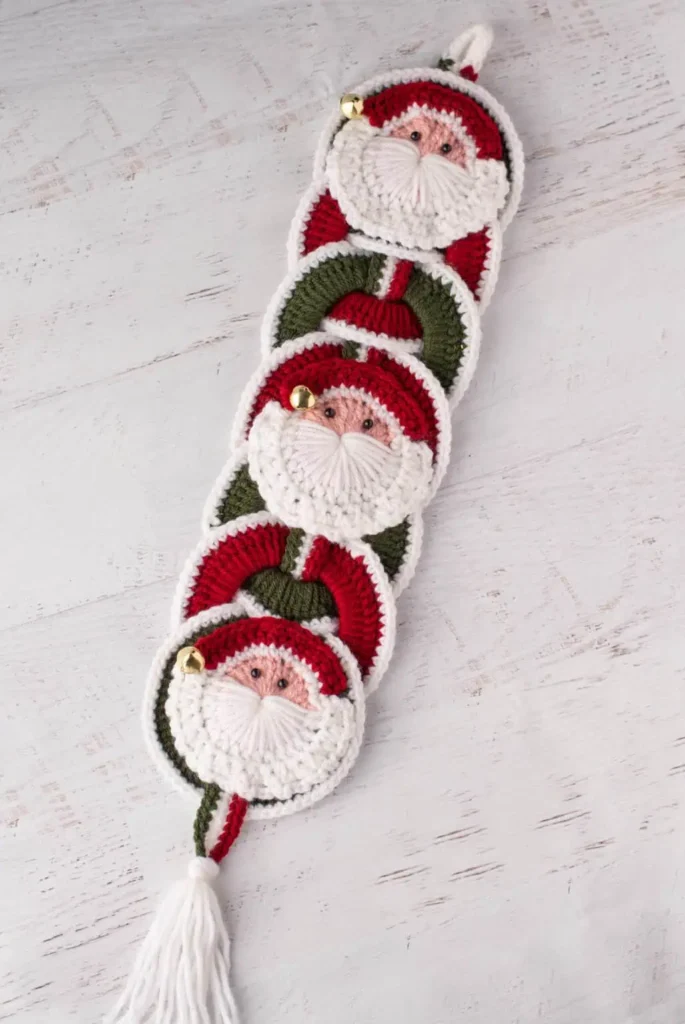
The Crochet Santa Wallhanging – Pattern is a charming and festive project that brings the holiday spirit right into your home. Handmade decorations always carry a special meaning, and when you combine the magic of crochet with the joyful symbol of Santa Claus, you create a unique piece that can be treasured for years. This wallhanging is not only decorative but also a heartfelt way to celebrate Christmas with warmth and creativity.
Many crocheters look for seasonal projects that allow them to add personal touches to their homes, and this pattern is perfect for that. Whether you’re a beginner seeking to expand your skills or an experienced crafter looking for a fun holiday design, a Crochet Santa Wallhanging – Pattern offers both simplicity and creativity. With colorful yarns, basic crochet stitches, and a bit of imagination, you can bring Santa’s cheerful face to life in your home décor.
In addition, handmade wallhangings make wonderful gifts. Friends and family will appreciate the time and love put into such a project. The Crochet Santa Wallhanging – Pattern not only decorates walls but also spreads joy, making it an excellent craft idea to work on before the holiday season arrives. Now, let’s explore the steps, techniques, and ideas to make your wallhanging shine this Christmas.
When starting any crochet project, gathering the right materials is the first step toward success. For a Crochet Santa Wallhanging – Pattern, you’ll want to choose yarn colors that represent Santa’s iconic look. Bright red, pure white, black, and skin-tone shades will help recreate his outfit and cheerful face. Acrylic yarns are often preferred for wall décor, as they are lightweight and durable.
Selecting the proper crochet hook size is also important. A medium hook, such as 4.0 mm to 5.0 mm, usually works best with standard worsted-weight yarn. This ensures that the stitches are not too loose or too tight, giving your wallhanging a neat and balanced finish. Always check your yarn label for the recommended hook size before beginning.
Another essential part of preparation is choosing a background fabric or dowel rod to hang your work. The Crochet Santa Wallhanging – Pattern looks best when displayed on a smooth surface that allows the details to shine. Many crocheters prefer wooden rods or simple curtain rods for easy hanging.
You will also need basic tools such as scissors, a yarn needle for weaving ends, and stitch markers to help keep track of your progress. Planning ahead ensures that once you sit down to crochet, the process flows smoothly and without interruptions.
Color placement matters a lot in this project. Before starting, take a moment to visualize Santa’s hat, beard, and cheerful smile. This will help guide your yarn changes and keep the design symmetrical.
Finally, preparing your mindset is just as important as preparing materials. Crocheting is a relaxing hobby, and projects like this are meant to be enjoyed. Take your time, and remember that each stitch contributes to the joyful final piece.
To begin your Crochet Santa Wallhanging – Pattern, you will typically start by creating a rectangular or square base using simple stitches such as single crochet or half-double crochet. This foundation provides stability for the design and makes it easier to add color changes.
Once the base is established, you can begin shaping Santa’s hat at the top of the wallhanging. This usually involves alternating red and white yarn. The fluffy trim of the hat can be created with textured stitches, giving it a cozy and realistic look. Don’t be afraid to experiment with popcorn stitches or puff stitches to make the trim stand out.
The next step is Santa’s face, which requires skin-tone yarn and a careful arrangement of stitches. Simple embroidery techniques may be used to create his eyes, nose, and smile. If you enjoy adding dimension, safety eyes or buttons can make the face more lively.
Santa’s beard is one of the most fun parts of this project. Using white yarn, you can incorporate loop stitches or shell stitches to give the beard fullness and softness. This adds charm to your wallhanging and makes Santa instantly recognizable.
After completing the main design, you can add borders around the piece to frame it neatly. A red or green crochet border enhances the festive theme. Some crafters also like to add snowflake motifs or small stars around the edges for extra holiday flair.
Finally, attach your finished piece to a dowel rod or hanger. Use chains or crocheted straps to secure the top, ensuring the wallhanging lays flat when displayed. With this, your Crochet Santa Wallhanging – Pattern is ready to brighten up your walls.
One of the best aspects of the Crochet Santa Wallhanging – Pattern is how adaptable it can be. Each crafter can add their own style to make the piece unique. For example, you might choose to create a minimalist Santa using fewer colors and clean lines for a modern look.
Others may prefer a more detailed design, adding small embellishments like crocheted holly leaves, miniature gifts, or even a little crocheted bell attached to Santa’s hat. These additions make the project stand out and reflect your creativity.
Changing the size of your wallhanging is another way to personalize it. By adjusting the yarn weight or hook size, you can make a larger statement piece or a smaller decorative item suitable for doors or narrow spaces.
If you enjoy working with textures, consider mixing yarn types. A fluffy yarn for Santa’s beard combined with standard acrylic for the rest of the design creates contrast and makes the beard more eye-catching.
You could also incorporate lights into your wallhanging. Tiny LED fairy lights can be carefully woven into the stitches, creating a glowing holiday decoration that will delight everyone who sees it.
Lastly, don’t forget about color variations. While traditional red, white, and black are common, some crocheters enjoy experimenting with whimsical themes, like making Santa’s hat green or blue. These playful choices bring a personal touch and show that crochet is as much about expression as it is about tradition.
Once your Crochet Santa Wallhanging – Pattern is complete, displaying it correctly enhances its charm. Choose a wall that is visible and central to your holiday décor. Above the fireplace, in the entryway, or near the Christmas tree are ideal spots.
When hanging, ensure the piece is flat and well-supported. A dowel rod with balanced straps works best, but you can also frame the piece if you prefer a more polished look. Framing protects the wallhanging from dust and gives it a gallery-like finish.
Lighting plays a role in presentation too. If your wallhanging is displayed in a dim area, consider adding soft string lights or placing it where natural light highlights the colors. This makes the stitches and details more noticeable.
To care for your crochet decoration, dust it gently using a soft cloth or fabric-safe duster. Since it’s a wallhanging, it won’t require frequent washing, but if necessary, hand-wash it carefully in cold water and lay it flat to dry.
When the holiday season ends, store the wallhanging properly. Roll it gently or place it flat in a storage box to prevent creases. Avoid placing heavy objects on top of it to preserve its shape.
With good care, your Crochet Santa Wallhanging – Pattern can last for many years, becoming a cherished tradition in your family’s holiday celebrations.
1. Is the Crochet Santa Wallhanging – Pattern suitable for beginners?
Yes, many versions of this pattern are beginner-friendly. With basic stitches and clear instructions, even those new to crochet can complete it.
2. How long does it take to finish a Crochet Santa Wallhanging – Pattern?
The time depends on your skill level and the size of the project. On average, it may take a few evenings or a week of casual crocheting.
3. What yarn works best for this project?
Acrylic yarn is recommended because it is durable, lightweight, and comes in many festive colors. Cotton yarn can also be used for a more natural look.
4. Can I personalize the wallhanging?
Absolutely! You can adjust colors, add embellishments, or even change the size to make it fit your holiday décor.
5. How do I hang the finished wallhanging?
Attach it to a dowel rod or curtain rod, then hang it using crocheted straps or decorative ribbon.
6. Can this project be given as a gift?
Yes, it makes a heartfelt handmade gift for friends, family, or anyone who enjoys festive home décor.
The Crochet Santa Wallhanging – Pattern is more than just a holiday decoration; it’s a creative expression of joy and tradition. With simple stitches, thoughtful color choices, and a bit of patience, you can craft a beautiful piece that brings warmth to your home year after year. From preparation to finishing touches, this project combines creativity with the holiday spirit in the best way possible.
I hope this guide inspires you to try making your own wallhanging this Christmas. If you decide to create one, I’d love to hear your opinion and suggestions. Share your experiences, ideas, and creative twists—you might even inspire other crocheters along the way!


