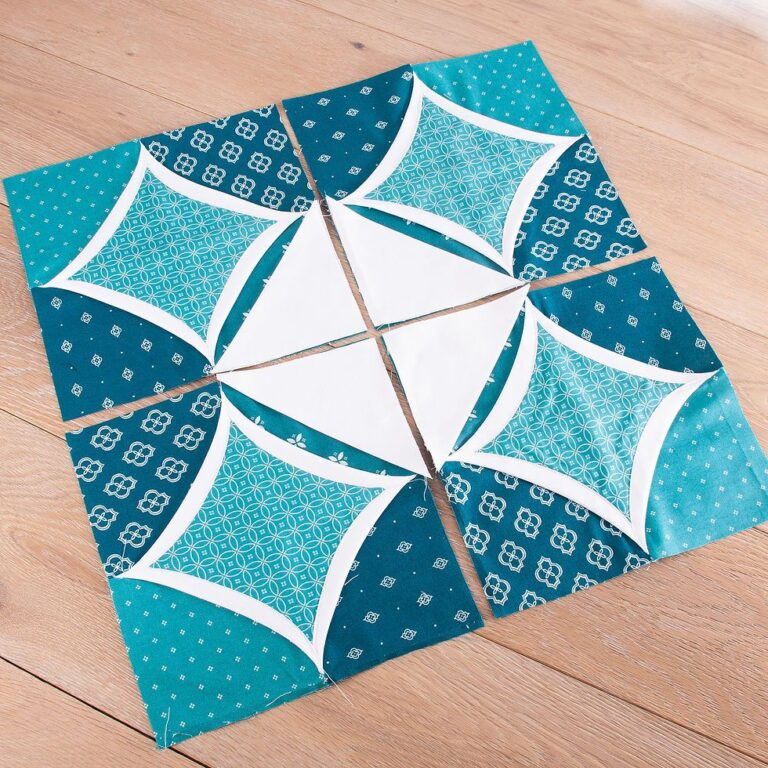
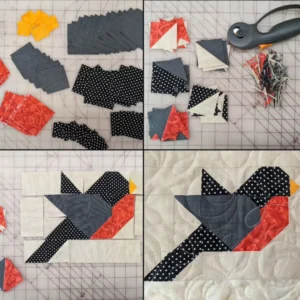
Cathedral Block - Quilt Pattern
The Lone Star – Quilt Pattern is one of the most iconic and breathtaking designs in the world of quilting. Known for its radiant starburst made from diamond-shaped pieces, this pattern has captivated quilters for generations. Its stunning symmetry and vibrant color combinations make it a timeless piece that stands out in any collection. Whether you are a beginner learning the basics of quilting or an experienced artist seeking to refine your skills, understanding and creating the Lone Star – Quilt Pattern can be a deeply rewarding experience.
This pattern is often considered a true test of a quilter’s precision and patience. Each diamond must align perfectly to form the elegant star, and the placement of colors can dramatically affect the final look. However, despite its intricate appearance, with the right guidance, anyone can master the Lone Star – Quilt Pattern. The process teaches balance, attention to detail, and creativity — all essential skills in the quilting world.
Today, we’ll explore the fascinating history, structure, color choices, and step-by-step process behind this traditional yet modern quilt design. By the end of this guide, you’ll feel inspired to create your very own Lone Star masterpiece — one that reflects your unique style and artistry.
The Lone Star – Quilt Pattern has a rich history that dates back to the early days of American quilting. It is sometimes called the “Star of Bethlehem” or the “Morning Star,” symbolizing guidance, hope, and light. The design became especially popular in the 19th century, cherished by pioneer women who used it as a centerpiece in their homes.
The star itself carries deep cultural significance. For many Native American tribes, the star motif represents direction and spiritual enlightenment. In quilting communities, it symbolizes unity and perseverance — values that resonate through generations of quilters who passed down the pattern as part of their family traditions.
Historically, creating a Lone Star quilt was seen as a major accomplishment. It required careful cutting, precise sewing, and a strong sense of color coordination. Quilters often used scraps of fabric left from other projects, transforming them into a radiant piece of art.
Over the decades, this pattern evolved from being a symbol of craftsmanship to a statement of personal expression. Modern quilters now experiment with unconventional color palettes and contemporary fabrics to give the Lone Star – Quilt Pattern a fresh and modern twist.
Despite the changing styles, the structure of the pattern has remained constant — a central star composed of diamond pieces surrounded by background fabric. Its balance between tradition and innovation is what keeps this design so beloved today.
For many quilters, completing a Lone Star quilt is not just a creative project — it’s a milestone. The moment you finish aligning those last diamonds and see the star emerge is pure magic.
The Lone Star – Quilt Pattern is made up of eight large diamond sections that come together to form a brilliant eight-pointed star. Each diamond section is constructed from strips of fabric sewn together and then cut into smaller diamonds. When pieced correctly, the star appears to glow from within.
The foundation of the design lies in strip piecing — a technique where long fabric strips are sewn together before being cut. This ensures accuracy and consistency in each diamond. It also allows quilters to play with gradients of color, blending shades for a stunning visual effect.
Precision is crucial in this pattern. Even a slight misalignment can disrupt the symmetry of the star. Using a rotary cutter, a clear quilting ruler, and a well-maintained sewing machine can make all the difference. Pressing seams carefully after each step also helps maintain clean lines.
The background fabric around the star can vary depending on your preference. Some quilters opt for light, neutral tones that make the star pop, while others choose dark or patterned backgrounds to add drama and depth.
Borders and corner squares further enhance the composition. They frame the star beautifully and provide an opportunity to experiment with additional fabrics or embroidery. The combination of structure and freedom makes the Lone Star – Quilt Pattern endlessly customizable.
Ultimately, this pattern is as much about mathematical precision as it is about artistic expression. Each diamond you sew brings you one step closer to a dazzling centerpiece that represents both creativity and craftsmanship.
Selecting the right fabrics and colors is one of the most exciting steps in creating the Lone Star – Quilt Pattern. The interplay of shades and textures determines the overall mood and visual impact of the quilt. Traditional Lone Stars often feature a gradual color transition from the center outward, mimicking the brilliance of a sunrise or sunset.
When choosing fabrics, consider using pre-cut strips (such as jelly rolls) for convenience and accuracy. These ready-to-sew strips save time and ensure uniformity in your pieces. Cotton is the most common choice for quilting due to its durability and easy handling, but you can also experiment with blends for different effects.
Color placement plays a vital role. Start with your focal color — the one that will define the heart of your star. Then, select complementary or contrasting hues that enhance its vibrancy. For a classic look, many quilters choose shades of red, blue, and white. For a modern twist, try soft pastels, metallics, or even monochrome tones.
Don’t forget the importance of contrast between your star and background fabric. Too little contrast may cause your star to fade into the background, while too much can create harsh separation. Finding the right balance will make your Lone Star – Quilt Pattern shine.
Before cutting your fabrics, lay them out in sequence to visualize how the colors will flow. This preview helps prevent mistakes and ensures you’re happy with your palette.
Remember: your Lone Star quilt is a reflection of your artistic personality. There’s no single “correct” color scheme — the best combination is the one that makes you feel inspired.
Now that you’ve chosen your fabrics and understood the structure, it’s time to start sewing your Lone Star – Quilt Pattern. This process may seem challenging at first, but with patience and organization, you’ll see the beautiful star unfold before your eyes.
Start by cutting your fabric strips accurately, ensuring consistent width throughout. Sew the strips together lengthwise to form a panel, and press all seams in the same direction to reduce bulk. Once your panel is complete, use a ruler to cut it into 45-degree diamond strips.
Arrange these strips in the desired color order to form one diamond section. Make sure the colors flow harmoniously. Sew the diamonds together carefully, aligning points with precision. It’s helpful to pin or clip them in place before stitching to prevent shifting.
Repeat this process until you have all eight diamond sections ready. Once completed, join them together in pairs, forming half stars. Then, sew the two halves together, aligning the center perfectly for a seamless star.
Add background fabric pieces around the star to complete your quilt top. Square up the edges, add borders if desired, and prepare your quilt sandwich (top, batting, and backing).
Finally, quilt as desired — whether you prefer straight-line stitching, free-motion quilting, or echoing the star’s shape. Once bound and finished, your Lone Star – Quilt Pattern quilt will be a true masterpiece, filled with beauty and meaning.
1. Is the Lone Star – Quilt Pattern suitable for beginners?
While it’s considered an intermediate to advanced pattern, dedicated beginners can achieve great results with patience and proper guidance. Starting with a smaller version can help build confidence.
2. How many fabrics do I need for a Lone Star quilt?
Most versions use between 6 to 8 different fabrics to create a smooth color transition, but you can use as many or as few as you like depending on your design.
3. Can I make a Lone Star quilt without Y-seams?
Yes! Some modern tutorials show techniques to create the pattern without Y-seams, making it easier for quilters who prefer straight-line sewing.
4. What size should I make my Lone Star quilt?
It depends on its purpose. A wall hanging might measure around 40 inches square, while a bed-sized quilt could reach 90 inches or more.
5. How can I make my star look more dynamic?
Play with gradients, bold contrasts, or even patterned fabrics. Using fabrics with subtle prints or metallic accents can add extra dimension.
6. How do I prevent stretching when sewing the diamonds?
Use plenty of pins or clips, handle the pieces gently, and avoid pulling the bias edges. Starching your fabric lightly before cutting can also help.
The Lone Star – Quilt Pattern is more than just a design — it’s a symbol of skill, tradition, and artistic expression. From its historical roots to modern interpretations, it continues to inspire quilters around the world. By understanding its structure, carefully choosing your fabrics, and following the step-by-step process, you can create a breathtaking quilt that will be treasured for years to come.
We hope this guide has inspired you to try your own version of the Lone Star – Quilt Pattern. Whether you’re crafting a family heirloom or a personal challenge, every stitch you sew tells a story. Share your thoughts and suggestions below — we’d love to hear about your quilting journey and what the Lone Star means to you!


