
Boat and Sailboat- Crochet Pattern
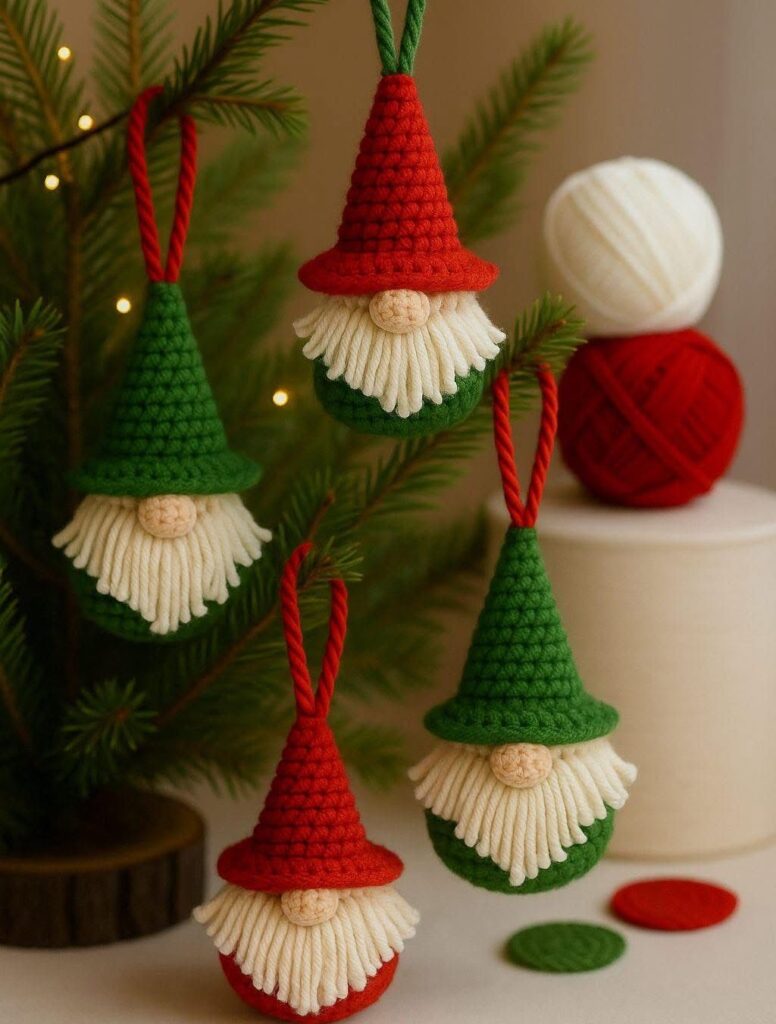
If you love making handmade crochet toys, the Amigurumi Gnome – Crochet Pattern is a delightful project to bring joy and personality into your crafting routine. These adorable gnomes, often inspired by Scandinavian folklore, make perfect gifts, home décor accents, and seasonal keepsakes. In this tutorial-style guide, we’ll walk you through everything you need to know about creating your own gnome using basic crochet techniques. Whether you’re a beginner or an experienced crocheter, this guide will inspire you to pick up your hook and yarn and start crafting your next masterpiece.
The Amigurumi Gnome – Crochet Pattern combines fun stitches, charming details, and endless customization possibilities. You can make your gnome in festive holiday colors, or choose pastels for a spring look. The small details—like the long beard, pointy hat, and rounded nose—make each gnome truly unique. With a little patience and creativity, you can design a character that fits any season or personality.
Before diving into the steps, it’s helpful to prepare your materials and understand the structure of the gnome. You’ll typically need soft acrylic or cotton yarn, a crochet hook (commonly size 2.5mm to 3.5mm for amigurumi), stuffing material like fiberfill, safety eyes, and a yarn needle for assembly. Once you gather everything, you’re ready to start your own Amigurumi Gnome – Crochet Pattern project.
When starting your Amigurumi Gnome – Crochet Pattern, it’s essential to know the key elements that define amigurumi. This Japanese-inspired crochet technique focuses on creating small stuffed figures using tight, circular stitches. The gnome is a perfect example—simple shapes combined with expressive details to create personality and charm.
Begin by mastering the magic ring technique, which allows you to crochet in the round without leaving a hole in the center. This technique forms the base for the gnome’s head, body, and hat. If you’re new to crochet, practice making a few magic rings to get the tension right. The tighter your stitches, the neater your gnome will look.
Next, focus on single crochet stitches, which are the foundation of most amigurumi patterns. These stitches are compact and sturdy, helping your gnome maintain its shape. Count your stitches carefully—each round matters when it comes to symmetry and proportion.
The body of the gnome usually starts as a cone or cylinder shape. You can modify the dimensions depending on how tall or round you want your character to be. Adding gradual increases and decreases creates a smooth contour. A stitch marker can be very helpful for keeping track of rounds.
Stuffing your gnome is another important step. Use small amounts of fiberfill at a time to avoid lumps. Make sure the gnome stands upright—firm but still soft to touch. This will give your Amigurumi Gnome – Crochet Pattern a professional and polished look.
Lastly, always weave in your ends securely. Because amigurumi is often handled or gifted, loose yarn ends can easily come undone. Taking time for neat finishing touches ensures your creation lasts for years.
The body and hat are the signature elements that define the Amigurumi Gnome – Crochet Pattern. Most gnomes have a round base and a tall, floppy hat that adds character and movement to the design. The color choices and textures you select will make your gnome truly special.
Start crocheting the body from the bottom up using your preferred color. Earth tones, gray, or red are popular traditional gnome colors. Keep your stitches consistent and make small increases as you move upward to form a rounded belly. The gnome’s body should feel stable enough to stand on its own.
When you reach the upper part of the body, slightly decrease your stitches to shape the neck area. This step ensures the hat will fit snugly without sliding off. You can also insert a small amount of weight—like dry beans sealed in a fabric pouch—at the bottom to help your gnome stand.
Next, crochet the iconic pointy hat. This is where your creativity can shine. Try stripes, textured stitches, or a pom-pom at the tip. The hat can be tall and whimsical or short and rustic, depending on your style. Attach it securely to the head and tilt it slightly for a playful look.
To add depth to your Amigurumi Gnome – Crochet Pattern, experiment with different yarn weights and hook sizes. A slightly thicker yarn for the hat or body gives your project dimension and texture. Always maintain tight stitches so that the stuffing doesn’t show through.
One of the most charming aspects of the Amigurumi Gnome – Crochet Pattern is its distinctive facial features—especially the fluffy beard and round nose. These details bring your gnome to life and give it a heartwarming handmade touch.
To make the beard, you can use white or cream yarn, faux fur, or even brushed cotton. Cut small strands and attach them under the hat brim using a yarn needle. If you prefer a soft, fuzzy look, lightly brush the strands with a fine-tooth comb. Trim to your desired length and shape.
The nose is usually made with a small ball of skin-toned yarn or a beige shade. Crochet a tiny sphere using a few rounds of single crochet, then sew it between the beard and hat. This creates the classic gnome expression—cute and mysterious.
You can also personalize your gnome by adding small buttons, bows, or even tiny crochet flowers. For holiday-themed versions, decorate the hat with bells, stars, or snowflakes. This makes the Amigurumi Gnome – Crochet Pattern suitable for all occasions—from Christmas to Easter to everyday décor.
If you’re giving the gnome as a gift, consider adding a little label or tag with your name or the date. Handmade items like these make meaningful keepsakes that can be passed down or displayed proudly.
Lastly, inspect your finished gnome for any loose stitches or uneven areas. A quick final check ensures your creation looks tidy and professional. Remember, every gnome you make reflects your creativity and care, so take pride in the finishing details.
Once you’ve mastered the basics of the Amigurumi Gnome – Crochet Pattern, you can explore different variations and creative styles. There’s no limit to how imaginative you can get with these adorable little creatures.
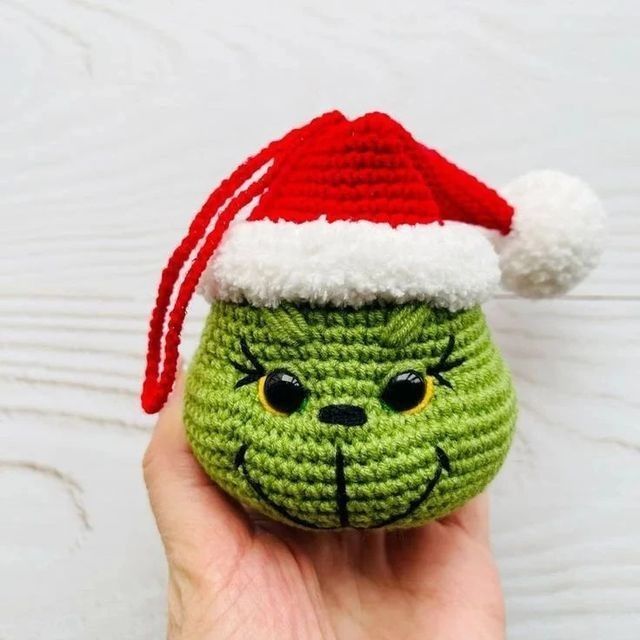
Try playing with seasonal themes. For example, a red-and-green color palette makes a perfect Christmas gnome, while pastel colors fit beautifully for spring or Easter. For autumn, choose deep oranges and browns, and for winter, experiment with icy blues and silver.
You can also change the size by adjusting your hook and yarn thickness. Thicker yarn and a larger hook will produce a bigger gnome, while finer yarns create delicate miniature versions. This versatility makes the Amigurumi Gnome – Crochet Pattern ideal for crafting sets or collections.
Experiment with different materials. A gnome made from velvet yarn looks luxurious, while a cotton version gives a more classic, clean finish. Mixing textures—like pairing smooth yarn for the body with fluffy yarn for the beard—adds visual interest.
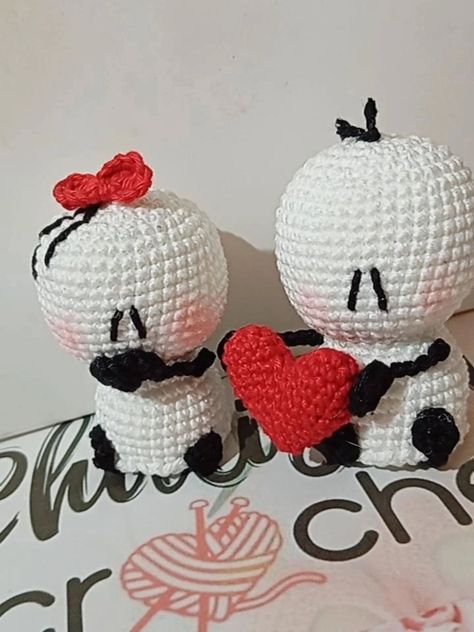
Don’t forget about gender or theme variations. A gnome couple, one with braids or a skirt, adds extra charm. You can even turn your gnome into a seasonal mascot—like a Valentine’s gnome holding a heart or a Halloween gnome with a tiny pumpkin.
Lastly, share your work with friends, family, or online crochet communities. Seeing how others interpret the Amigurumi Gnome – Crochet Pattern can spark new ideas and inspire even more creativity. Every gnome tells a story, and yours can bring smiles to many.
1. What kind of yarn works best for the Amigurumi Gnome – Crochet Pattern?
Soft acrylic or cotton yarn is ideal. Choose a medium-weight yarn for easy handling and durability. Cotton gives a clean look, while acrylic offers flexibility and vibrant colors.
2. What size crochet hook should I use?
Most patterns recommend between 2.5mm and 3.5mm. The smaller hook ensures tight stitches that hold the stuffing well.
3. Can beginners make an amigurumi gnome?
Absolutely! The Amigurumi Gnome – Crochet Pattern is beginner-friendly. As long as you know basic stitches like single crochet and can work in rounds, you’ll do great.
4. How do I keep my gnome’s shape firm?
Stuff the gnome gradually using small amounts of fiberfill. Ensure the body is firm but not overstuffed. You can also add a bit of weighted material at the bottom.
5. How can I make the beard fluffy?
Use brushed yarn, faux fur, or separate the strands of regular yarn. Lightly combing the yarn creates a soft, fuzzy look.
6. How do I clean my amigurumi gnome?
Hand wash gently in cold water using mild soap. Let it air dry completely to maintain shape and texture.
Creating an Amigurumi Gnome – Crochet Pattern is a rewarding and relaxing craft that combines creativity with skill. From the simple stitches that form the body to the charming beard and hat details, each step allows you to express your personality and love for handmade art. Whether for gifting, decorating, or simply enjoying the process, your gnome will carry a little piece of your heart.
We hope this complete guide inspired you to start your own crochet gnome project today. If you’ve tried this tutorial or have your own variations, share your honest opinion and suggestions below. Your feedback helps others learn and keeps the crochet community thriving!
