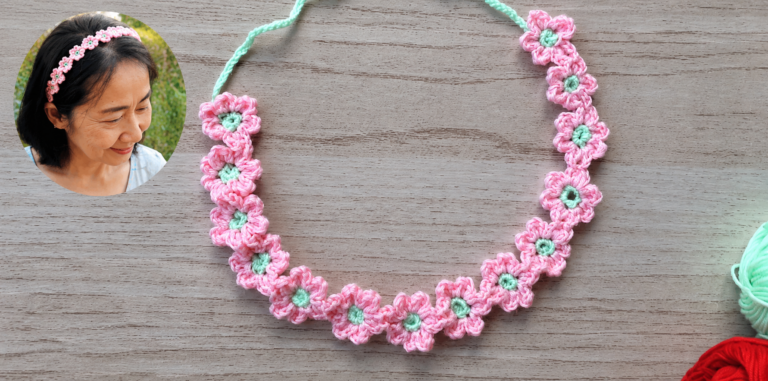
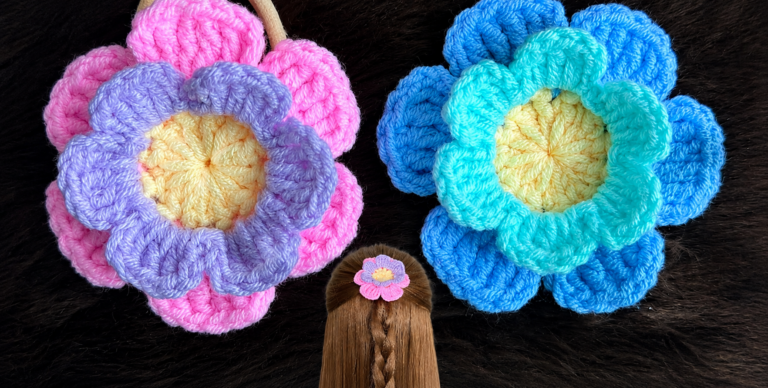
Crocheted Flower Headband - Pattern
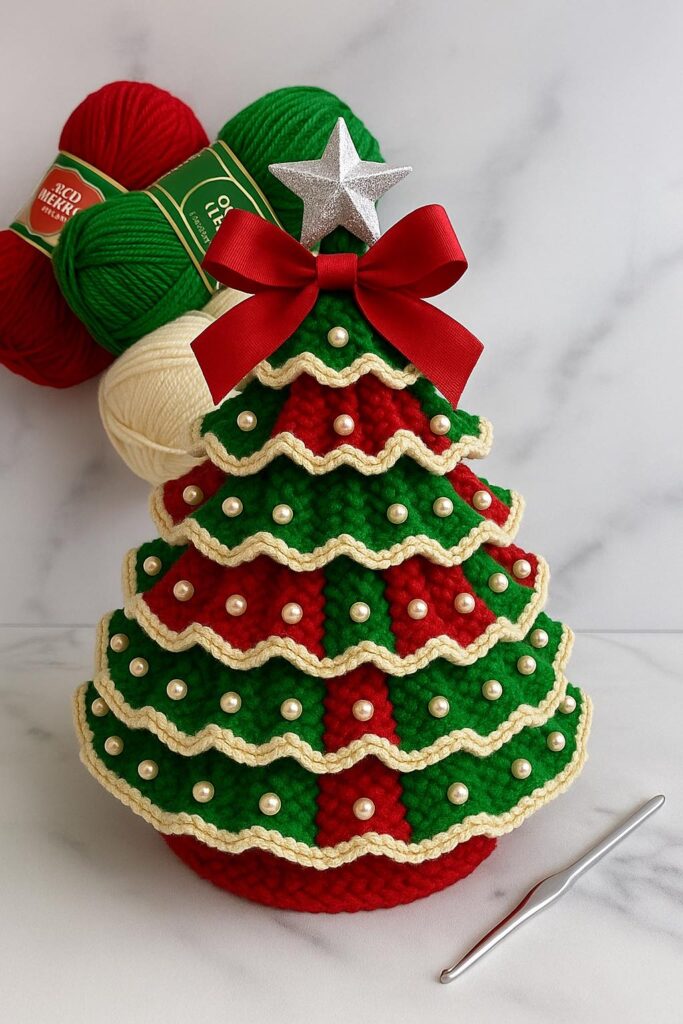
DIY Crochet Christmas Tree – Pattern is a delightful and festive project that allows you to bring a handmade touch to your holiday decor. Whether you’re an experienced crocheter or just learning the craft, this project is simple, fun, and perfect for spreading Christmas cheer. The beauty of this pattern lies in its versatility—you can create small trees for table centerpieces or larger ones for home decorations. The process is relaxing, the result is stunning, and the satisfaction of creating your own handmade Christmas decor is priceless.
Crocheting your own DIY Crochet Christmas Tree – Pattern not only adds warmth to your home but also gives you an opportunity to express creativity. You can customize your yarn colors, add beads, ribbons, or even tiny ornaments to make each tree unique. The project works well as a holiday gift too—after all, nothing says “Merry Christmas” quite like a heartfelt handmade creation. The best part? You can make several trees in different sizes to decorate every corner of your house or to gift to loved ones.
In this article, we’ll explore every step of this festive crochet pattern, from choosing the right materials to assembling and decorating your tree. Each section is designed to help you confidently complete the project, even if you are a beginner. By the end, you’ll have your very own DIY Crochet Christmas Tree – Pattern ready to brighten your home this holiday season.
Before you begin your DIY Crochet Christmas Tree – Pattern, it’s important to gather all the materials and tools you’ll need. Having everything prepared makes the process smoother and more enjoyable. You’ll need a few basic crochet supplies and some decorative extras to give your tree that perfect holiday touch.
Start by choosing your yarn. A medium-weight acrylic yarn works best for this project because it holds its shape while still being soft to the touch. Traditional Christmas colors like green, white, and red are popular choices, but don’t be afraid to experiment with metallic yarns or pastels for a modern twist.
You’ll also need a crochet hook, usually between 3.5mm and 4.5mm, depending on the yarn thickness. The smaller the hook, the tighter your stitches will be, which helps the tree hold its form better. If you want a softer and fluffier look, use a slightly larger hook.
Next, gather some fiberfill stuffing to shape your tree, or you can use yarn scraps as a more eco-friendly option. A small wooden stick or dowel can serve as the tree trunk, and you can place it into a small pot or a piece of foam for stability.
Don’t forget the decorative touches—mini pom-poms, ribbons, tiny bells, or beads can transform your crocheted tree into a show-stopping piece. A gold or silver star on top completes the festive look beautifully.
Lastly, have scissors and a yarn needle on hand for finishing touches. With all your materials ready, you’re set to begin creating your very own DIY Crochet Christmas Tree – Pattern masterpiece.
Now comes the most enjoyable part—crocheting your DIY Crochet Christmas Tree – Pattern. The pattern typically starts with a magic ring, which forms the top point of your tree. From there, you’ll increase stitches gradually to create the conical tree shape.
Start by making six single crochets into a magic ring, then close it tight. In the following rounds, you’ll increase evenly to expand the base. Continue working in the round, always keeping your stitches consistent for an even texture.
As your tree grows taller, you’ll begin to see the familiar triangular silhouette appear. You can choose to work in continuous rounds or join each round with a slip stitch—it depends on your personal preference. Both methods look beautiful when done neatly.
To create the layers or “branches,” use shell stitches, picots, or puff stitches. These textures add depth and make your DIY Crochet Christmas Tree – Pattern look realistic and charming. Feel free to experiment with different stitch styles to find what fits your desired look.
Once the body of the tree is finished, stuff it lightly with fiberfill. Be careful not to overstuff—it should keep its shape without stretching the stitches. Insert the wooden stick in the center to serve as the trunk, ensuring it’s firmly positioned.
Finally, finish off by weaving in any loose ends and trimming excess yarn. Now your crocheted tree form is ready for the next step—decorating!
This is where creativity truly shines! Decorating your DIY Crochet Christmas Tree – Pattern gives it personality and festive flair. Each tree can be unique, reflecting your holiday style or color scheme.
Start by adding mini decorations. Tiny beads or sequins can act as ornaments, and they’re easy to attach using a needle and thread. For a more traditional look, add small bows made from satin ribbon or crochet mini stars and snowflakes to hang on your tree.
You can also crochet a garland using chain stitches or small colorful balls. Wrap it gently around the tree for a lovely finishing touch. Another great idea is to add a star to the top—either crocheted in gold yarn or made from felt or paper for contrast.
If you’re aiming for a rustic theme, use natural elements like wooden beads or twine bows. For a modern twist, go metallic—silver and gold yarns add a touch of sparkle that’s perfect for contemporary decor.
Your DIY Crochet Christmas Tree – Pattern can also be used in different ways: as a centerpiece, part of a holiday mantel display, or even as a handmade gift tag. The versatility makes this project even more rewarding.
Remember, there are no strict rules when it comes to decorating—only your imagination limits you. Each tree becomes a special creation filled with warmth, love, and the joy of handmade art.
If this is your first time making a DIY Crochet Christmas Tree – Pattern, don’t worry—it’s easier than it looks. With a bit of patience and practice, you’ll quickly get the hang of it. Here are some valuable tips and creative variations to explore.
Start simple. If you’re new to crochet, begin with basic single crochet stitches before trying textured designs. Once you feel confident, you can add shell or puff stitches to create layered branches.
Use stitch markers to keep track of your rounds. It’s a small tool that makes a big difference, especially when working in continuous rounds. Losing count of stitches can distort the shape of your tree.
Experiment with yarn textures. A fuzzy yarn gives your tree a snowy appearance, while a smooth cotton yarn provides a cleaner and more defined look. You can even use variegated yarn for a gradient color effect.
Vary the sizes. Make a set of trees in different heights—small, medium, and large—to create a lovely forest-like display. They look beautiful grouped together on a table or shelf.
Add lighting. Tiny battery-operated fairy lights can make your crocheted trees sparkle at night. Just be sure to use cool LED lights that won’t heat up or damage the yarn.
And finally, enjoy the process. Crocheting is about relaxation, creativity, and joy. Your DIY Crochet Christmas Tree – Pattern doesn’t have to be perfect—it just has to come from the heart.
1. What yarn is best for the DIY Crochet Christmas Tree – Pattern?
Medium-weight acrylic yarn works best because it’s sturdy and keeps the tree’s shape well. You can also use cotton or wool for a different texture.
2. Can beginners make this project?
Absolutely! The pattern is simple enough for beginners, and it’s a great way to practice working in the round and learning increases.
3. How long does it take to make one crochet Christmas tree?
Depending on your skill level and the size of the tree, it usually takes between two to four hours to complete.
4. Can I make the tree without stuffing?
Yes! If you want a flat or collapsible design, skip the stuffing and just block it lightly to maintain its shape.
5. How can I wash or clean my crocheted Christmas tree?
Hand wash gently in cold water and lay flat to dry. Avoid wringing or twisting to preserve its shape.
6. Can I sell the finished trees?
Yes, handmade crochet items like this are popular at holiday markets or online craft stores. Just make sure to credit your inspiration source if required.
Creating your own DIY Crochet Christmas Tree – Pattern is a joyful and fulfilling experience that brings warmth and creativity into your home. From choosing your materials to decorating the final piece, every step allows you to express your personality and love for handmade crafts. Whether you make it for yourself or as a heartfelt gift, this crochet project will become a treasured part of your holiday tradition.
We hope this tutorial inspired you to try making your own crochet Christmas tree this season. If you enjoyed this guide, please leave your honest opinion and suggestions below—we’d love to hear your thoughts and see how your creations turned out!


