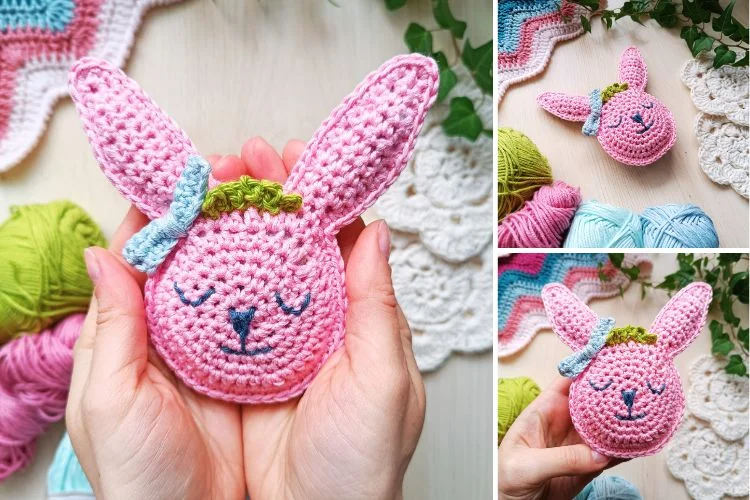
Ragdoll Bunny Amigurumi - Crochet Pattern
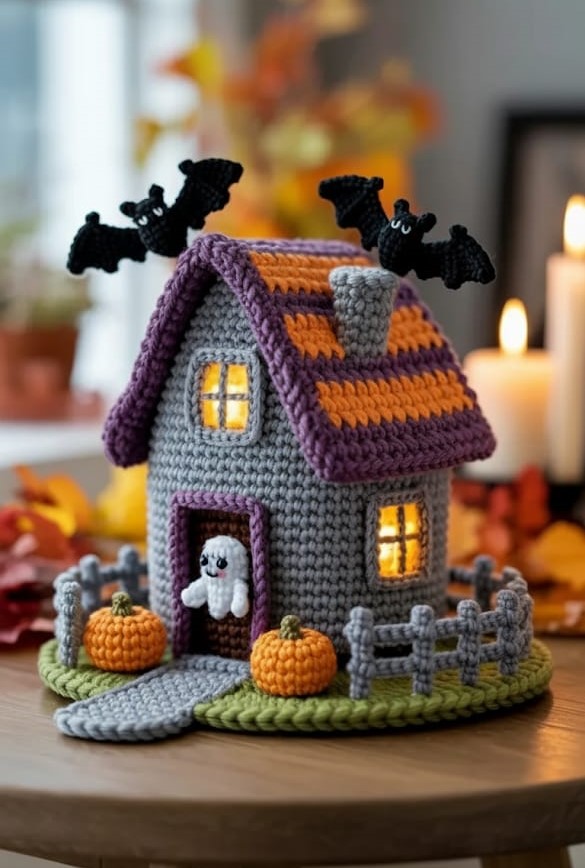
If you are looking for a creative and spooky project to celebrate the Halloween season, the Amigurumi Haunted Halloween House – Crochet Pattern is the perfect idea. This project combines the fun of amigurumi with the playful atmosphere of Halloween, bringing together unique textures, shapes, and details. The result is a charming crochet decoration that can become the centerpiece of your seasonal décor or a thoughtful handmade gift.
The Amigurumi Haunted Halloween House – Crochet Pattern is beginner-friendly yet versatile enough for advanced crocheters who want to add their own creative twists. With just a few basic stitches and some imagination, you can craft a miniature haunted house filled with spooky character. Whether you decorate it with tiny bats, ghosts, or pumpkins, each piece will bring life to your Halloween setup in a fun and personal way.
In this article, we will explore how to create the Amigurumi Haunted Halloween House – Crochet Pattern, the essential materials, creative techniques, and finishing details to help your project look magical. We will also answer the most common questions about this pattern and give you helpful tips to make the process smooth and enjoyable.
The first step to creating your Amigurumi Haunted Halloween House – Crochet Pattern is gathering the right materials. A spooky house needs a sturdy foundation, so cotton yarn or acrylic yarn is highly recommended. Choose colors like black, gray, orange, purple, and green to reflect the spirit of Halloween. Using a smaller crochet hook than suggested on the yarn label will help you achieve a tight fabric, making your haunted house stand upright without losing shape.
Next, prepare the stuffing material. Polyester fiberfill works perfectly for amigurumi projects because it is lightweight and allows the shape to hold firm. For parts of the haunted house that require more stability, such as the base or the roof, you can also insert cardboard or plastic canvas to help the structure stand tall. This extra step ensures your house won’t collapse, and it will look more like a real spooky cottage.
Another essential step is to prepare your workspace. Working on amigurumi requires focus and patience, so having good lighting and organized tools will make the process enjoyable. Keep your scissors, stitch markers, yarn needles, and stuffing close at hand. Having everything ready makes the creative flow smoother, and you will avoid interruptions.
Once you have your materials, it is time to review the basic stitches. The most common ones used in the Amigurumi Haunted Halloween House – Crochet Pattern are the magic ring, single crochet, slip stitch, and increase or decrease stitches. These simple techniques allow you to shape different parts of the haunted house, from the walls and roof to tiny ghost or pumpkin decorations.
To make your haunted house extra unique, you can prepare some embellishments. Felt pieces, embroidery thread, or safety eyes can be used to add windows, doors, or spooky faces to your amigurumi. These details are what transform a simple crochet project into a Halloween treasure.
Lastly, don’t forget to set the mood! Playing some Halloween-themed music or enjoying a cozy drink while you crochet can turn the entire process into a festive and relaxing experience. After all, the joy of making a handmade item comes not just from the finished product but from the journey of creating it.
The structure of the Amigurumi Haunted Halloween House – Crochet Pattern begins with the base. Typically, the base is a circular or rectangular shape, crocheted in continuous rounds. This foundation supports the entire house and should be firm. Using a flat stitch technique, such as single crochet increases, ensures that the base does not curl up and remains stable.
After creating the base, the walls are worked upward in rounds or rows. This step is similar to building a real house—starting from the bottom and going upward. The walls should be crocheted tightly to maintain their upright position. You can alternate colors for each round, such as gray walls with black accents, to enhance the spooky look.
The roof is one of the most exciting parts of this project. Many crocheters choose to create a pointed or slanted roof to match the haunted theme. Crochet increases and decreases are used strategically to form a triangular or cone-shaped top. Adding a contrasting color, like deep purple or orange, makes the roof stand out.
Once the main structure is complete, you can join the pieces together. The base, walls, and roof can be stitched or crocheted together with invisible seams. Strong joining is important to make sure your haunted house doesn’t wobble. This part of the process may require patience, but the result is worth it.
To give your haunted house character, you can add crocheted windows and doors. Small square or oval shapes, worked separately and sewn onto the walls, create the illusion of openings. Using embroidery thread, you can add crosshatch details to the windows to make them look old and spooky.
Finally, add structural support where necessary. If you feel that the walls are too soft, inserting a piece of plastic canvas or cardboard between the crochet layers will help maintain the shape. This simple trick ensures that your Amigurumi Haunted Halloween House – Crochet Pattern will look professional and last for many Halloweens to come.
Once your house structure is complete, it’s time to add the magical details that make the Amigurumi Haunted Halloween House – Crochet Pattern come alive. Decorations are what bring charm and creativity to the project, transforming it from a simple structure into a spooky masterpiece.
Start by crocheting small pumpkins. These tiny accents can be made with orange yarn and a touch of green for the stem. Scatter them around the base of the house, and they will give a harvest-season feel to your design.
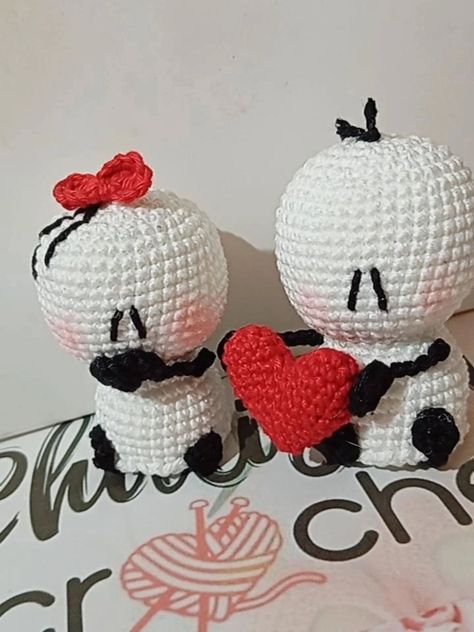
You can also crochet little bats or ghosts to hang around the roof or windows. Small amigurumi figures like these are quick to make and add personality. Ghosts can be shaped using white yarn and a simple sphere design, while bats require wings crocheted separately and attached to a small oval body.
Spiders and cobwebs are another great addition. You can crochet a miniature spider using black yarn and add legs with embroidery thread. To make cobwebs, simply weave thin strands of white yarn across the windows or roof. This creates a truly haunted effect.
If you want your house to stand out even more, consider adding a crocheted witch hat on the roof or a small black cat sitting near the door. These creative elements make your amigurumi house not only spooky but also playful.
Lighting can also make your haunted house more special. Inserting a battery-powered tea light inside the structure allows the windows to glow at night, adding a magical touch. Just be sure to use safe, non-heating lights to protect your crochet work.
Remember, the beauty of amigurumi is in the details. Each little addition makes your haunted house unique, and you can customize it to fit your personal Halloween style. The more effort you put into the small decorations, the more impressive your project will look.
Finishing your Amigurumi Haunted Halloween House – Crochet Pattern properly is as important as building it. The first step is weaving in all the loose yarn ends. This will give your project a neat and polished look. A yarn needle works best for hiding the threads inside the fabric.
Blocking can also help your project look more professional. Although not always necessary for amigurumi, gently shaping the house with a bit of steam or water spray can help straighten edges and even out stitches. This ensures that your haunted house looks sturdy and even.
When it comes to displaying your haunted house, think about placement. You can place it on a mantelpiece, in the center of your dining table, or even on a decorated Halloween shelf. It can also be used as part of a spooky village scene if you enjoy collecting handmade decorations.
Adding a base scene can enhance your display. Crochet a small round mat in green or black to place under the house. Decorate the mat with additional pumpkins, ghosts, or tiny gravestones. This extra effort makes your haunted house look like part of a complete story.
Storage is another important consideration. Since you will likely use the Amigurumi Haunted Halloween House – Crochet Pattern year after year, store it in a dry, cool place to prevent damage. Placing it in a sealed box or bag keeps dust and moisture away.
Finally, enjoy the compliments! Handmade crochet projects like this always attract attention and admiration. Whether you keep it for yourself or gift it to a friend, your haunted house will be remembered as a creative and festive piece of art.
1. Is the Amigurumi Haunted Halloween House – Crochet Pattern suitable for beginners?
Yes, this project uses mostly basic stitches, but beginners should be comfortable with single crochet, increases, and decreases. Patience is key, especially when assembling the parts.
2. How long does it take to complete this haunted house?
The time depends on your crochet speed, but on average, it can take anywhere from a few days to a week, especially if you add many small decorations.
3. What kind of yarn is best for this project?
Cotton yarn or acrylic yarn works best because they hold their shape well. Avoid very soft or fuzzy yarns, as they make details less visible.
4. Can I customize the colors?
Absolutely! While traditional Halloween colors are black, orange, purple, and green, you can choose any palette that matches your personal décor.
5. Do I need to use stuffing for the whole house?
Not necessarily. The walls and roof may need stuffing for stability, but you can also reinforce them with cardboard or plastic canvas for a stronger structure.
6. Can the haunted house be washed?
It’s best to spot clean it with a damp cloth, as washing might distort the structure. Always store it properly to keep it looking fresh.
The Amigurumi Haunted Halloween House – Crochet Pattern is a fun, creative, and festive project that brings the magic of Halloween into your home. From building the structure to adding tiny spooky details, every step allows you to enjoy the art of crochet while crafting something unique. With the tips and guidance shared in this article, you can create a haunted house that will impress family and friends year after year.
I would love to hear your thoughts! Share your opinion about this tutorial and leave suggestions for future crochet projects. Your feedback helps make each guide better and more inspiring for everyone.

