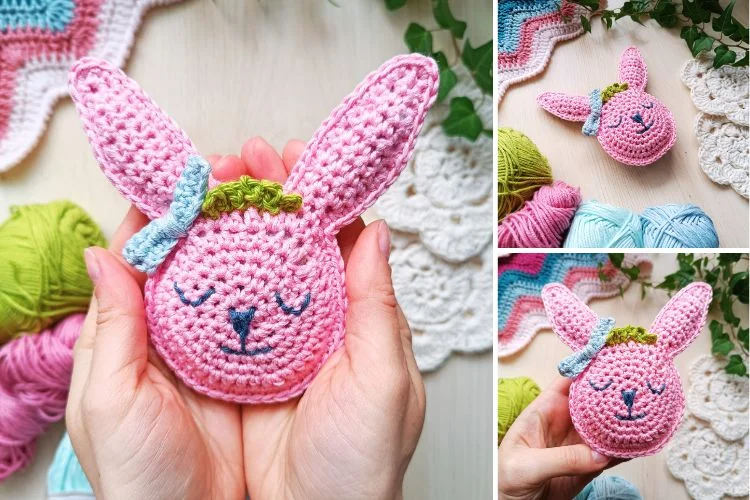
Ragdoll Bunny Amigurumi - Crochet Pattern
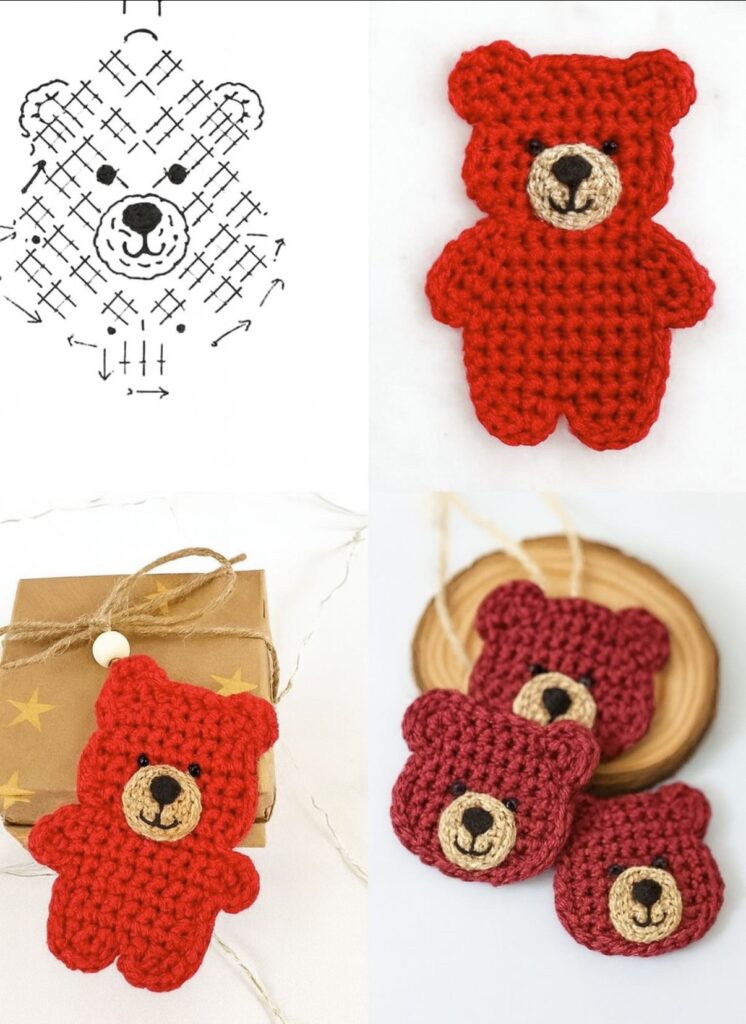
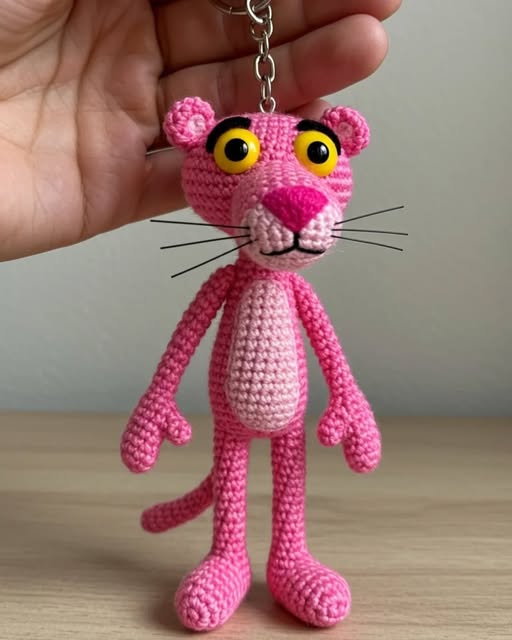
If you have ever wondered HOW TO MAKE A TEDDY BEAR KEYCHAIN – Crochet Pattern, you are in the right place. This adorable little project is perfect for beginners and experienced crocheters alike. Not only is it a fun way to practice your crochet skills, but it also results in a sweet and practical accessory that can be gifted or used for your own keys, bags, or backpacks.
Learning HOW TO MAKE A TEDDY BEAR KEYCHAIN – Crochet Pattern allows you to combine creativity with functionality. By working on this project, you’ll get hands-on experience with shaping small crochet pieces, stitching them together, and adding charming details that bring your teddy bear to life. It is a project that doesn’t take much time but offers great satisfaction once finished.
In this article, I’ll guide you step-by-step through the process. We’ll explore materials, essential techniques, assembling, and decorative touches. Whether you are new to crochet or a seasoned crafter, this tutorial will help you confidently create your own keychain. By the end, you’ll not only know HOW TO MAKE A TEDDY BEAR KEYCHAIN – Crochet Pattern, but also how to personalize it to match your style.
To begin HOW TO MAKE A TEDDY BEAR KEYCHAIN – Crochet Pattern, the first step is to gather the right materials. Having everything prepared will make the process smoother and more enjoyable.
You will need a small amount of yarn. Acrylic or cotton yarn works well for this project. Cotton yarn creates a clean finish, while acrylic adds softness. Choose neutral tones like brown or beige for a classic teddy bear look, or opt for bright, fun colors if you prefer a playful version.
Next, select the right crochet hook. For keychain-sized projects, smaller hooks are recommended. A 2.5 mm or 3 mm hook usually gives tight stitches that hold the shape of your teddy bear securely. Tight stitches are important so that the stuffing does not show through.
You’ll also need some stuffing. Polyester fiberfill is ideal since it is lightweight and easy to work with. Just a small amount will be enough to fill the tiny body parts of the teddy bear.
Don’t forget safety eyes or embroidery thread for the face. Safety eyes give your bear a polished look, while embroidery allows for a handmade touch that is safe for children. Both options work well, so it comes down to your preference.
Finally, you’ll need a keychain ring and a strong yarn needle for sewing the pieces together. Once you have these items ready, you are set to start crocheting your miniature teddy bear.
To learn HOW TO MAKE A TEDDY BEAR KEYCHAIN – Crochet Pattern, you need to be familiar with a few basic stitches. Luckily, the project requires only simple techniques, making it beginner-friendly.
The first essential stitch is the magic ring. This technique allows you to start crocheting in the round, which is crucial for creating the teddy bear’s head and body. With practice, you’ll find that the magic ring provides a neat and professional start.
Single crochet is the main stitch used. It creates a dense and sturdy fabric, perfect for stuffed crochet items. When working in rounds, single crochet stitches help maintain the shape of small projects.
Increasing and decreasing stitches are also important. An increase is made by adding two stitches into the same space, while a decrease combines two stitches together. These techniques help shape the bear’s head, ears, and body.
Stitch markers are very useful for this project. Since you’ll be working in continuous rounds, placing a marker at the start of each round ensures you don’t lose track of your progress.
Slip stitches are used to close rounds or finish pieces neatly. They are also helpful when attaching ears or other small parts.
Once you are comfortable with these stitches, you’ll be ready to follow the pattern and bring your teddy bear keychain to life.
When making HOW TO MAKE A TEDDY BEAR KEYCHAIN – Crochet Pattern, assembling is just as important as crocheting. Proper assembly ensures your bear looks neat and sturdy.
Start by crocheting each part separately. The main pieces include the head, body, arms, ears, and legs. Each piece is stuffed lightly before being sewn together. Avoid overstuffing since the keychain needs to remain lightweight.
Attach the head to the body first. This creates the base of the teddy bear. Use a yarn needle to sew carefully, making sure the stitches are tight and invisible.
Next, add the ears. Position them symmetrically on top of the head for a balanced look. Small details like the ears bring out the teddy bear’s charm.
The arms and legs are added afterward. Place them evenly on the sides of the body to keep the bear’s proportions. Secure them firmly so they don’t move when the keychain is in use.
Once the teddy bear is assembled, you can attach the keychain ring. Insert the ring into the top of the head, making sure it is firmly secured. Now your teddy bear is ready to accompany your keys or bag.
The final step is to add facial features. If you’re using safety eyes, attach them before stuffing the head. If embroidering, use black yarn or embroidery thread to stitch the eyes, nose, and mouth. This gives your teddy bear personality and expression.
One of the most enjoyable aspects of HOW TO MAKE A TEDDY BEAR KEYCHAIN – Crochet Pattern is personalizing your project. With creativity, no two teddy bears need to look alike.
You can play with colors. Instead of classic brown, try pastel pink, blue, or even bright rainbow yarns for a unique twist. The color choice makes your keychain stand out and reflect your personal style.
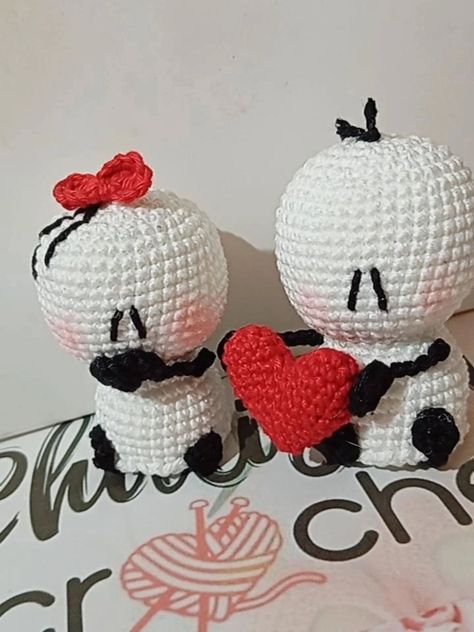
Adding accessories is another fun idea. A tiny scarf, bow, or hat can completely change the teddy bear’s appearance. These details also make the project more special if you’re giving it as a gift.
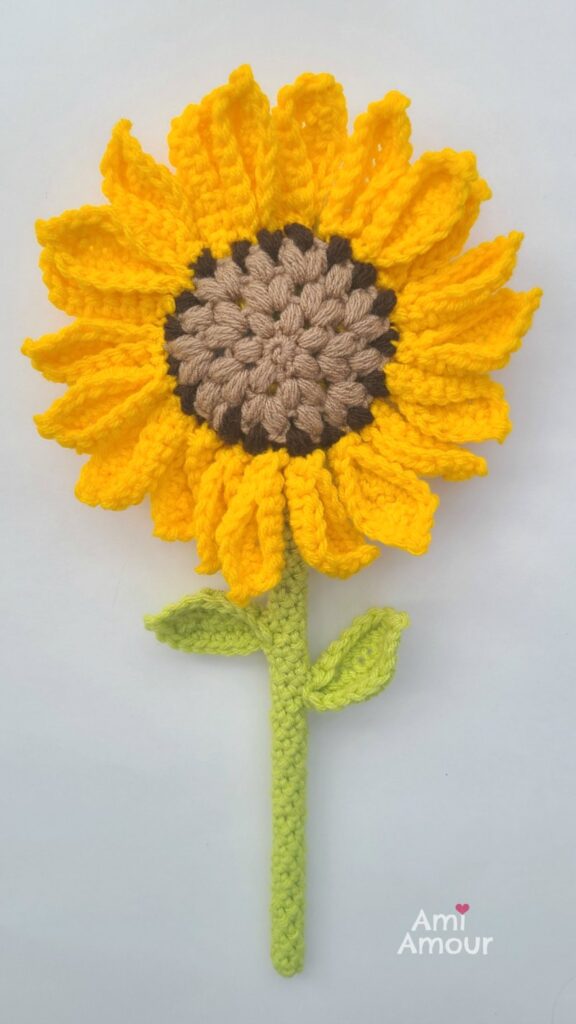
Experiment with textures by using different yarns. Chenille or velvet yarns make the teddy bear extra soft and plush. Cotton yarn keeps it neat and defined, while variegated yarns create interesting patterns naturally.
You can also adjust the size. Using thinner yarn and a smaller hook will result in an even tinier teddy bear, while thicker yarn makes it larger. Both versions work well as keychains or bag charms.
Finally, try making sets. A collection of teddy bear keychains in different colors and styles can be a fun project and even an opportunity to sell handmade items. Customization is the key to making each piece unique and meaningful.
Q1: Is this project suitable for beginners?
Yes, it is. The stitches involved are simple, making it a great starting point for beginners who want to practice crocheting in the round.
Q2: How long does it take to finish a teddy bear keychain?
On average, it takes about 2–3 hours depending on your crochet speed and experience level.
Q3: Can I use leftover yarn for this project?
Absolutely. Since it requires only a small amount of yarn, it is an excellent way to use up scraps from other crochet projects.
Q4: Do I need special tools for attaching the keychain?
No special tools are required. A yarn needle and a standard keychain ring are enough to secure the teddy bear.
Q5: How do I clean the teddy bear keychain?
It’s best to spot clean it with a damp cloth. Avoid machine washing to maintain its shape and durability.
Q6: Can children use this keychain?
Yes, but if making it for small children, avoid using safety eyes and instead embroider the facial features for safety reasons.
Now you know exactly HOW TO MAKE A TEDDY BEAR KEYCHAIN – Crochet Pattern from start to finish. We explored materials, stitches, assembly, and creative personalization. This project is quick, enjoyable, and makes a wonderful handmade accessory or gift.
I hope this guide inspires you to create your own unique teddy bear keychain. If you try this pattern, I would love to hear your thoughts. Please leave a sincere opinion and share any suggestions you may have. Your feedback helps improve future tutorials and inspires others to start their own crochet journey.
