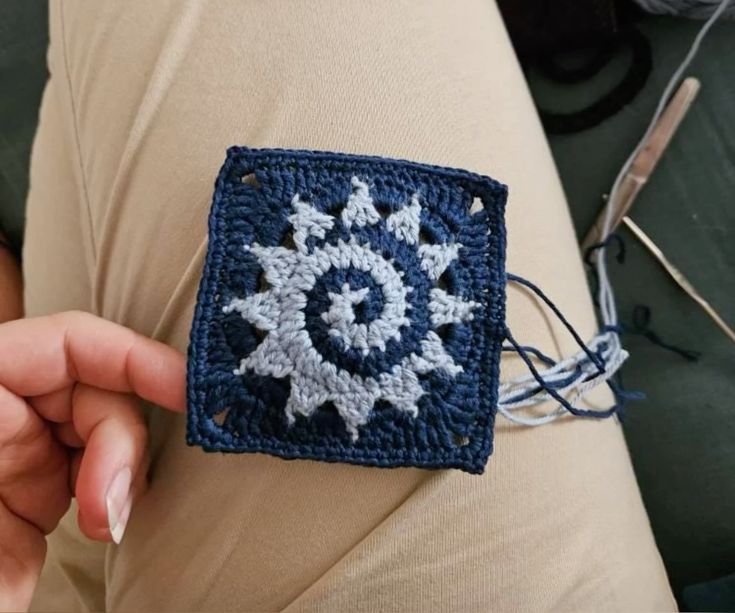
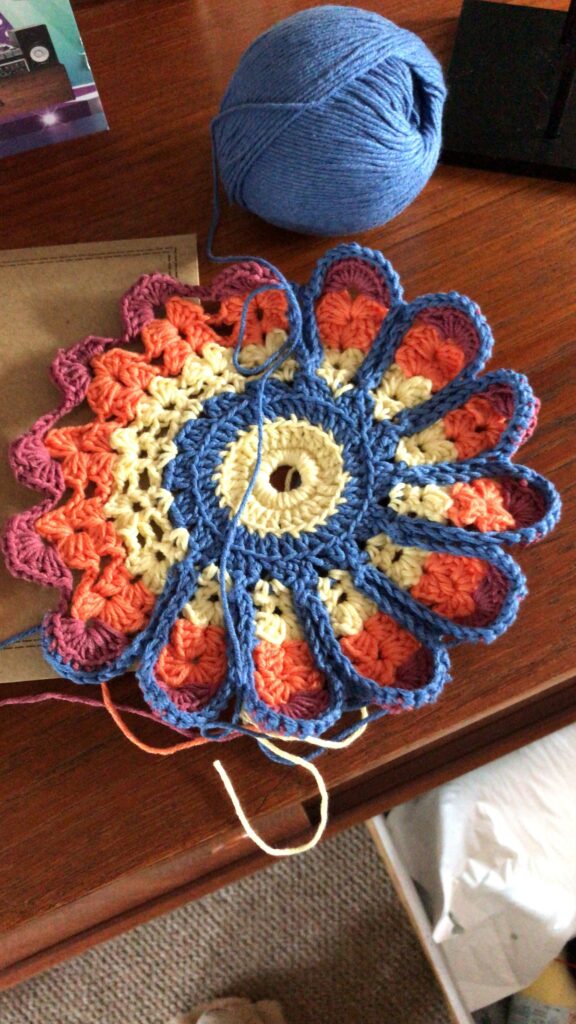
Crochet Spiral Sun Granny Square - Pattern
If you love stylish and easy-to-make crochet accessories, learning how to Crochet a Bandana – Crochet Pattern is a perfect project for you. A crocheted bandana is not only trendy but also practical, giving you the perfect opportunity to express your creativity through colors, stitches, and patterns. Whether you’re a beginner or an experienced crafter, this guide will walk you through everything you need to know to create your own unique crochet bandana, from choosing yarns to adding personal touches that make your project stand out.
The beauty of a Crochet Bandana lies in its simplicity and versatility. You can wear it as a headscarf, neck accessory, or even tie it around your handbag for a cute, boho touch. Handmade crochet bandanas also make lovely gifts, showing off your care and craftsmanship. Plus, they’re small enough to finish in one sitting, making this a fun and rewarding project for all skill levels.
In this detailed Crochet a Bandana – Crochet Pattern tutorial, you’ll learn how to select materials, read pattern instructions, and crochet your bandana with precision and ease. Let’s dive into this creative journey together, exploring each step to ensure your bandana turns out beautifully, stylishly, and full of charm.
When starting your Crochet a Bandana – Crochet Pattern, the first step is selecting the right materials. This will make a huge difference in the texture, drape, and overall look of your finished piece.
For yarn, choose a lightweight cotton or bamboo yarn. These fibers are breathable, soft, and perfect for wearable crochet items. Cotton is especially ideal for summer use because it keeps you cool while providing structure to your bandana. Wool, on the other hand, is great for colder months when you need extra warmth.
Next, select an appropriate crochet hook size. Usually, a 3.5mm to 4.5mm hook works best for bandanas, depending on your yarn’s thickness. Always check your yarn label for recommended hook sizes to ensure the best tension and stitch definition.
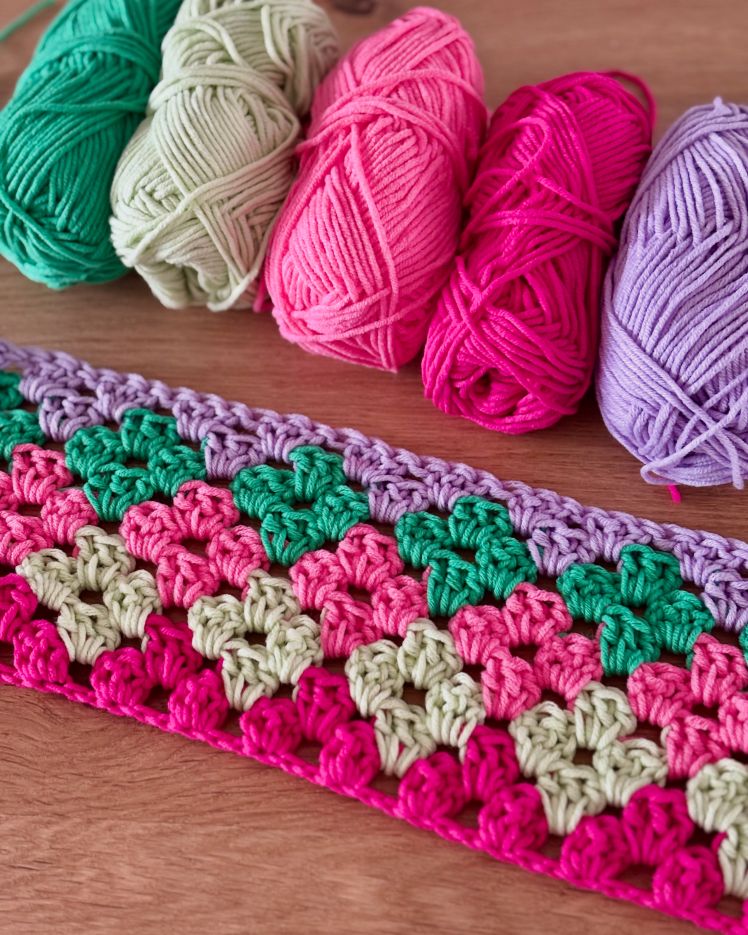
Color selection is another fun part of the process. You can stick to solid shades for a clean, classic look or experiment with variegated yarns for a colorful gradient effect. Earth tones like beige, olive, and rust are trendy choices for a bohemian vibe, while pastel colors give a soft, feminine appearance.
Before beginning, make sure you have a pair of scissors, a tapestry needle, and some stitch markers handy. These simple tools help you achieve neat edges, secure ends, and maintain stitch consistency.
Finally, don’t forget to do a gauge swatch. This small test piece helps you determine if your stitches match the pattern’s measurements. If your swatch is too tight, use a larger hook; if too loose, switch to a smaller one. This ensures that your finished bandana fits perfectly every time.
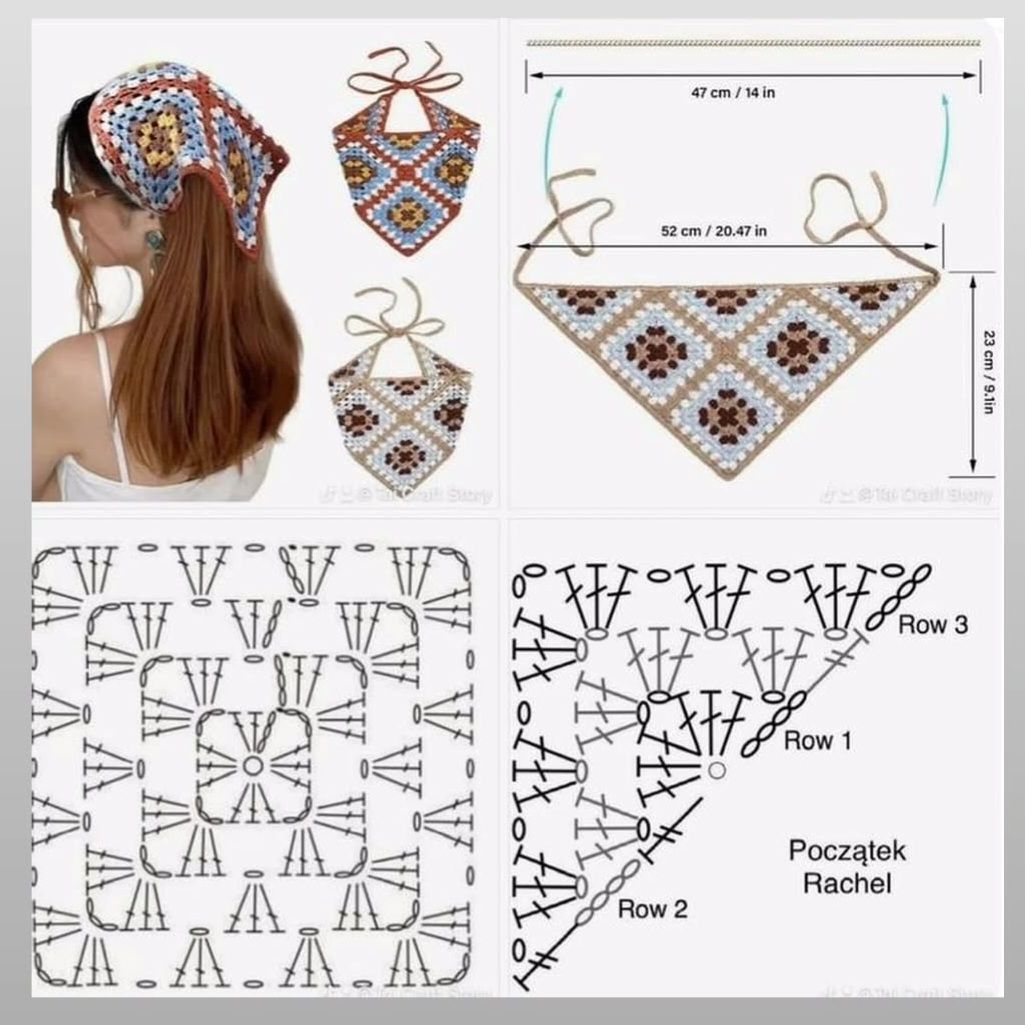
Now that you have your materials ready, let’s begin the process of crafting your Crochet a Bandana – Crochet Pattern. The pattern typically starts at the bottom point of the triangle and grows wider as you add rows.
Begin by chaining four stitches and slip-stitching into the first chain to form a small ring. Then, work three double crochets (DC) into the center of the ring. This creates the foundation of your bandana.
For the next row, chain three (counts as your first DC), turn your work, and place two DC in the first stitch, then one DC in the next, followed by two DC in the last stitch. This increases the width of your triangle.
Continue increasing in each row by adding two double crochets in the first and last stitches. This pattern helps your triangle shape form beautifully and evenly. You’ll notice your bandana growing row by row, transforming into a stylish accessory.
You can make your bandana as large or small as you prefer. A typical adult size measures about 16 inches along the top edge and 10 inches from the top to the point. If you want a larger or smaller version, simply continue or stop crocheting once you reach your desired measurement.
Once your triangle is complete, it’s time to create the tie straps. Chain about 30–40 stitches on each side of the bandana’s top corners. This will allow you to tie the bandana comfortably around your head or neck.
To finish off, add a border row around the edges. You can use single crochet stitches for a clean, polished look, or shell stitches for a decorative edge. Fasten off, weave in the yarn ends neatly, and your bandana is ready to wear!
A wonderful part of working on the Crochet a Bandana – Crochet Pattern is that you can personalize it to match your style. From stitch patterns to embellishments, there are endless ways to make your creation unique.
Try using different stitch techniques, such as granny stitch, mesh stitch, or puff stitch, to create texture and visual interest. Each stitch style adds its own character, transforming your bandana from simple to stunning.
If you enjoy colorwork, experiment with striped designs or color blocking. Alternate colors every few rows for a striped look or split your bandana into two halves with contrasting shades. Using a color-changing yarn also adds a gradient effect without having to switch skeins.
Add a touch of flair with embellishments. Consider sewing on small crochet flowers, beads, or even fringe tassels at the ends of your bandana ties. These details make your accessory more charming and eye-catching.
You can also adapt the Crochet Bandana Pattern for various uses. For example, crochet a smaller version to use as a pet bandana, or a larger one to wear as a shoulder scarf. The versatility of this pattern makes it an excellent addition to your crochet repertoire.
When styling your finished piece, wear it folded over your forehead for a classic look, or tie it loosely around your neck for a casual, chic vibe. You can even wrap it around your ponytail for a playful accessory that complements any outfit.
Lastly, don’t hesitate to gift your handmade bandanas. They’re thoughtful presents for friends and family, showing off your skill and creativity while offering something practical and stylish.
After completing your Crochet a Bandana – Crochet Pattern, proper care will ensure that your beautiful creation lasts for years. Handmade crochet pieces deserve gentle handling to maintain their texture and shape.
Always hand wash your crochet bandana in cool or lukewarm water using mild detergent. Avoid harsh chemicals or bleach, as they can weaken the yarn fibers and fade colors. Swish gently and avoid wringing or twisting.
After washing, press the water out with a towel and lay your bandana flat on a clean, dry surface. Reshape it gently, making sure the triangle maintains its form. Let it air dry completely before wearing or storing.
If your yarn allows, you can lightly steam-block your bandana. This process helps smooth out wrinkles and enhances the stitch definition. Always check your yarn label to confirm if it can be ironed or steamed safely.
Store your crochet bandana in a cool, dry place away from direct sunlight. Folding it neatly or hanging it on a soft hook keeps it looking fresh and prevents stretching.
By following these care steps, your Crochet Bandana will stay beautiful, soft, and durable. It’s a small effort that ensures your handmade piece remains a favorite accessory season after season.
1. What is the best yarn for a crochet bandana?
The best yarns are lightweight and breathable, such as cotton or bamboo. They’re comfortable to wear and hold their shape well.
2. Can beginners make a crochet bandana?
Yes! A Crochet a Bandana – Crochet Pattern is beginner-friendly, requiring only basic stitches like chain, single crochet, and double crochet.
3. How long does it take to crochet a bandana?
Depending on your skill level and pattern complexity, it can take between one and three hours to complete.
4. How can I make my bandana larger or smaller?
Simply continue increasing rows to make it larger or stop earlier for a smaller size. The pattern is easily adjustable.
5. Can I use acrylic yarn for a crochet bandana?
You can, but acrylic yarn is less breathable. It’s better for cooler climates or decorative bandanas.
6. How do I make my bandana ties stronger?
Use tight chain stitches and reinforce them with a row of slip stitches to make them durable and less stretchy.
7. What stitch looks best for crochet bandanas?
Double crochet, mesh, and granny stitches are all great options. They provide texture, flexibility, and a stylish appearance.
8. Can I sell bandanas made from this pattern?
Absolutely! Handmade crochet bandanas are popular items at craft fairs and online shops. Just be sure to credit the original pattern source if applicable.
Learning how to Crochet a Bandana – Crochet Pattern is an enjoyable and fulfilling project that lets you blend creativity, comfort, and fashion. From choosing the right yarns to mastering simple stitches, you now have all the steps to create your own beautiful and functional accessory. Whether you make it for yourself or as a heartfelt gift, a crochet bandana is a timeless piece that never goes out of style.
I hope this tutorial inspired you to pick up your hook and start your next handmade masterpiece. What did you think of this pattern? Share your experience and let me know how your Crochet Bandana turned out!