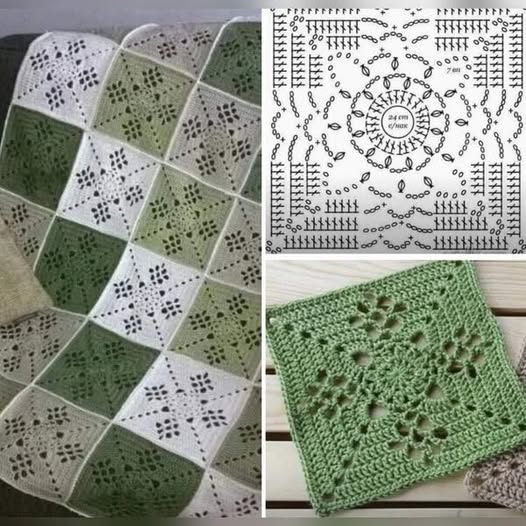
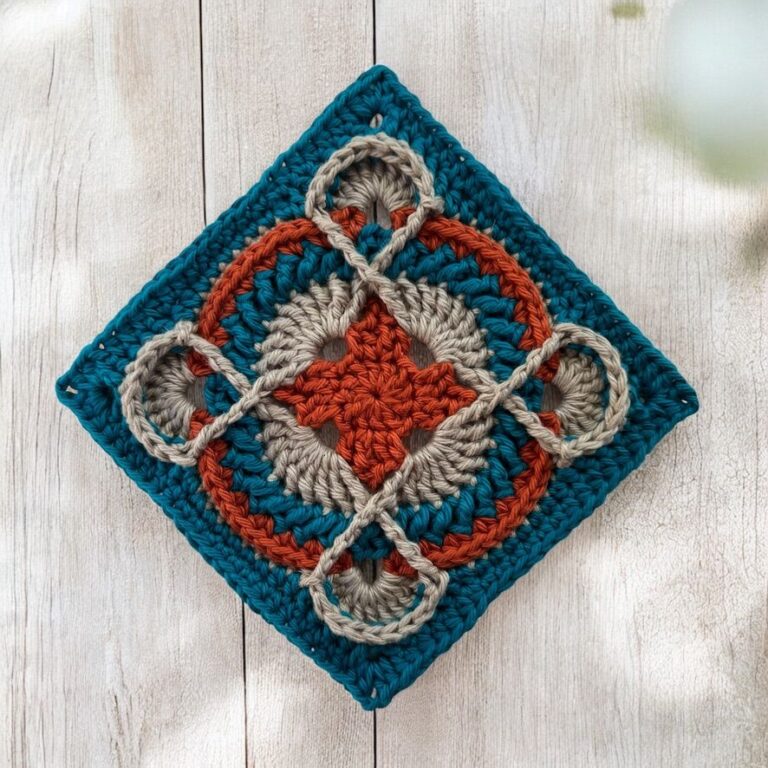
Victorian-Style Lattice Crochet Square - Pattern
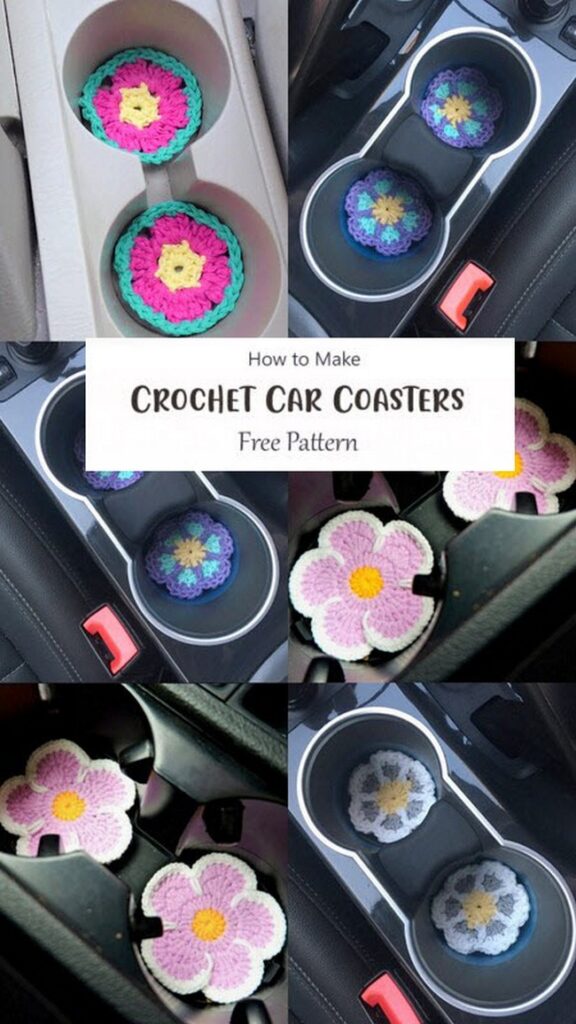
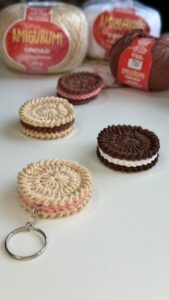
Crochet Car Coasters: A Step-by-Step Guide – Crochet Pattern is one of the most fun and practical projects for crochet enthusiasts who enjoy combining creativity with functionality. These little handmade accessories not only add charm to your car’s interior but also serve the practical purpose of keeping cup holders neat and tidy. Whether you are new to crochet or an experienced crafter, this guide will take you through everything you need to know about creating your very own car coasters.
The appeal of crochet car coasters lies in their versatility. You can personalize them to match your style, use leftover yarn from bigger projects, or even create themed sets for different seasons. They make fantastic gifts as well—easy to craft in batches while showcasing your unique creativity. Best of all, this project is small and portable, meaning you can crochet in the comfort of your home or while on the go.
In this Crochet Car Coasters: A Step-by-Step Guide – Crochet Pattern, we will explore the materials you need, walk through the essential stitches, outline a clear process, and provide tips for customization. Along the way, we will also discuss why this project is such a wonderful addition to your crochet repertoire. Let’s dive into the process and discover how to turn simple yarn into a stylish accessory that brightens up your daily drive.
To begin the Crochet Car Coasters: A Step-by-Step Guide – Crochet Pattern, you will first need to gather the right supplies. Choosing quality materials ensures that your coasters are durable and long-lasting. For this project, cotton yarn is highly recommended because it is absorbent, easy to wash, and sturdy enough for everyday use in a car environment.
The hook size you choose depends on your yarn thickness. Generally, a size H/8 (5.0 mm) crochet hook works well with medium-weight cotton yarn. However, always check your yarn label for the suggested hook size to achieve the best results. The key is to create a tight stitch so that the coasters hold their shape and fit snugly into your car’s cup holders.
You will also need a pair of sharp scissors to cut your yarn neatly and a yarn needle for weaving in ends. Stitch markers are optional but can be helpful in keeping track of rounds, especially if you are a beginner. Having everything ready before starting will make the process smoother and more enjoyable.
Selecting your color palette is another exciting step. You can go for solid, neutral tones for a sleek look, or experiment with bold colors and variegated yarns for a playful effect. Many people enjoy making seasonal sets, such as bright florals for spring or deep, cozy tones for autumn. This allows you to refresh the interior of your car with just a quick swap of coasters.
Another point to consider is the size of your car’s cup holders. While many patterns follow a standard diameter of about 2.75 to 3 inches, cup holder sizes can vary. It’s a good idea to measure the diameter before crocheting so that your coaster fits perfectly. Custom sizing is simple to achieve by adjusting the number of rounds.
By preparing properly with the right materials and measurements, you set yourself up for success. Once your supplies are ready, you can move confidently into the next step of crocheting your coasters with ease.
The foundation of the Crochet Car Coasters: A Step-by-Step Guide – Crochet Pattern begins with a simple magic ring or a chain loop, which will form the base circle. This starting point creates a smooth and neat look, ensuring that the coaster lays flat and evenly inside the cup holder. Beginners often find the magic ring a bit tricky, but it is worth practicing as it gives a professional finish.
Once your base loop is made, you will start crocheting in rounds. The first round usually involves single crochets or double crochets into the loop, depending on the pattern style you prefer. Keeping the stitches tight and consistent at this stage ensures that your coaster will remain firm and balanced.
As you move into subsequent rounds, the pattern will involve increasing stitches evenly around the circle. This step prevents curling or puckering and allows the coaster to expand evenly. For example, in round two you might crochet two stitches into each stitch from the first round. By round three, you begin alternating between one and two stitches per space.
When you reach the desired diameter for your coaster, you can finish off with a round of slip stitches or a decorative edging. This edging can be as simple or elaborate as you wish. A basic slip stitch finish gives a clean look, while a scalloped or picot edging adds a playful touch. The choice depends on your personal style.
After finishing the last round, cut your yarn and weave in the ends using a yarn needle. This step secures your stitches and prevents unraveling over time. Take a moment to shape your coaster with your hands, ensuring it lays flat. If needed, you can lightly block your coaster with water and let it dry flat.
Congratulations! At this point, you have a fully functional and attractive crochet car coaster. By following this step-by-step process, you’ve created a handmade item that is not only practical but also stylish.
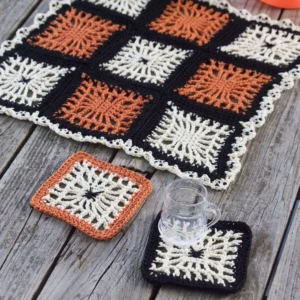
One of the best aspects of the Crochet Car Coasters: A Step-by-Step Guide – Crochet Pattern is the endless room for creativity. Once you’ve mastered the basic coaster, you can experiment with different stitch patterns to add texture and flair. For example, using puff stitches or bobble stitches creates a raised design that looks beautiful while still serving its purpose.
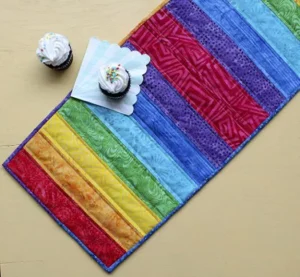
Colorwork is another way to make your coasters unique. You can try stripes, color-blocking, or even tapestry crochet to create small motifs. A set of rainbow coasters, for instance, is both cheerful and eye-catching. By alternating colors every few rows, you can produce a design that feels modern and artistic.
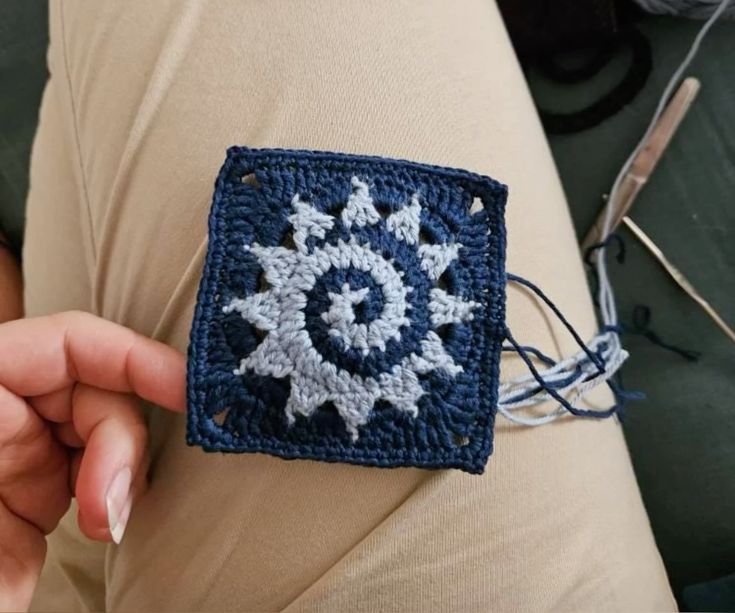
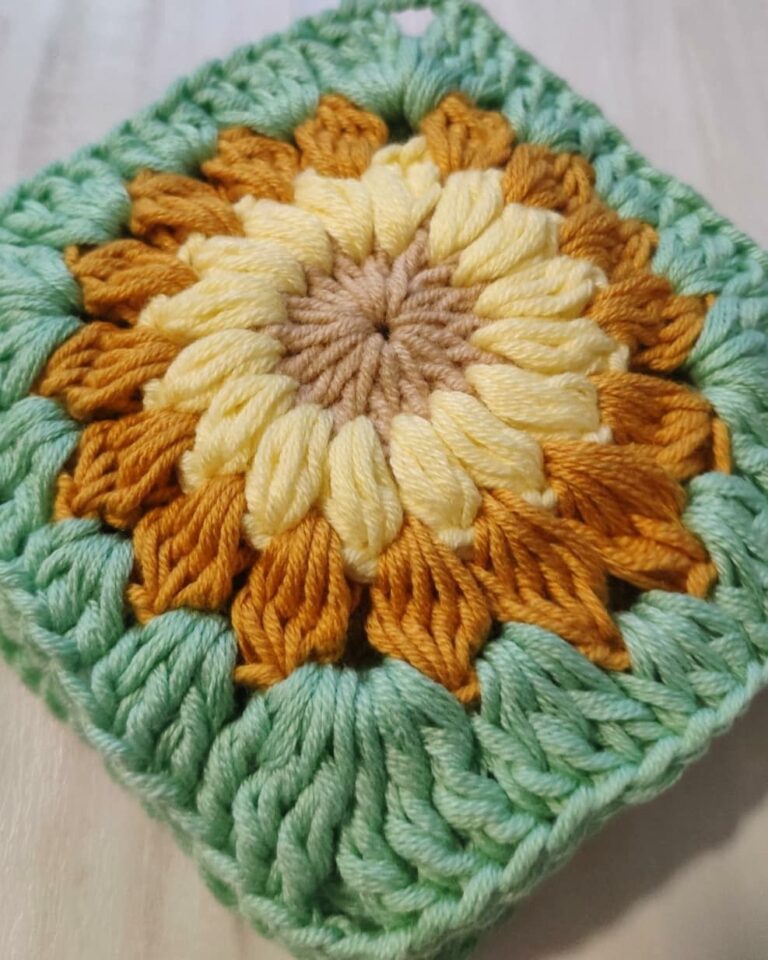
Themed coasters are especially fun. Imagine crafting snowflake motifs for winter, sunflower designs for summer, or pastel shades for springtime. These seasonal variations not only enhance the look of your car but also make great gifts for friends and family during holidays or special occasions.
Personalized touches like initials or small symbols can be added with surface crochet or embroidery after the coaster is completed. This gives your project a custom-made feel and makes it even more meaningful as a handmade gift.
If you enjoy experimenting with yarn, consider trying different fibers. While cotton is the best for absorbency, blends with bamboo or recycled yarns can also work well. Just remember to keep the coaster washable and sturdy for daily use.
By exploring creative variations, you elevate the project from a simple accessory to a personalized work of art. This keeps the craft exciting and allows you to continually find new ways to enjoy crochet.
The final step in the Crochet Car Coasters: A Step-by-Step Guide – Crochet Pattern is learning how to care for and maintain your creations. Since they are designed to absorb moisture from drinks, regular cleaning is essential. The good news is that cotton yarn makes this process simple and effective.
Most crochet car coasters can be machine-washed on a gentle cycle with mild detergent. It is best to lay them flat to dry to prevent stretching or warping. Avoid using bleach or harsh chemicals, as these can damage the fibers and dull the colors.
One of the main benefits of crocheting your own car coasters is sustainability. Instead of buying disposable or mass-produced items, you are creating a reusable, eco-friendly solution. This small change can reduce waste while adding a personal handmade touch to your lifestyle.
Another benefit is the comfort and joy that crochet brings. Many crafters find the process of making small items like car coasters relaxing and satisfying. It’s a great way to use up leftover yarn and enjoy a sense of accomplishment in a short amount of time.
Crochet car coasters also make thoughtful gifts. A handmade set shows care and attention, making it perfect for birthdays, holidays, or even as a small thank-you gift. Because they are lightweight and easy to mail, they are convenient for sharing with loved ones.
Ultimately, caring for your crochet coasters properly ensures they will last for months or even years, continuing to brighten your car and protect your cup holders. The benefits extend beyond practicality, offering a blend of creativity, sustainability, and joy.
What size should crochet car coasters be?
Most car coasters measure between 2.75 and 3 inches in diameter, but it’s best to measure your cup holder for accuracy.
What type of yarn is best for crochet car coasters?
Cotton yarn is highly recommended because it is absorbent, durable, and easy to clean.
Can I wash crochet car coasters in the washing machine?
Yes, most cotton coasters can be machine-washed on a gentle cycle, then laid flat to dry.
Do crochet car coasters fit all vehicles?
While most cars have standard cup holders, some may vary in size. You can adjust the pattern by adding or reducing rounds.
Can I make crochet car coasters with decorative stitches?
Absolutely! Puff stitches, bobbles, or textured designs can make your coasters stand out while still being functional.
Are crochet car coasters a good gift idea?
Yes, they are practical, customizable, and lightweight, making them excellent handmade gifts.
In this article, we explored Crochet Car Coasters: A Step-by-Step Guide – Crochet Pattern, covering everything from materials and preparation to step-by-step instructions, creative variations, and proper care. These small yet practical projects allow you to express creativity, add charm to your vehicle, and enjoy the many benefits of handmade crafts.
Now it’s your turn to try this fun project! Whether you make them for yourself, as gifts, or as seasonal decorations, crochet car coasters are a delightful addition to your crafting journey. I’d love to hear your honest opinions and suggestions—what variations would you like to try, and how did your coasters turn out? Share your thoughts and inspire others in their crochet adventures!

