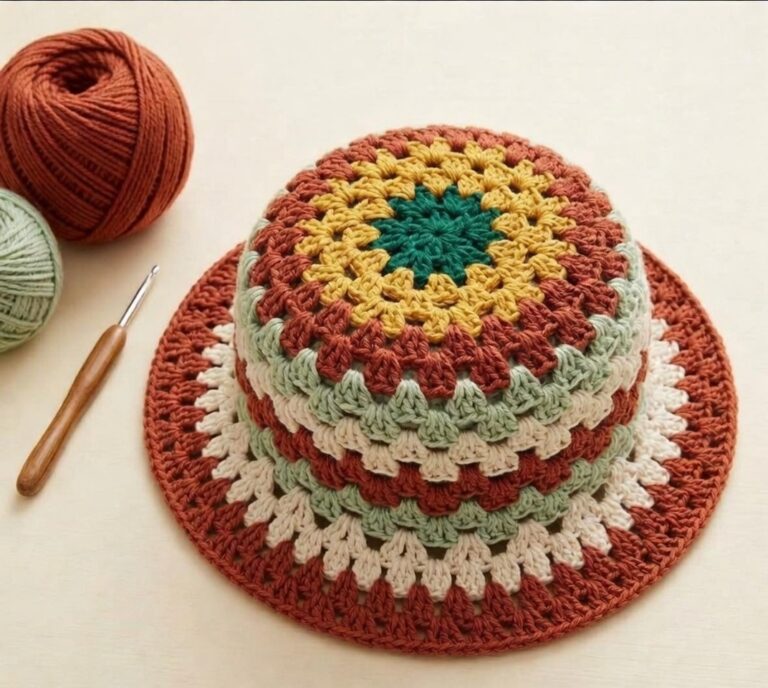
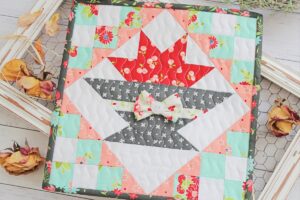
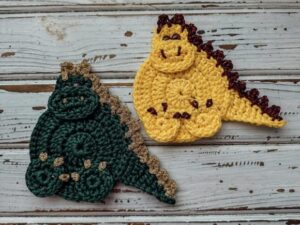
Crocheted Sun Hat Pattern
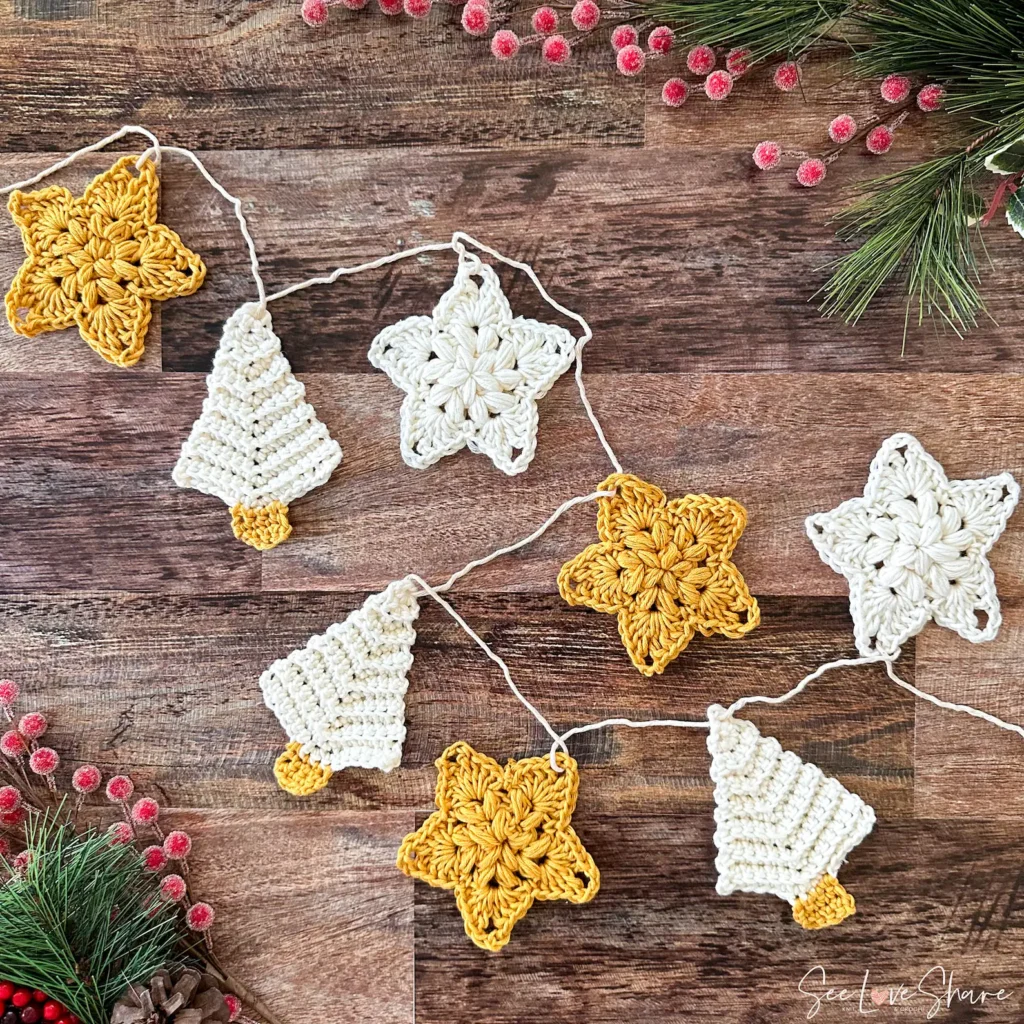
The magic of the holiday season often lies in the little handmade details that bring warmth and love into our homes. Crochet Christmas Trees and Stars – Pattern projects are the perfect way to create festive decorations that carry both beauty and meaning. Whether you’re a beginner or an experienced crocheter, these lovely patterns allow you to add a touch of handmade charm to your Christmas décor. From glittering stars that twinkle like lights to miniature crochet trees that sit perfectly on your mantel, this pattern is a must-try for anyone who enjoys crafting during the holidays.
There’s something special about decorating your home with items you’ve made yourself. Crochet Christmas Trees and Stars – Pattern offers endless creativity—choose your favorite yarns, play with colors, and make each piece uniquely yours. You can create cozy Christmas ornaments, festive garlands, or even sweet gifts for family and friends. The joy of crocheting holiday décor isn’t just in the final result; it’s also in the peaceful moments spent with yarn and hook in hand, imagining the happiness your handmade creations will bring.
Before diving into the step-by-step sections, it’s important to understand that Crochet Christmas Trees and Stars – Pattern can be adapted in countless ways. You can work with different yarn weights, use metallic threads for a shimmering effect, or even add beads and buttons for a more decorative touch. Whether you prefer a rustic, farmhouse look or a more colorful, whimsical style, this pattern gives you the freedom to express your personal holiday spirit.
To begin creating your Crochet Christmas Trees and Stars – Pattern, gather all the essential materials. Having everything ready before you start helps your project flow smoothly. The key items you’ll need include yarn, a crochet hook, scissors, and a yarn needle. Choosing high-quality materials ensures your finished decorations look neat and professional.
Yarn selection is the foundation of your project. For a traditional look, choose classic Christmas shades such as green, red, white, and gold. Acrylic or cotton yarns are great options because they hold their shape well and are easy to work with. If you want a more luxurious touch, you can opt for metallic or glitter-infused yarns that reflect light beautifully.
Next, select the right crochet hook. The hook size depends on your chosen yarn weight, so always check the yarn label for recommendations. Generally, a 3.5mm to 4.5mm hook works well for small decorative items like trees and stars. A smaller hook creates tighter stitches, giving your pieces a firm texture ideal for hanging ornaments.
Make sure to have small details like stuffing, buttons, or ribbons if you want to add extra flair to your Crochet Christmas Trees and Stars – Pattern. A little creativity goes a long way when customizing each piece. You can even include bells or sequins for a festive sound and sparkle.
Before you start crocheting, it’s smart to make a gauge swatch to ensure your stitches are the right size. Although ornaments are small, maintaining consistent tension will help each tree and star look uniform and neat. This step might seem minor, but it makes a big difference in the final appearance.
Lastly, create a calm and organized workspace. Lighting is crucial when working with fine details, so make sure your area is bright enough to see your stitches clearly. Having your materials within easy reach helps you enjoy the creative process without interruptions.
When starting the Crochet Christmas Trees and Stars – Pattern, begin with the tree design. The base shape of the crochet tree is typically triangular, representing the iconic silhouette of a Christmas tree. Using a simple stitch combination like single crochet or half double crochet ensures a solid structure.
Begin with a small chain as your foundation. For a miniature tree, chaining around 15 to 20 stitches is ideal. Work rows back and forth, reducing the stitch count as you move upward to create a triangular shape. This gives the tree a natural taper, just like a real evergreen.
Once the tree’s base is complete, you can enhance it with a border or decorative trim. Adding a contrasting color along the edges gives definition and makes your tree stand out. You can even add a few loops on top to hang it as an ornament.
For a more textured look, consider using puff or bobble stitches. These create a 3D effect, making your crochet tree look fuller and more lifelike. Mixing textures is a fun way to make your decorations pop when hung on the Christmas tree or placed on a garland.
Adding embellishments takes your Crochet Christmas Trees and Stars – Pattern to the next level. Use small beads or embroidery to imitate lights and ornaments. You can also crochet a tiny star to place on the top of the tree. These finishing touches transform your simple crochet tree into a festive masterpiece.
Finally, block your finished piece if needed. Lightly dampen it and shape it into a perfect triangle before letting it dry. Blocking helps the stitches relax and gives your tree a polished, professional finish.
The star is one of the most beloved Christmas symbols, representing hope, light, and joy. When creating stars in your Crochet Christmas Trees and Stars – Pattern, you can make them in various sizes to suit different decorating needs. They can be tree toppers, garland accents, or standalone ornaments.
Start with a magic ring to form the center of the star. Then, work a series of stitches that radiate outward to create the five points. Double crochets and chains are commonly used to shape each arm of the star. By adjusting the number of stitches, you can make your stars larger or smaller.
Color choice is important for creating visual appeal. Golden yellow or shimmering silver yarns perfectly capture the festive glow associated with Christmas stars. For a modern twist, try pastel shades like blush pink or icy blue, which complement winter-themed decorations beautifully.
Once your stars are finished, you can stiffen them using fabric starch or a glue-water mix. This keeps them flat and firm, ideal for hanging on walls or Christmas trees. If you plan to make a garland, simply crochet a chain and attach several stars evenly along its length.
Adding extra sparkle to your Crochet Christmas Trees and Stars – Pattern is always a good idea. Try sewing tiny sequins, pearls, or glittering beads into your stars. These subtle additions catch the light and bring a magical shimmer to your decorations.
Finally, use your finished stars in creative ways—attach them to gift wraps, use them as tags, or decorate your table centerpiece. These handmade touches elevate any holiday setup and show off your crochet skills with pride.
After completing your Crochet Christmas Trees and Stars – Pattern, the fun part is deciding how to display them. These pieces are versatile and can be used in numerous holiday crafts around your home.
One of the simplest ideas is to create a beautiful Christmas garland. String together several crochet trees and stars using a long chain or ribbon. Hang the garland across your fireplace, staircase, or even windows to bring instant festive charm.
You can also use your crochet pieces as ornaments for your main Christmas tree. Add a loop of yarn or ribbon to each one, and they’ll hang perfectly among the twinkling lights. Since they’re lightweight, they won’t bend the branches.
Another fun project is to make a crochet advent calendar. Attach small stars and trees to numbered pockets or envelopes filled with treats. This personalized decoration adds excitement to every day leading up to Christmas.
Your Crochet Christmas Trees and Stars – Pattern can even inspire gift-giving ideas. Attach a small crochet star to wrapped presents as a reusable gift tag or decoration. Handmade touches like this make your gifts memorable and heartfelt.
Lastly, consider turning your creations into keepsakes. Write the year on the back with fabric paint, so each ornament becomes a lasting memory of your holiday crafting. Over time, you’ll have a collection that tells your story through the years.
1. What type of yarn works best for Crochet Christmas Trees and Stars – Pattern?
Acrylic or cotton yarns are best because they hold their shape and are easy to handle. For a festive look, try metallic or glitter yarns.
2. Can beginners make Crochet Christmas Trees and Stars?
Absolutely! The patterns are simple and beginner-friendly, requiring only basic stitches like single crochet and double crochet.
3. How can I make my crochet stars and trees stiffer?
Use fabric starch or a diluted glue solution. Lightly apply it to your finished pieces and let them dry flat.
4. Are Crochet Christmas Trees and Stars suitable as gifts?
Yes! They make beautiful handmade gifts or thoughtful additions to wrapped presents.
5. Can I sell the finished items made from this pattern?
Yes, as long as you credit the pattern inspiration and the designs are your handmade creations.
6. How long does it take to complete a Crochet Christmas Tree or Star?
Most small ornaments take less than an hour to make, depending on your crochet speed and design complexity.
The Crochet Christmas Trees and Stars – Pattern combines creativity, tradition, and festive joy into one delightful craft. From choosing your yarn to adding final embellishments, every step is filled with warmth and personal expression. These crochet decorations not only beautify your home but also carry the spirit of handmade love that defines the holiday season.
If you’ve followed along with this tutorial, you now have the tools to create unique trees and stars that reflect your own style. We hope you enjoyed learning how to make these charming decorations. Please share your honest opinion and suggestions—your feedback helps make future tutorials even better!


