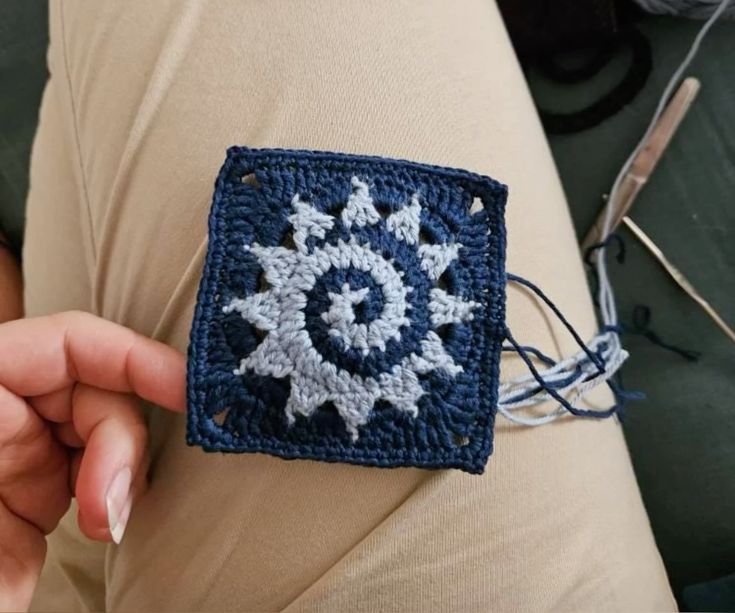
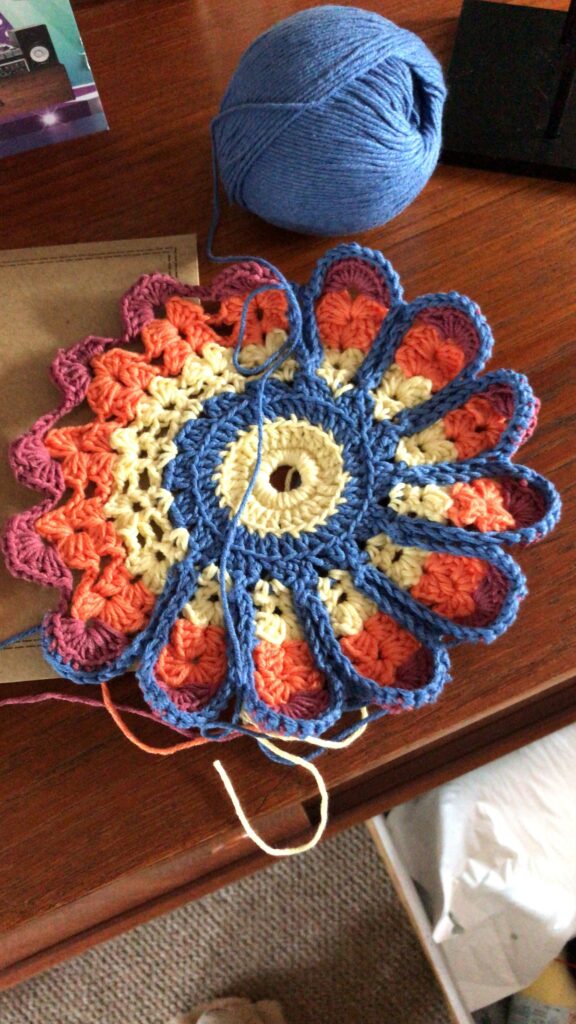
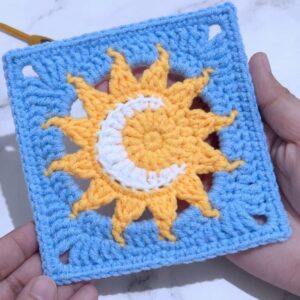
Crochet Spiral Sun Granny Square - Pattern
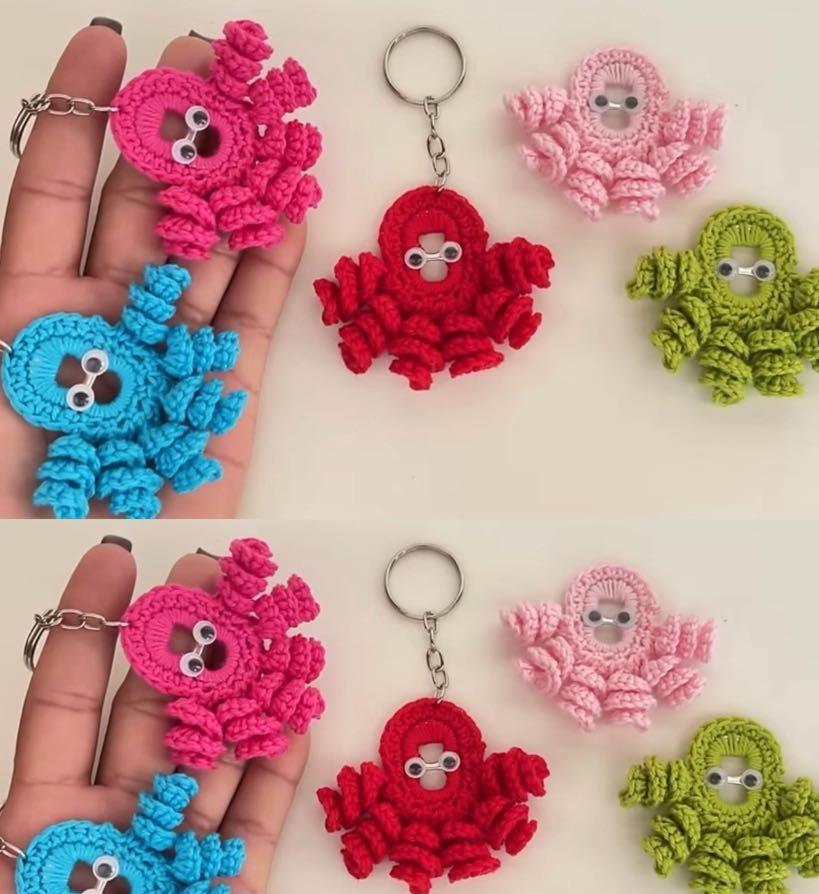
The Crocheted octopus keychain – Pattern has become a popular and adorable trend among crochet lovers around the world. These small, cute sea creatures not only make your keys easier to find but also add a touch of creativity and charm to your daily life. Whether you are a beginner looking for an easy crochet project or an expert searching for a quick handmade gift idea, this pattern is a wonderful choice.
Creating a Crocheted octopus keychain – Pattern allows you to explore various yarn colors, experiment with different crochet techniques, and bring to life an item that’s both fun and functional. What makes this project so special is how versatile it is—you can make it as a personal accessory, a gift for friends, or even as part of a handmade business collection. Each tiny octopus carries personality, especially when you customize its eyes, tentacles, and color palette.
This step-by-step guide will help you understand how to make your own Crocheted octopus keychain – Pattern from start to finish. You’ll learn how to choose the right materials, follow the pattern, and add those cute finishing touches that make the keychain truly unique. So, get your yarn and hook ready, and let’s dive into this creative underwater adventure!
To start your Crocheted octopus keychain – Pattern, you’ll need only a few basic materials that are easy to find in most craft stores. Using the right supplies ensures that your finished product is both durable and adorable.
First, you will need cotton or acrylic yarn in your favorite color. Cotton yarn is usually preferred because it holds its shape better, especially for small items like keychains. Choose soft, medium-weight yarn so your mini octopus feels nice to the touch.
Next, grab a crochet hook, ideally size 2.5mm or 3mm. This size helps you create tight stitches that prevent the stuffing from showing through the fabric. You’ll also need a yarn needle to sew the pieces together, polyester stuffing to fill the body, and a keychain ring for attaching it to your keys or bag.
Optional but highly recommended are safety eyes or small beads to give your octopus a cute, lively expression. If you don’t have safety eyes, you can embroider them using black yarn. Lastly, a small pair of scissors will help you trim any loose ends and shape the tentacles neatly.
Once you gather all these materials, keep them organized in a small project bag. Having everything in one place will make the crocheting process smooth and enjoyable. The beauty of the Crocheted octopus keychain – Pattern is that it doesn’t require a lot of tools or space, making it a perfect on-the-go project.
Now that your materials are ready, it’s time to bring your Crocheted octopus keychain – Pattern to life. Start by making a magic ring—this technique creates a tight, adjustable loop, ideal for crocheting small, round shapes like the octopus body. Work six single crochets into the ring and close it tightly.
For the next few rounds, continue to increase stitches evenly to form a round ball shape. You’ll usually add six stitches per round until your octopus head reaches the desired size—typically about 1.5 to 2 inches in diameter. This will be the base of your octopus.
After you reach the middle section, start crocheting even rounds without increasing. This helps form the lower part of the head and gives your mini creature its distinct chubby look. When the head is almost complete, remember to add the stuffing before closing it. Use small amounts at a time so it remains smooth and round.
To make the tentacles, crochet a chain of about 15 stitches, then work two single crochets into each chain stitch. This will naturally curl into a spiral, giving your tentacle its signature shape. Repeat this step until you have eight tentacles in total.
Once all the tentacles are ready, attach them evenly to the underside of the head using your yarn needle. Make sure they are securely fastened and evenly spaced. Finally, sew on the safety eyes or embroider them directly onto the face. Your Crocheted octopus keychain – Pattern is now starting to look alive!
To finish, use the yarn needle to attach a small metal keyring to the top of the octopus’s head. Reinforce it with a few extra stitches to make it durable for daily use. You now have your own adorable crocheted keychain ready to accompany you wherever you go!
One of the best parts of making the Crocheted octopus keychain – Pattern is the freedom to personalize it. There are endless possibilities for customization, allowing you to make each octopus truly unique.
Start with color combinations. You can choose solid pastels for a soft, cute look, or bright rainbow hues for a more playful design. Many crafters love using variegated yarns, which naturally create interesting patterns and textures as you crochet.
Next, consider adding expressive details like embroidered cheeks, tiny eyelashes, or even a small smile. These small touches bring personality and warmth to your octopus. For an extra dose of charm, you could add a tiny bow, hat, or flower made of leftover yarn scraps.
Another creative idea is to experiment with different yarn textures. Try using velvet yarn for a plush, luxurious feel, or metallic thread for a shiny, decorative finish. Each material gives the Crocheted octopus keychain – Pattern a new and interesting look.
You can also make themed octopuses for various occasions—like red and green ones for Christmas, or pastel shades for Easter. These make perfect handmade gifts or items to sell at local craft fairs.
Finally, consider making a set of octopus keychains in different sizes or colors. They can be great for couples, families, or best friends who want matching keychains. The possibilities are endless, and that’s what makes crocheting such a joyful craft!
If you are new to crochet, don’t worry! The Crocheted octopus keychain – Pattern is one of the most beginner-friendly projects you can try. It teaches basic techniques like the magic ring, single crochet, and increases—all essential stitches in crochet.
When following the pattern, make sure to count your stitches carefully. A stitch marker can help you keep track of rounds and avoid mistakes. This is especially useful when working with small projects where errors can be harder to spot.
Always maintain consistent tension while crocheting. Too loose, and the stuffing will peek through; too tight, and the fabric may become stiff. Practice a few rounds until you feel comfortable with the tension of your yarn and hook.
When you finish your project, take good care of it. You can spot clean your keychain with a damp cloth and mild soap. Avoid submerging it in water to prevent the stuffing from losing shape. If you used cotton yarn, it will naturally resist wear and tear, keeping your keychain looking new for longer.
Store your handmade items in a dry and clean place, especially if you plan to sell or gift them. Exposure to moisture or sunlight may fade the colors over time.
Lastly, enjoy the process! Crochet is not just a hobby—it’s a way to relax, express creativity, and connect with a global community of makers. Your Crocheted octopus keychain – Pattern is a small but meaningful representation of that creativity.
1. Is the Crocheted octopus keychain – Pattern suitable for beginners?
Yes! This pattern is ideal for beginners since it involves basic stitches and small, manageable steps.
2. What type of yarn works best for this project?
Cotton yarn is highly recommended because it keeps its shape well and provides a neat finish for small amigurumi items.
3. Can I wash my crocheted keychain?
It’s best to spot clean it with a damp cloth and mild soap to maintain its form and prevent the stuffing from shifting.
4. How long does it take to make one octopus keychain?
On average, it takes about 1 to 2 hours depending on your crochet speed and skill level.
5. Can I sell items made from this pattern?
Absolutely! You can sell finished products as long as you make them yourself and not mass-produce them. It’s a great idea for small handmade businesses.
6. How do I attach the keyring securely?
Sew the metal ring tightly into the top of the octopus using strong yarn and make several passes for extra durability.
The Crocheted octopus keychain – Pattern is a fun, quick, and heartwarming project that anyone can enjoy. With just a bit of yarn, creativity, and patience, you can create a handmade accessory that brings smiles wherever it goes. This small crochet item also makes wonderful gifts and is an excellent way to practice your amigurumi skills.
If you followed this guide, you now know how to make, customize, and care for your Crocheted octopus keychain – Pattern. I hope you feel inspired to try different colors and designs for your next creations.
Thank you for reading! Please share your honest opinion about this tutorial and let me know your suggestions—I’d love to hear about your experience making your own crocheted octopus keychain!