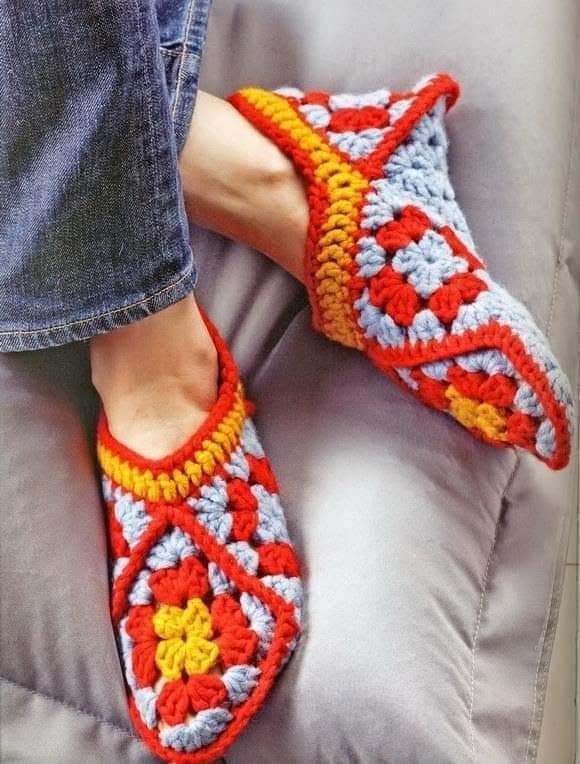
Crocheted Shoe - Pattern

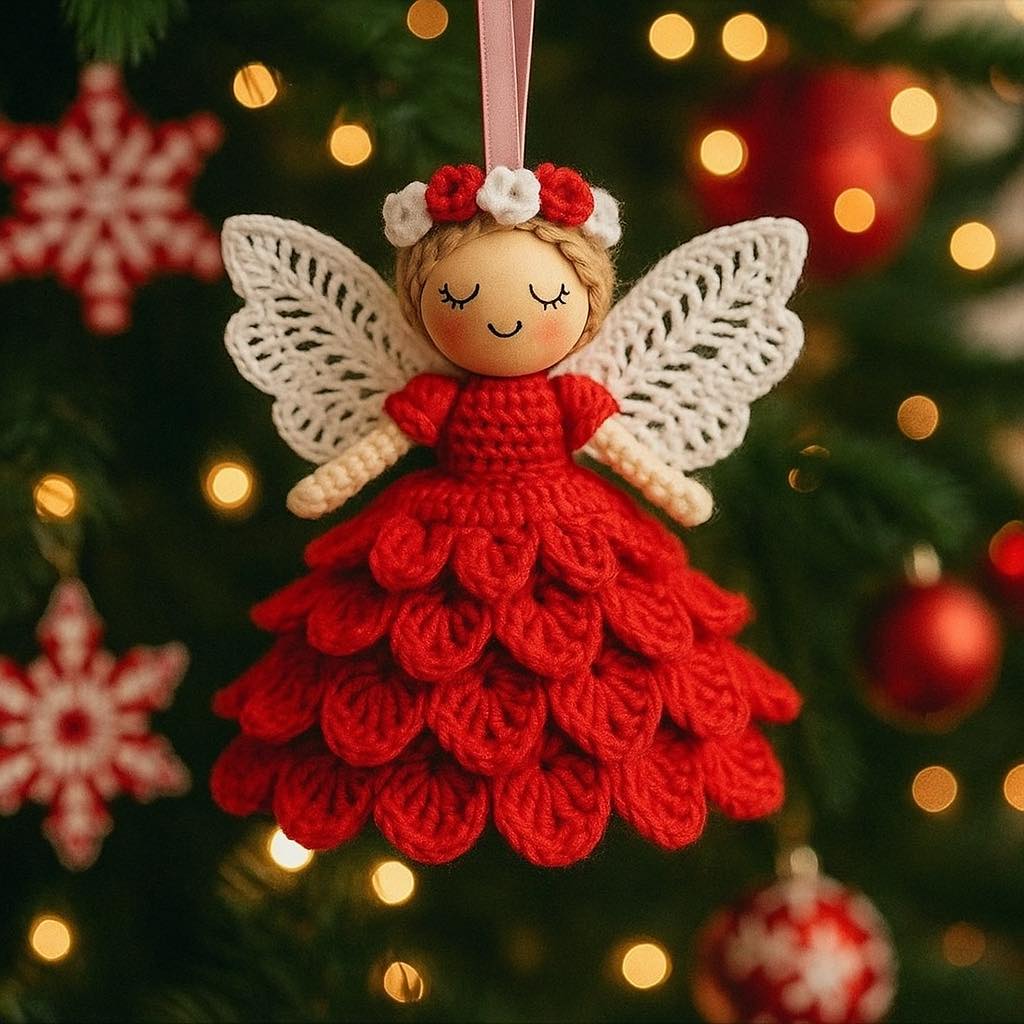
DIY Angel Ornament Crochet – Pattern is a beautiful and heartfelt project that brings a special handmade touch to your holiday season. Whether you are an experienced crocheter or just beginning your creative journey, crafting an angel ornament is a rewarding way to express love and creativity. These charming little angels make perfect decorations for Christmas trees, gift toppers, or even keepsakes to share with friends and family. Creating something so delicate with your own hands adds a personal and meaningful touch to your festive decorations.
One of the best things about working with crochet ornaments is their versatility. With a bit of yarn, a hook, and some imagination, you can turn simple stitches into a work of art. The DIY Angel Ornament Crochet – Pattern can be made in various styles, from traditional white angels to colorful and modern ones that match your decor. Using different yarn textures or adding small embellishments like beads or ribbons can make each angel unique. Crochet patterns like this are timeless, and the process of creating them often becomes a joyful part of your holiday traditions.
If you are looking for a project that combines creativity, relaxation, and beauty, this is the one for you. The DIY Angel Ornament Crochet – Pattern is not only easy to follow but also deeply satisfying. Each step helps you build your skills while crafting something special that symbolizes peace, love, and protection. Handmade crochet ornaments often carry sentimental value, especially when they are made with care and intention. Now, let’s explore step-by-step how you can bring these adorable angels to life!
Before you begin, it’s important to gather all the materials you’ll need for your angel ornament. The right supplies will ensure your final piece looks delicate and professional.
Start with selecting a soft and lightweight yarn. Cotton yarn is highly recommended because it provides structure while keeping the ornament light enough to hang on your tree. White, cream, and silver shades are classic choices for angels, but you can experiment with pastel or metallic tones for a more creative approach.
Next, choose the appropriate crochet hook. A smaller hook, usually between 2.0 mm and 3.5 mm, works best for DIY Angel Ornament Crochet – Pattern projects. The smaller hook creates tighter stitches, giving your angel ornament a neat and defined look.
You will also need some basic tools like scissors, a yarn needle for weaving in ends, and optional embellishments such as tiny beads or lace ribbons. Adding a thin gold or silver thread can bring a shimmering effect, perfect for festive decorations.
Finally, consider using a light fabric stiffener or starch spray to give your angel shape and durability. Once dried, the ornament will hold its form beautifully, making it suitable to display year after year.
Taking a few moments to prepare your materials ensures your crochet project goes smoothly and helps you create a stunning final piece.
Now that your materials are ready, let’s dive into the creation process. The DIY Angel Ornament Crochet – Pattern typically begins with the angel’s head, then moves on to the wings, and finally, the flowing skirt.
Start by forming a magic ring to create the head. Work several single crochet stitches into the ring and close it tightly. This forms a perfect round base for the angel’s head. As you continue, add a few more rows to shape the top. For a polished look, remember to keep your tension consistent throughout.
Next, crochet the body and dress. This is where you can get creative with patterns and stitches. Many crocheters love using shell stitches, picots, or lacy double crochets to give the skirt an airy and delicate appearance. This part of the DIY Angel Ornament Crochet – Pattern allows for personal expression—you can make it as simple or as intricate as you like.
Once the dress is complete, it’s time to make the wings. Wings can be crafted separately and then sewn onto the back of the angel. Using a contrasting color like gold, silver, or pale blue adds a lovely accent. Some crafters even use metallic thread to highlight the wings’ edges for extra sparkle.
After attaching the wings, finish by crocheting a small loop on top of the head. This will serve as the hanger for your ornament. You can add a tiny bow or a pearl bead to the front to give your angel an elegant finishing touch.
Finally, apply the fabric stiffener to the completed angel and allow it to dry overnight. Once hardened, your crochet angel ornament will be ready to adorn your tree or to be gifted to someone special.
One of the most enjoyable aspects of the DIY Angel Ornament Crochet – Pattern is the ability to personalize your creations. Each angel can have its own character, depending on the yarn color, stitch design, and added details.
If you prefer a classic look, keep your angel white or ivory, with just a touch of shimmer in the wings. For a more modern or playful design, try pastel pinks, baby blues, or even rainbow hues. Adding small accessories like a tiny halo made of gold thread or a mini heart on the chest can make your angel stand out.
Consider using fine lace yarn for a vintage-inspired ornament. The delicate texture adds an heirloom quality that makes your crochet angel feel like a treasured keepsake. You can also experiment with gradient yarns to create a soft ombré effect throughout the skirt and wings.
Another idea is to add scent to your angel. A drop of essential oil on the yarn or a tiny lavender sachet sewn into the skirt can make your ornament not only beautiful but also fragrant. This little touch is perfect for gifting.
You might also want to create sets of angels in various sizes. Small ones can be used as gift tags or embellishments on presents, while larger ones can become stunning centerpiece decorations. The DIY Angel Ornament Crochet – Pattern is flexible enough to adapt to all these creative uses.
Lastly, if you enjoy giving back, handmade angels are wonderful donations for holiday charity drives or community events. Their symbolic meaning of peace and protection makes them a thoughtful and heartfelt gift for anyone.
Whether you are new to crochet or have years of experience, there are always ways to make the process easier and more enjoyable. The DIY Angel Ornament Crochet – Pattern is perfect for learning or refining essential crochet techniques.
For beginners, focus on mastering basic stitches like chain, single crochet, and double crochet before starting the full angel pattern. Practicing these stitches on small samples helps you gain control over your tension and stitch size.
When following the pattern, take your time reading each step carefully. Use stitch markers to keep track of rounds, especially when creating the head or the skirt. This will help prevent mistakes and make the process more relaxing.
Advanced crocheters can enhance their DIY Angel Ornament Crochet – Pattern by experimenting with lace stitches or filet crochet techniques. Adding beaded yarn or metallic threads can elevate the design to a professional level.
If you ever feel uncertain about a step, try making a quick prototype using cheaper yarn. This helps you test the shape and size before committing to your final piece. With practice, your confidence and skill will grow quickly.
Remember, crochet should always be enjoyable. Turn on some soft music, make a cup of tea, and enjoy the meditative rhythm of your hook moving through the yarn. The final result—a beautiful angel—is worth every moment spent creating it.
Finally, share your finished work with friends and loved ones. Handmade crochet angels often inspire others to take up crocheting themselves. It’s a craft that brings people together and spreads joy through creativity.
FAQ – DIY Angel Ornament Crochet – Pattern
Q1: What type of yarn works best for angel ornaments?
Cotton yarn or lightweight acrylic yarns are ideal. They provide structure without being too heavy, and they hold their shape well after stiffening.
Q2: Can I make the angel without using a fabric stiffener?
Yes, you can. However, the ornament will be softer and less structured. If you want it to hold its shape when hung, a light coat of fabric stiffener or starch spray is recommended.
Q3: How long does it take to complete a DIY Angel Ornament Crochet – Pattern?
Most crocheters can finish one angel in two to three hours, depending on the complexity of the design and the level of detail you add.
Q4: Can I use metallic thread for the wings?
Absolutely! Metallic or glitter yarn adds a beautiful sparkle that enhances the festive look of your angel.
Q5: Are these ornaments suitable for beginners?
Yes. The DIY Angel Ornament Crochet – Pattern is beginner-friendly, especially if you already know basic stitches. It’s a great project for improving crochet skills while creating something beautiful.
Q6: How can I clean my crochet angel ornaments?
Gently dust them or wipe with a soft, dry cloth. Avoid washing, as moisture can weaken the stiffener and alter the shape.
The DIY Angel Ornament Crochet – Pattern is a charming and meaningful project that captures the spirit of handmade creativity. From selecting your materials to shaping delicate wings and embellishing your final piece, every step is filled with joy and satisfaction. Whether you hang them on your tree, gift them to loved ones, or use them as symbols of peace and hope, these angels are sure to brighten your home.
If you enjoyed this tutorial and found it helpful, please share your honest opinion and suggestions. Your feedback helps inspire new ideas and keeps the creative spirit of crochet alive!


