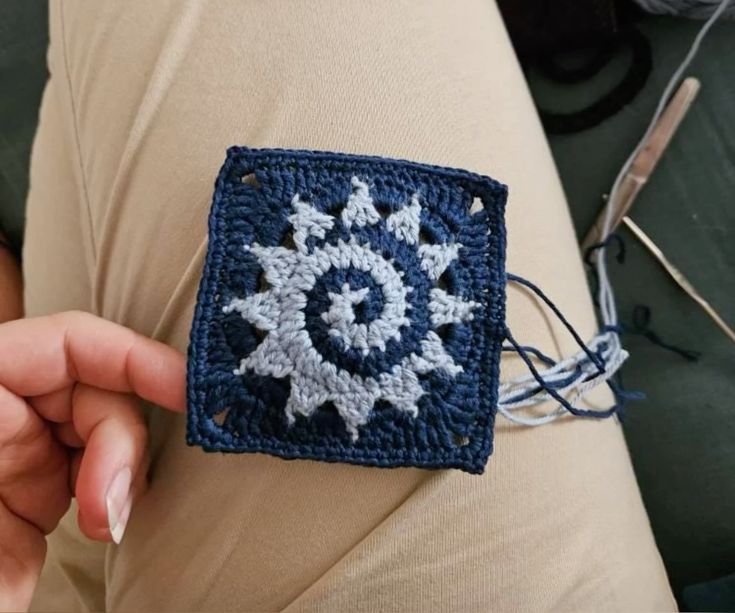
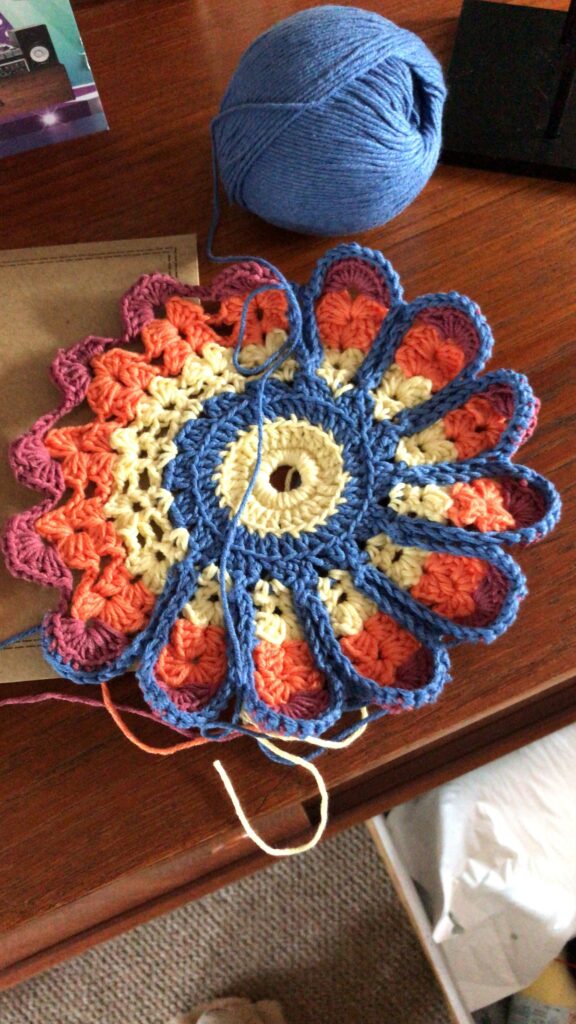
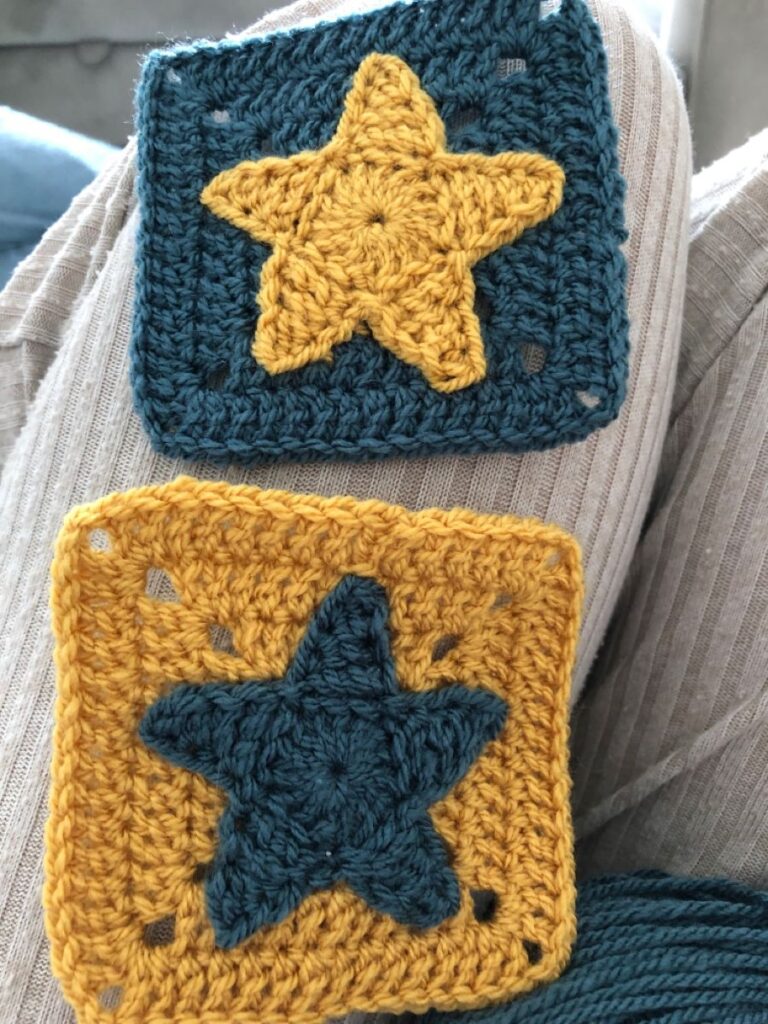
Crochet Spiral Sun Granny Square - Pattern
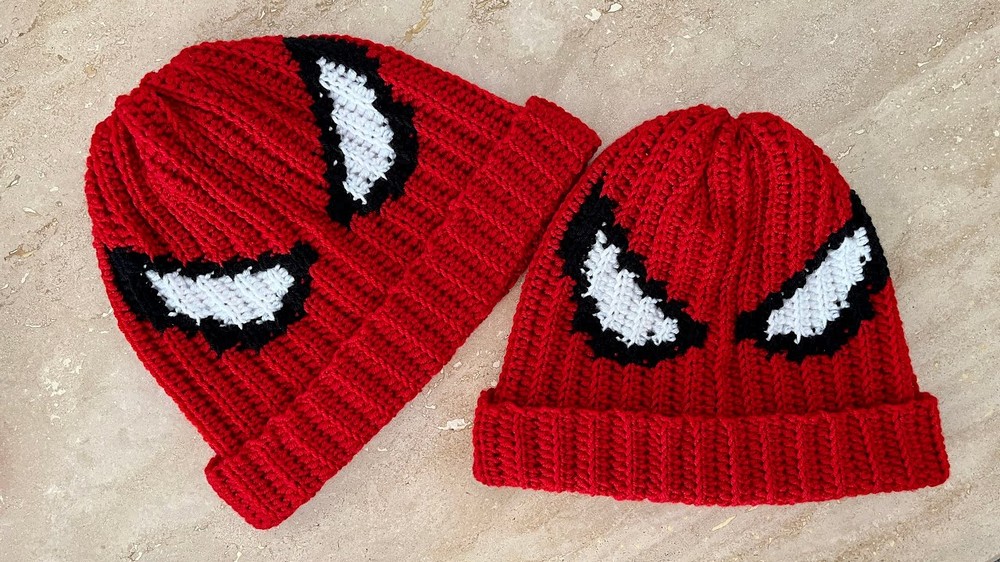
How to Crochet Spider-Man Beanie for Beginners – Crochet Pattern is one of the most exciting and creative projects for anyone who loves both crochet and superheroes. This project combines the charm of handmade crafts with the beloved image of Spider-Man, making it an ideal choice for gifts, seasonal wear, or simply for fun. Beginners often believe that making character-themed accessories is too difficult, but with patience and the right guidance, you can achieve amazing results.
When you hear the word Santa, you may immediately think of warmth, joy, and magical gifts. In a similar way, crocheting a Spider-Man beanie brings happiness and creativity to life, allowing you to craft something special with your own hands. Much like Santa delivers gifts that bring smiles, this crochet pattern delivers comfort, style, and a touch of fun to anyone who wears it.
This step-by-step guide will provide everything you need to get started with this How to Crochet Spider-Man Beanie for Beginners – Crochet Pattern. We will cover the essential tools, yarn choices, stitches, and finishing details to ensure your beanie looks as close to Spider-Man’s iconic design as possible. If you are a beginner, you will also find this tutorial beginner-friendly, offering clear instructions that allow you to practice foundational skills while creating something extraordinary.
To begin this How to Crochet Spider-Man Beanie for Beginners – Crochet Pattern, you will first need to gather the right supplies. The success of your project depends on choosing the right yarn, hooks, and accessories to create a soft, durable, and visually appealing beanie.
When selecting yarn, opt for medium-weight acrylic yarns in red, black, and white. These colors perfectly match the Spider-Man theme and will hold their shape well over time. Acrylic yarns are also budget-friendly and easy to clean, making them practical for kids and adults alike.
For crochet hooks, a size H/5.0 mm hook is usually a good choice. This hook size balances comfort with stitch definition, making it easier for beginners to work without frustration. If your stitches are too tight or too loose, feel free to adjust by trying a hook slightly larger or smaller.
Scissors and a yarn needle are also essential. You will use scissors to cut yarn cleanly and a yarn needle to weave in ends and create Spider-Man’s web pattern with embroidery. These details give the beanie its iconic superhero look.
Additionally, a stitch marker can be helpful for beginners. Since beanies are usually crocheted in rounds, stitch markers make it easy to keep track of the beginning of each round, preventing mistakes and uneven rows.
Lastly, consider having a printed version of the How to Crochet Spider-Man Beanie for Beginners – Crochet Pattern beside you while working. Having a visual reference helps keep you motivated and ensures you stay on track as your project grows.
Before diving into the full project, beginners must feel confident with the basic stitches. The How to Crochet Spider-Man Beanie for Beginners – Crochet Pattern relies heavily on foundational crochet techniques, making it an excellent practice project.
The first stitch you will use is the chain stitch (ch). This is the starting point of almost every crochet project. In this beanie, the chain creates the foundation ring where you will begin working in rounds.
The second stitch is the single crochet (sc). This stitch forms a tight, dense fabric, which is perfect for keeping the beanie warm and structured. Single crochet stitches are also easy to learn and repeat, making them beginner-friendly.
Another key stitch is the double crochet (dc). This stitch is taller than the single crochet, which helps the beanie grow quickly in height. It is commonly used to shape hats and provide flexibility in sizing.
Slip stitches (sl st) are also necessary. They are used to join rounds and create smooth edges. Although small, these stitches play a big role in giving your Spider-Man beanie a polished finish.
Color changes are another important skill. To achieve the Spider-Man look, you will need to switch between red, black, and white yarn. Practicing color changes will ensure your stitches remain even and neat.
Once you master these stitches, you will be ready to start building the foundation of your How to Crochet Spider-Man Beanie for Beginners – Crochet Pattern with confidence and creativity.
Now that you know the materials and stitches, let’s move into the step-by-step process. The How to Crochet Spider-Man Beanie for Beginners – Crochet Pattern can be divided into easy stages, each helping you build toward the final superhero look.
Begin by making a magic ring or chaining four and joining to form a ring. This small circle will become the crown of your beanie. Starting small ensures the beanie fits comfortably and grows evenly.
Work single crochets into the ring, increasing stitches evenly in each round. This technique creates a flat circle that gradually expands, forming the top of the beanie. Continue this process until the circle matches the crown size of the head you are making the hat for.
Once the crown is complete, stop increasing and work even rounds. This creates the sides of the beanie, allowing it to extend downward to cover the head comfortably. For a standard adult size, aim for around 7–8 inches in height.
After finishing the red portion of the beanie, use black yarn to add Spider-Man’s web pattern. You can embroider the web directly on the beanie using a yarn needle. Simple straight stitches that radiate outward and connect in a web-like design will bring the beanie to life.
Next, crochet two white oval shapes to serve as Spider-Man’s eyes. Attach them securely to the front of the beanie. These eyes are the defining feature, instantly transforming a simple red hat into a superhero accessory.
Finally, weave in all loose ends with a yarn needle and check for evenness. Your How to Crochet Spider-Man Beanie for Beginners – Crochet Pattern is now complete and ready to be worn or gifted.
As a beginner, it’s normal to feel unsure at first. This How to Crochet Spider-Man Beanie for Beginners – Crochet Pattern is designed to guide you with patience and encouragement. Here are some tips to make the process easier and more enjoyable.
Practice your stitches on small swatches before starting the beanie. This helps you build confidence and ensures your tension remains consistent throughout the project.
If mistakes happen, don’t worry. Crochet is forgiving, and you can easily unravel stitches and try again. Think of it like Santa preparing gifts—sometimes adjustments are needed, but the final result is worth the effort.
Consider customizing the beanie for different sizes. By adjusting the number of increases in the crown and the height of the sides, you can create versions for children, teens, or adults. This makes the pattern versatile and family-friendly.
Another fun variation is using glitter or metallic yarn for the web design. This adds sparkle and makes the beanie stand out even more, especially for festive occasions like Christmas when Santa themes and superheroes both bring joy.
For a playful twist, you could also crochet earflaps and attach braids or pom-poms. This not only adds warmth but also makes the beanie extra fun for kids to wear.
Finally, keep practicing. The more projects you complete, the more natural crocheting will feel. This beanie is only the beginning of your journey with crochet patterns.
1. Is the How to Crochet Spider-Man Beanie for Beginners – Crochet Pattern suitable for complete beginners?
Yes, this pattern is designed with beginners in mind. It uses basic stitches like single crochet, double crochet, and slip stitch, making it easy to follow.
2. How long does it take to make the Spider-Man beanie?
On average, beginners may take 6–8 hours spread over a few days. More experienced crocheters can complete it faster.
3. Can I use cotton yarn instead of acrylic?
Yes, but cotton yarn will result in a heavier and less stretchy beanie. Acrylic is generally recommended for comfort and durability.
4. How do I make the beanie fit different head sizes?
You can adjust the number of increase rounds for the crown and the total height of the hat. This allows you to create custom sizes for babies, kids, or adults.
5. What is the best way to wash the Spider-Man beanie?
Handwashing in cold water with mild soap is the safest method. Lay flat to dry to prevent stretching or distortion.
6. Can I sell beanies made with this pattern?
Yes, you can sell finished beanies made from the pattern, but avoid selling the pattern itself. Handmade Spider-Man-inspired beanies are popular at craft fairs and online shops.
Learning How to Crochet Spider-Man Beanie for Beginners – Crochet Pattern is a rewarding journey that combines creativity, fun, and skill-building. With the right materials, basic stitches, and a little patience, you can create a beanie that reflects both your love for crochet and the iconic superhero style. Just like Santa brings joy with gifts, your handmade beanie will bring happiness and pride to whoever receives it.
Now that you’ve seen each step clearly explained, I would love to hear your feedback. Did this guide help you feel more confident in starting your Spider-Man beanie? Please share your honest opinion and suggestions—I’m excited to know your thoughts and ideas!


