Lichtslinger met gehaakte bloemen - Crochet Pattern
Advertising
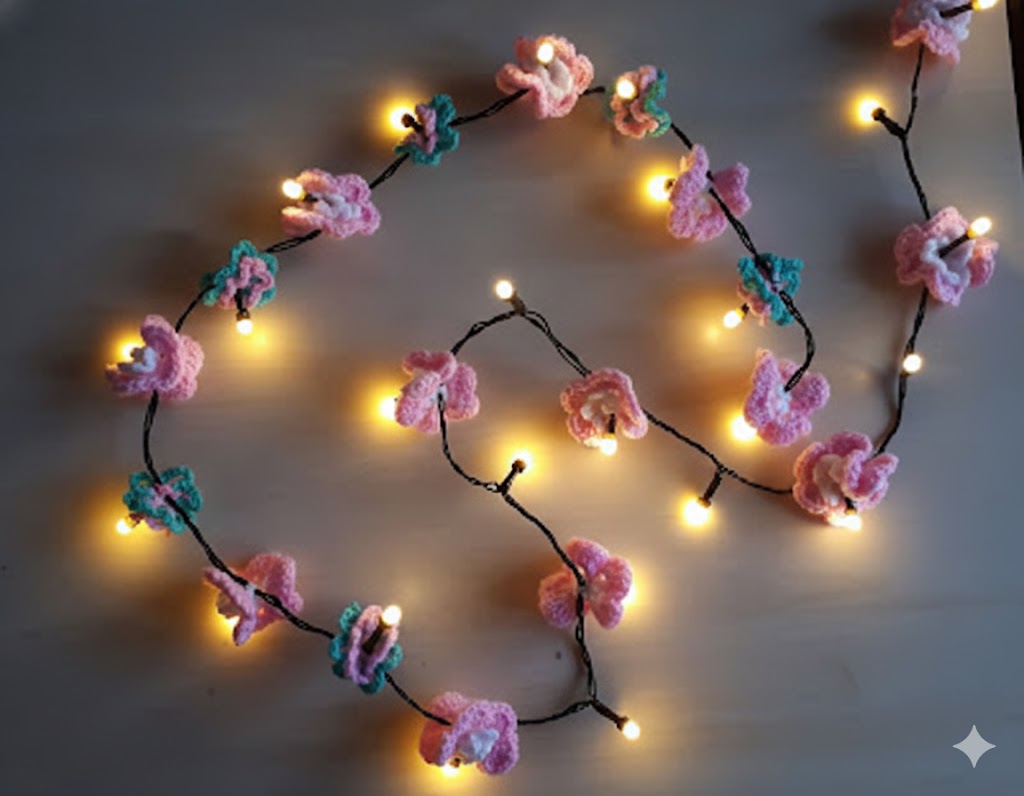
lightslinger met gehaakte bloemen- Crochet Pattern If you are looking for a creative way to decorate your home or a gift that is both thoughtful and handmade, a lightslinger met gehaakte bloemen (crochet flower garland) is the perfect project. This crochet pattern brings together the delicate beauty of flowers and the soft glow of string lights, making it an ideal addition to any space. Whether you are a beginner or an experienced crocheter, this tutorial will guide you through the process step by step, ensuring you create a stunning, unique piece that adds warmth and charm to your home.
In this article, we will walk through the steps of creating your own crochet flower garland. You will learn how to crochet different types of flowers, how to add lights to your project, and how to customize the garland to suit your preferences. With just a few supplies and some patience, you can create a beautiful, personalized decoration that will brighten up any room.
Advertising
Crocheting is a relaxing and rewarding craft, and by combining it with the use of string lights, the result is a magical piece that brings both texture and illumination to your space. Let’s dive into the world of crochet flowers and lights, and start creating your very own Lichtslinger met gehaakte bloemen.
Before we begin crocheting the flowers, it’s important to gather all the necessary materials. For this project, you will need a few basic crochet supplies, as well as some additional items to create the garland effect. Here’s a list of what you’ll need:
Crochet hook – The size of the hook will depend on the yarn you choose. Typically, a 3mm to 5mm hook works well for this project.
Yarn – You can use any yarn of your choice, but a lightweight yarn, such as cotton or acrylic, is ideal for creating delicate flowers.
String lights – Choose battery-operated LED string lights that you can thread through the flowers.
Needle and thread – These will be used to attach the flowers to the string lights.
Scissors – For cutting the yarn.
Optional decorations – Beads, buttons, or sequins can be added to the flowers for extra flair.
Now that we have our materials ready, let’s begin crocheting the flowers that will form the main part of our Lichtslinger met gehaakte bloemen.
Step-by-Step Guide to Crocheting the Flowers
Crocheting flowers for your garland is the most enjoyable part of this project. There are various types of flowers you can create, each adding its unique charm to the finished product. In this section, we will guide you through creating simple yet beautiful crochet flowers.
Advertising
Start with a Magic Circle: To begin, create a magic circle to work in the round. This allows for a tight center that holds the shape of the flower.
Chain stitches: After completing the magic circle, make a few chain stitches (depending on the flower design you are following).
Petals: Work in the round to create petals, using a combination of double crochet stitches and chain stitches to shape the petals.
Finishing the Flower: Once you’ve created the desired number of petals, join the last petal to the first petal with a slip stitch. Cut the yarn and fasten off.
This method creates a simple flower, but feel free to experiment with different flower patterns. You can make large, intricate blooms or small, delicate flowers—whatever suits your taste and the style of your garland. To make the garland more dynamic, mix different types of flowers in varying sizes and colors.
Attaching the Flowers to the String Lights
Now that your flowers are crocheted, the next step is attaching them to the string lights. This process is easy, but it does require some care to ensure that the lights shine through the flowers beautifully. Here’s how you can do it:
Threading the Lights: Start by carefully threading the LED lights through the center of each crocheted flower. Make sure that the bulbs fit snugly within the flower’s center, but not too tightly.
Attaching with Needle and Thread: Once the light is in place, use a needle and thread to securely attach the flower to the light. This helps ensure the flower stays in place while also allowing the light to shine through.
Spacing the Flowers: Leave some space between each flower on the garland, depending on how close you want the blooms to be. Typically, a 6-8 inch gap works well.
Final Touches: Once all the flowers are attached, step back and take a look at your garland. Adjust the positioning of the flowers if needed, ensuring they are evenly spaced and positioned to create a beautiful effect when the lights are turned on.
Customizing Your Crochet Flower Garland
One of the best things about creating your own Lichtslinger met gehaakte bloemen is the ability to customize it to fit your personal style. Here are some ideas for making your garland unique:
Color Choices: Choose yarn colors that match your décor or your favorite season. For example, bright, cheerful colors like yellow, pink, and lavender are perfect for spring, while warm tones like orange, red, and brown are great for autumn.
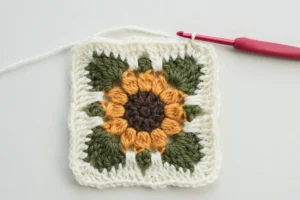
Flower Variations: Try making flowers in different shapes, such as daisies, roses, or sunflowers. Mixing different styles will give your garland a fun and eclectic look.
Add Sparkles: If you want a touch of glamour, you can add beads or sequins to the centers of your flowers. This will reflect the light and create a sparkling effect when the garland is lit up.
Length of the Garland: Adjust the length of your garland to fit the space where you plan to hang it. You can make it long enough to drape across a mantel, or short and sweet to hang in a window.
With these tips, you can create a completely personalized crochet flower garland that reflects your style and adds a magical touch to your home.
Frequently Asked Questions
What type of yarn is best for this project? Cotton yarn is ideal for creating delicate, soft flowers, but acrylic yarn works well too. Choose a lightweight yarn for the best results.
Can I use regular string lights instead of LED lights? Yes, but LED lights are preferred as they are cooler and more energy-efficient. They also last longer.
How long should the garland be? The length of the garland depends on the space you want to decorate. Typically, a garland should be between 3 to 6 feet long, but you can make it longer if needed.
Can I make this garland for outdoor use? Yes, but ensure you use weatherproof lights and yarn to ensure your garland lasts outdoors.
How do I store the garland when it’s not in use? To prevent the flowers from getting crushed, store the garland in a plastic bag or a box with soft padding. Avoid hanging it in areas where it may be exposed to moisture.
Can I use different-sized flowers for my garland? Absolutely! Mixing different sizes and types of flowers will create a more dynamic and interesting garland.
In conclusion, creating a Lichtslinger met gehaakte bloemen is a fun and rewarding crochet project that combines the beauty of handmade flowers with the magical effect of string lights. With just a few simple materials and some creativity, you can make a garland that adds warmth and charm to your home.


