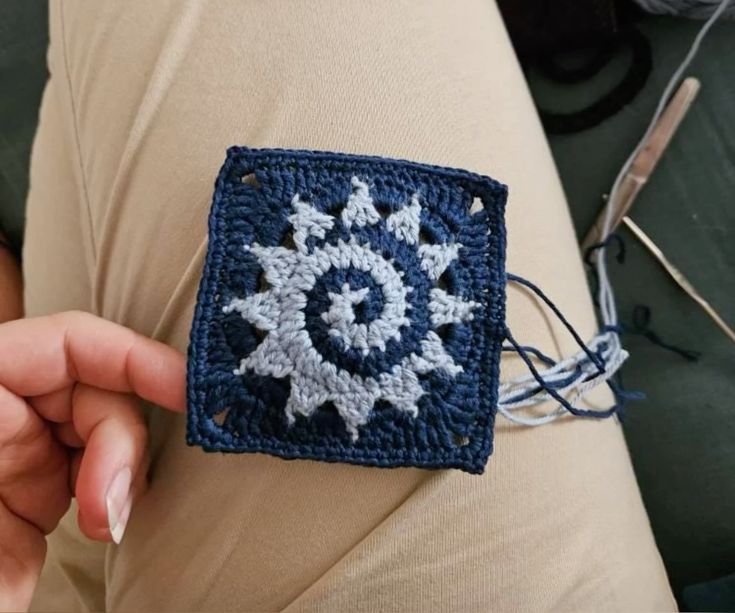
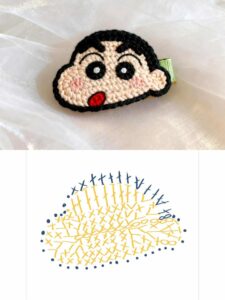
Crochet Spiral Sun Granny Square - Pattern
A Spring oval crochet rug – Crochet Pattern is one of the most delightful ways to bring freshness, comfort, and handmade charm into your home. This type of crochet project combines practicality with creativity, giving crafters the opportunity to design something both functional and beautiful. Oval rugs have always been a classic in crochet, but when you add the freshness of spring colors, they become even more special. Whether you are decorating your living room, bedroom, or even your entryway, a handmade rug can completely transform the atmosphere.
Crocheting an oval rug may look complicated at first, but with the right guidance and pattern, it becomes a very rewarding project. The beauty of working with this shape is that it grows evenly as you build your stitches, resulting in a balanced and elegant piece. The Spring oval crochet rug – Crochet Pattern gives crafters freedom to experiment with color combinations, textures, and yarn thickness. From pastel shades to vibrant tones, you can create a rug that truly matches your personality and your home style.
Many crafters enjoy making rugs because they are both practical and artistic. Unlike small crochet projects, a rug takes more time and dedication, but the end result is something that can last for years. With this pattern, you can enjoy the relaxing rhythm of crocheting while also creating a piece that will impress your family and guests. If you are new to making oval rugs, don’t worry. This article will walk you through everything you need to know about creating a Spring oval crochet rug – Crochet Pattern, from understanding the basics to finishing your rug beautifully.
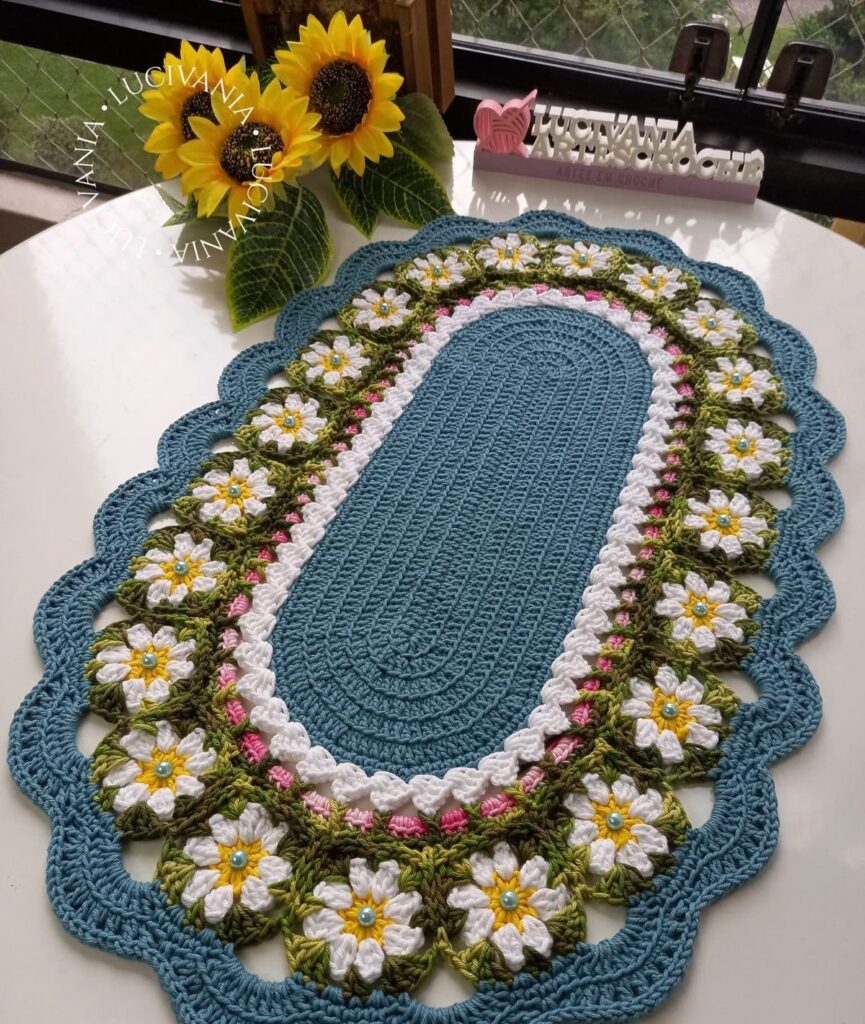
When starting a Spring oval crochet rug – Crochet Pattern, it is important to understand how the oval shape is formed. Unlike circular rugs that expand evenly from the center, oval rugs are built by combining straight rows with curved ends. This method allows the rug to grow without losing its shape, giving it that classic elongated look that makes it perfect for hallways or living spaces.
The foundation of most oval rugs begins with a chain that acts as the central spine. From there, stitches are added on both sides of the chain, with increases placed strategically at the ends to create a smooth curve. This balance between straight stitches and increases is what defines the shape of your rug. The more rows you add, the larger your oval becomes, making it easy to adjust the size based on your needs.
One of the greatest advantages of working on a Spring oval crochet rug – Crochet Pattern is the freedom to choose stitches. While many patterns use simple stitches like single crochet or half double crochet, you can also experiment with textured stitches to add personality. Adding puff stitches or shell patterns, for example, can give your rug a more decorative feel while still maintaining its structure.
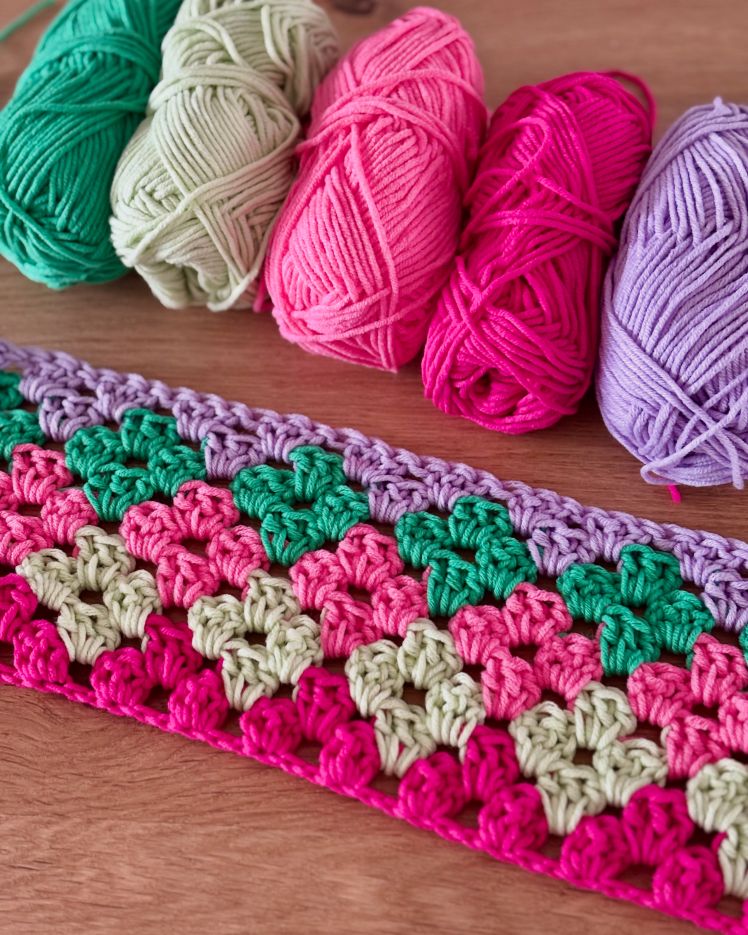
Another essential element is yarn selection. For a spring-inspired rug, cotton yarn is often the best choice because it is durable, easy to clean, and holds color well. You can also combine different yarns for texture, but always make sure they are similar in thickness so that your rug remains even. Color is key in this project—soft greens, yellows, blues, and pinks are popular for spring themes, but you can also create a rainbow-inspired rug that feels vibrant and joyful.
Choosing the right hook size is equally important. A larger hook will make your stitches looser and your rug softer, while a smaller hook gives you tighter stitches and a more defined texture. Always match your hook size to your yarn to maintain balance. If you are aiming for a sturdy rug that can handle heavy use, a slightly smaller hook can help create a denser fabric.
Finally, patience is your best tool. Crocheting a rug takes time, especially if you are working on a larger size. The beauty of the Spring oval crochet rug – Crochet Pattern lies in the process as much as in the final product. Allow yourself to enjoy the rhythm of the stitches, and remember that every row brings you closer to a handmade treasure.
The first step in making a Spring oval crochet rug – Crochet Pattern is to prepare your materials. Gather your yarn, crochet hook, stitch markers, and scissors before you begin. Having everything ready ensures that your work flows smoothly and keeps you motivated.
Start with a foundation chain. The length of this chain will determine the initial width of your rug. After creating the chain, work stitches along both sides, placing increases at each end to form the curve. This is the foundation of your oval, and from here, you will continue to build outward.
As you add rows, pay attention to the placement of your increases. If increases are not evenly spaced, the rug may ripple or curl. A good pattern will guide you on where to add them, but if you are working freely, keep checking your work on a flat surface. This will help you adjust before the rug grows too large.
For a Spring oval crochet rug – Crochet Pattern, color changes are a wonderful way to add interest. You can change colors at the beginning of a new row or use a gradient yarn that transitions naturally. Spring is the season of renewal, so incorporating lively colors is highly recommended.
Texture is another way to elevate your rug. While simple stitches create a smooth and clean look, textured stitches like bobbles, shells, or ribbing can make your rug stand out. Choose what best suits your home’s decor, and don’t be afraid to mix different techniques within the same rug.
Once you have reached the desired size, finish your rug with a strong edging. This not only makes the rug look polished but also adds durability. A simple single crochet border is always reliable, but you can also create a scalloped or picot edge for a decorative touch.
When working on a Spring oval crochet rug – Crochet Pattern, consistency in tension is key. Uneven stitches can make the rug look irregular, so try to maintain the same tension throughout. Practicing a few rows on a swatch before starting the rug can help you get comfortable with your yarn and hook.
Blocking can also be helpful. Once your rug is complete, lightly dampen it and pin it to shape on a flat surface. This helps the stitches relax and gives your rug a more professional finish. For cotton yarns, blocking works especially well and enhances the stitch definition.
If you are using multiple colors, weave in your ends neatly as you go. Leaving them until the end can feel overwhelming, especially in a large rug. Secure them tightly so that your rug withstands washing and daily use.
Another tip is to use stitch markers at the points where you make increases. This makes it easier to keep track and ensures that your oval grows evenly. Without them, it is easy to lose count and end up with an uneven rug.
Don’t be afraid to customize your Spring oval crochet rug – Crochet Pattern. Add stripes, mix textures, or play with unexpected color combinations. The beauty of crochet is that you can adjust the pattern to suit your style. Even small modifications can make your rug one of a kind.
Lastly, take care of your rug once it’s finished. Hand wash it gently with mild detergent and let it air dry. This will help maintain its shape and keep the colors fresh for longer. With proper care, your handmade rug can last for years, becoming a meaningful part of your home.
A Spring oval crochet rug – Crochet Pattern is not limited to one purpose. Beyond being a floor rug, it can also serve as a decorative accent throughout your home.
One creative use is placing it under a coffee table. The oval shape frames the table beautifully and adds warmth to your living space.
Another idea is to use it as a bedside rug. Stepping onto a soft, handmade rug first thing in the morning adds comfort to your daily routine.
You can also make smaller versions of the Spring oval crochet rug – Crochet Pattern and use them as placemats or table runners. This brings a cohesive handmade touch to your dining area.
For nurseries or children’s rooms, bright and playful rugs are a great addition. They provide a soft space for play while also serving as a colorful decoration.
Finally, gifting a handmade rug is a meaningful gesture. Whether for a housewarming or a seasonal celebration, a rug made with love is always appreciated. It shows time, dedication, and creativity, making it one of the most thoughtful handmade gifts.
1. Is a Spring oval crochet rug – Crochet Pattern suitable for beginners?
Yes, with patience and step-by-step instructions, even beginners can make this rug. The key is to practice basic stitches first and follow the increases carefully.
2. What is the best yarn for a Spring oval crochet rug – Crochet Pattern?
Cotton yarn is the most recommended because it is durable, washable, and holds its shape well. Blended yarns can also work, depending on the texture you want.
3. How do I prevent my oval rug from curling or rippling?
The secret is in correct stitch placement and balanced increases. Always check your rug on a flat surface as it grows to make sure it lays evenly.
4. Can I make the rug in different sizes?
Absolutely. By adding more rows, you can make the rug larger. For smaller rugs, simply stop earlier in the pattern.
5. How long does it take to make a Spring oval crochet rug – Crochet Pattern?
The time depends on the size and complexity of the stitches. A small rug may take a few days, while a larger one could take several weeks.
6. How do I clean and care for my handmade rug?
Hand washing with mild detergent is best. Lay the rug flat to dry to maintain its shape and prevent stretching.
The Spring oval crochet rug – Crochet Pattern is a versatile and rewarding project that combines creativity with functionality. From choosing the right yarn and colors to experimenting with textures and sizes, this rug allows you to add a unique handmade touch to your home. Whether you keep it for yourself or gift it to someone special, the result is always meaningful and full of charm.
Now that you have learned all about this project, I’d love to hear your thoughts. What did you think about the techniques and ideas shared here? Share your honest opinion and suggestions so we can continue inspiring each other in the wonderful world of crochet.