
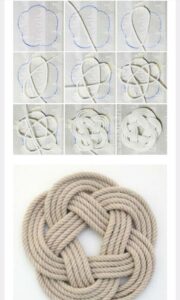
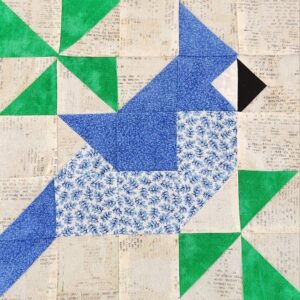
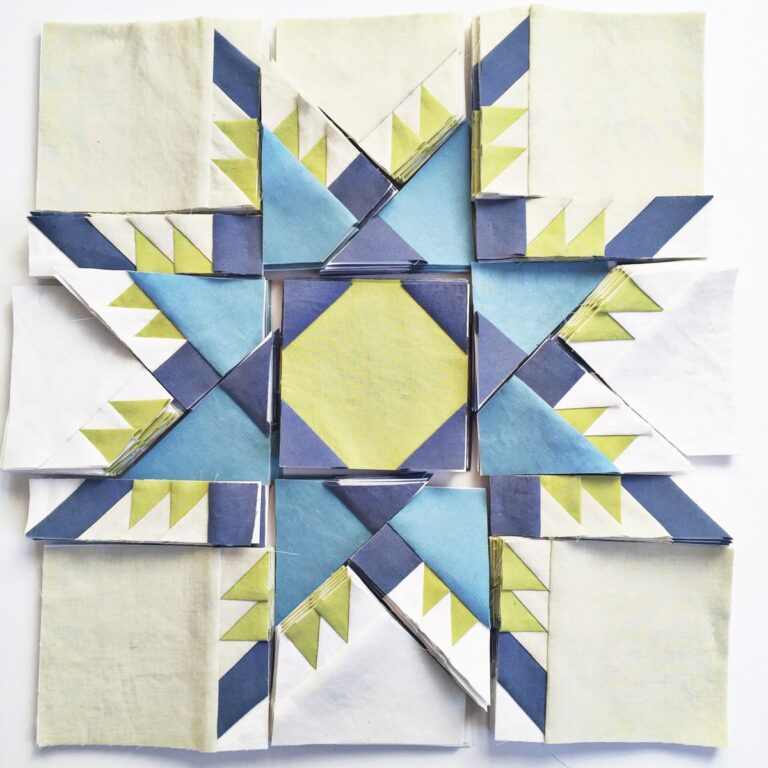
Summer-Country-Star-Flower - Quilt Pattern
How to Make a Reversible Fabric Storage Basket – Quilt Pattern is a wonderful project for both beginner and advanced quilters who want to create something practical, stylish, and versatile. A reversible basket not only adds charm to your home décor but also serves as a handy storage solution for sewing tools, toys, bathroom accessories, or even craft supplies. By learning this technique, you will be able to enjoy the flexibility of two looks in one basket while exploring the beauty of quilting patterns.
The best part of this tutorial is that it combines quilting and sewing into one creative project. With simple fabric cuts, careful stitching, and some thoughtful finishing, you can turn ordinary fabric into something both beautiful and useful. The quilt pattern adds a decorative touch, making the basket sturdier while enhancing its appearance. Whether you prefer bold prints, seasonal themes, or minimalistic designs, this project allows you to adapt it to your personal style.
In this article, we will cover how to make a reversible fabric storage basket – quilt pattern step by step. You will learn the basic materials you need, how to prepare your fabrics, how to quilt them for durability, and how to assemble the basket so it looks professional. We will also go over creative tips to customize your basket and give you some inspiration for how to use it around your home.

When starting a quilting project like how to make a reversible fabric storage basket – quilt pattern, the first step is always gathering the right materials. Choosing quality fabrics and stabilizers makes a big difference in the durability of your basket.
Begin with two coordinating fabrics. Since the basket is reversible, you will want both sides to look attractive. Quilting cotton is a great choice because it is easy to work with and comes in endless patterns. Pair a bold print with a solid or choose two complementary designs.
You will also need batting or fusible fleece to give the basket body and structure. Batting adds a quilted effect, while fusible fleece gives sturdiness. For extra firmness, some quilters also use interfacing along with batting.
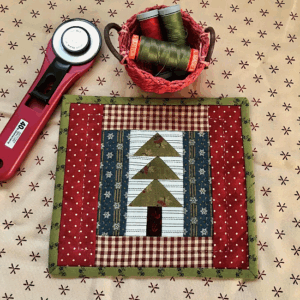
Make sure to gather basic quilting tools such as a rotary cutter, self-healing cutting mat, quilting ruler, pins or clips, and matching thread. A walking foot for your sewing machine can help achieve even stitches through multiple fabric layers.
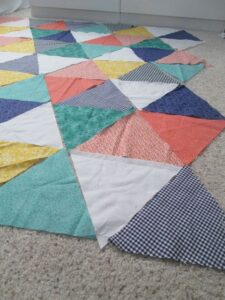
Cutting is crucial for this project. Typically, two large squares or rectangles of fabric and batting will be enough, but measurements can be adjusted depending on the size of the basket you want. Always press your fabrics before cutting to ensure accuracy.
Finally, set up your sewing area with enough space to handle layered fabric. Having an iron nearby will also help you press seams as you go, creating a more polished and professional look.
Quilting adds texture, strength, and beauty to the reversible fabric storage basket – quilt pattern. Even simple quilting lines can transform the look of your basket and provide stability.
Start by layering your fabric and batting. Place one piece of fabric right side up, then the batting, and finally the second fabric right side down if you want to quilt both sides at once. Baste them together using pins or temporary spray adhesive.
Decide on your quilting design. Straight-line quilting is easy for beginners and works beautifully for storage baskets. Diagonal crosshatch, vertical lines, or simple grids are all effective. Mark your quilting lines with a fabric-safe pen or chalk before sewing.
Sew along the marked lines using a walking foot for best results. Take your time and keep the stitches even. Quilting through all layers helps prevent shifting and ensures the basket keeps its shape.
After quilting, trim the edges of your layered piece so everything is square and neat. Clean edges make the next steps easier and help the basket look more professional.
Once you have quilted both outer and lining fabrics, you can admire the added strength and texture. Quilting is not just functional; it also elevates the design, turning your basket into a decorative piece.
This is where the reversible magic comes to life. The how to make a reversible fabric storage basket – quilt pattern method involves sewing the quilted fabrics into a box shape and allowing both sides to be usable.
Start by folding your quilted fabric square in half diagonally and sewing the sides to form a pouch. Repeat the same with the lining fabric. Once done, you should have two separate “buckets.”
Next, box the corners by pinching each corner flat and sewing across about two to three inches from the tip. This creates depth and gives the basket its 3D shape. Trim the excess fabric to reduce bulk.
Now place the lining inside the outer basket with right sides together. Align the seams carefully and pin around the top edge. Sew around the top, leaving a small opening for turning.
Turn the basket right side out through the opening and push the lining into place. Give it a good press with an iron for a crisp look. Topstitch around the opening to close it neatly and add strength to the edge.
At this stage, your basket should be fully reversible. You can flip it inside out whenever you want a new look, making it versatile and fun for seasonal changes or different room styles.
Once you master the basic reversible fabric storage basket – quilt pattern, you can play with endless creative variations. Personalizing your basket makes it more special and practical.
Experiment with sizes. Small baskets are perfect for organizing sewing notions or jewelry, while larger ones can hold toys, yarn, or magazines. Adjust the fabric cuts to fit your needs.
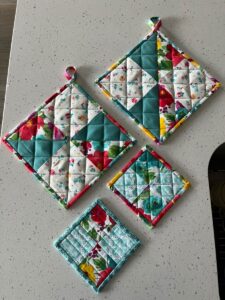
Add embellishments. Appliqué, embroidery, or fabric labels can make your basket unique. Handles can also be added to make the basket portable.
Use themed fabrics for different occasions. Holiday prints for Christmas or Easter make lovely seasonal decorations. Neutral fabrics work well for minimalist home décor.
Think about function. A reversible basket can hold remote controls in the living room, toiletries in the bathroom, or snacks in the kitchen. The uses are endless, and the double-sided feature gives flexibility.
For eco-conscious makers, this basket is also a sustainable alternative to plastic storage containers. Using fabric scraps or upcycling old textiles gives the project an eco-friendly twist.
Lastly, consider gifting. Handmade baskets are thoughtful, functional gifts that showcase your quilting skills. You can even fill them with goodies for birthdays, housewarmings, or holidays.
What size should I cut my fabric for a reversible fabric storage basket?
The size depends on how large you want the basket. A common size starts with 16-inch squares, but you can adjust measurements to make smaller or larger baskets.
Do I need batting for this project?
Yes, batting or fusible fleece gives the basket body and structure. Without it, the basket will be floppy and less durable.
Can beginners make this quilt pattern?
Absolutely. The how to make a reversible fabric storage basket – quilt pattern is beginner-friendly. Straight-line quilting and simple assembly steps make it achievable even for those new to quilting.
What type of fabric works best?
Quilting cotton is ideal because it is sturdy, easy to sew, and widely available. However, you can also use canvas or linen for a stronger basket.
How do I keep my basket reversible?
The key is sewing the lining and outer fabric together neatly and finishing with topstitching. Avoid visible seams inside so both sides look polished.
Can I wash my fabric basket?
Yes, but it is best to hand wash or use a delicate cycle. Air drying helps maintain the basket’s shape and prolongs its life.
Learning how to make a reversible fabric storage basket – quilt pattern is a rewarding experience that combines creativity, functionality, and the joy of quilting. This project is not only practical but also allows you to showcase your style through fabric choices and quilting designs. From organizing small items to creating unique handmade gifts, the reversible basket is versatile and timeless.
I hope this guide has inspired you to try this project at home. If you enjoyed the tutorial, please share your thoughts, experiences, and suggestions. Your feedback helps me improve and create more content that supports your quilting journey. Would you make your basket with bold prints, subtle tones, or seasonal fabrics? I’d love to hear your ideas!


