
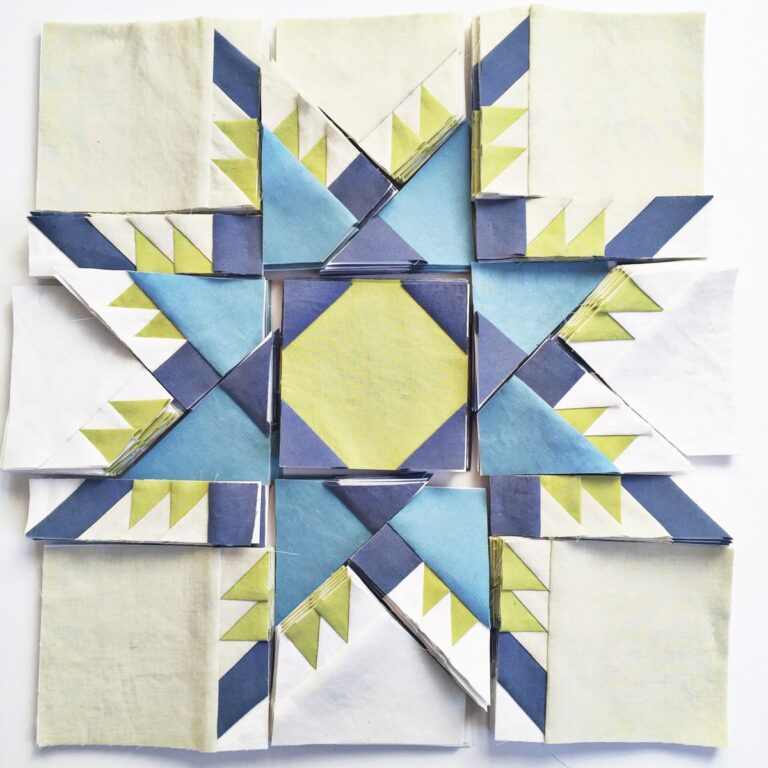
Summer-Country-Star-Flower - Quilt Pattern
The Tutorial: 2-in-1 Flower Pincushion – Quilt Pattern is a delightful project that combines practicality with creativity. Whether you are new to quilting or an experienced sewist, making a pincushion shaped like a flower is both fun and rewarding. This type of handmade accessory is perfect for keeping your pins organized while also serving as a decorative touch for your sewing space. Because of its dual function, it’s called a “2-in-1” project—part practical pincushion, part decorative flower.
Many quilters love to create small, manageable projects like pincushions because they can be completed quickly compared to larger quilts. The 2-in-1 Flower Pincushion – Quilt Pattern gives you the chance to play with fabric scraps, experiment with colors, and try different quilting techniques without needing a huge time investment. The finished product is not only useful but also beautiful, making it a great gift idea for fellow crafters.
In this tutorial, you’ll learn how to approach the project step by step. The emphasis will be on combining quilting basics with creative design, so you’ll gain both practical sewing skills and a fun finished item. By following the Tutorial: 2-in-1 Flower Pincushion – Quilt Pattern, you can create something uniquely yours while enjoying the relaxing process of quilting.
Before you begin working on the 2-in-1 Flower Pincushion – Quilt Pattern, it’s important to gather your materials. This project doesn’t require much fabric, which makes it ideal for using leftover scraps. Cotton fabric is the best choice because it’s durable and easy to quilt. Choose several coordinating prints or solids that will form the petals of your flower pincushion.
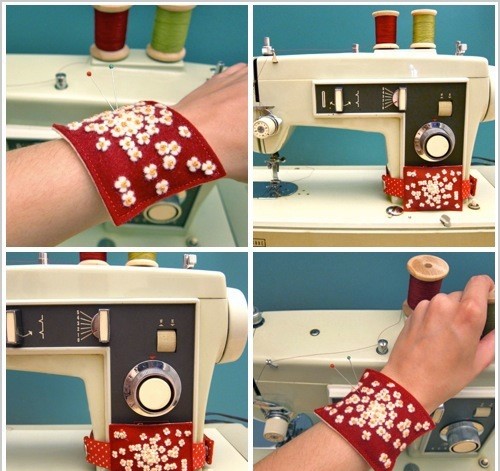
You’ll also need basic quilting supplies such as scissors, pins, a rotary cutter, a cutting mat, and a sewing machine. While you can stitch by hand if you prefer, using a machine will make the process quicker. Don’t forget stuffing material for the pincushion itself. Polyester fiberfill works well, but you can also use fabric scraps for an eco-friendly option.
The next step is selecting your flower design. The beauty of the Tutorial: 2-in-1 Flower Pincushion – Quilt Pattern is that it allows flexibility. You can keep the design simple with a classic daisy look, or make it more elaborate with layered petals. This is where your creativity comes into play, as the pincushion can reflect your personal style.
Preparing your fabric pieces is crucial for a neat result. Take time to cut accurately and press your fabric before piecing. Quilting relies on precision, and even small projects like this benefit from careful preparation. Once your petals and base circle are ready, you can begin stitching.
It’s also a good idea to think about the color scheme at this stage. A cheerful combination of pastels creates a spring-like look, while bold tones give the pincushion a more dramatic style. Your color choice will make the flower stand out, so choose fabrics that bring you joy.
Finally, make sure your sewing space is organized and comfortable. Even a small quilting project deserves your full attention. Having everything at hand will help you enjoy the Tutorial: 2-in-1 Flower Pincushion – Quilt Pattern without frustration.
The first step in sewing your 2-in-1 Flower Pincushion – Quilt Pattern is piecing together the petals. Start by cutting equal-sized fabric pieces shaped like elongated ovals or teardrops. These will become your flower petals. Stitch them together along the sides, right sides facing, leaving the base open. Turn them inside out, press flat, and you’ll have beautiful 3D petals.
Once the petals are ready, prepare the base circle. This circle will hold the petals and form the main cushion. Cut two identical circles of fabric. Place your petals evenly around one circle, with the raw edges facing inward. Pin them securely in place, ensuring they overlap slightly for a fuller look.
Next, place the second circle on top, right sides together. Stitch around the edges, leaving a small gap for turning and stuffing. After stitching, carefully turn the entire piece right side out. At this stage, your pincushion should resemble a flower shape, with the petals radiating outward.
Now it’s time to add the stuffing. Push small amounts of fiberfill inside until the pincushion feels firm but not overly tight. Smooth the filling evenly so the shape stays round. This step transforms your quilted flower into a functional pincushion ready to hold your sewing pins.
Close the opening with a ladder stitch or whip stitch, making sure the seam is neat. Hand stitching at this point adds a polished finish to your Tutorial: 2-in-1 Flower Pincushion – Quilt Pattern project. You can also add extra quilting stitches or embroidery for detail if you’d like.
Finally, test your pincushion by inserting a few pins. The structure should hold them firmly without collapsing. Admire your finished project—both useful and decorative, your handmade pincushion is complete.
One of the best things about the Tutorial: 2-in-1 Flower Pincushion – Quilt Pattern is its adaptability. You can make endless variations just by changing fabrics, shapes, or embellishments. This keeps the project fresh and exciting, even if you’ve made it multiple times.
For example, experiment with different flower types. Instead of round petals, try pointed shapes for a sunflower look, or layered petals for a rose-inspired pincushion. These small changes can completely transform the design, giving your sewing space a variety of floral accents.
You can also play with fabric textures. Cotton is classic, but try mixing in linen or even velvet for a unique touch. Quilters who enjoy hand embroidery can add details to the petals, like veins or decorative stitches, that bring the flower to life.
Another fun idea is to embellish the center of the pincushion. Buttons, beads, or yo-yos can be stitched in the middle for added charm. These little details not only enhance the look but also give your pincushion more personality.
Color themes are another way to customize. Seasonal pincushions—spring pastels, summer brights, autumn earth tones, or winter blues—make wonderful projects. They also work as thoughtful gifts for friends who sew. A handmade pincushion tailored to someone’s favorite colors is always appreciated.
Lastly, don’t be afraid to scale up or down. While the tutorial focuses on a small pincushion size, you can create larger versions as decorative pillows. This shows how versatile the Tutorial: 2-in-1 Flower Pincushion – Quilt Pattern really is, allowing you to use the same method in different ways.
As with any quilting project, success with the Tutorial: 2-in-1 Flower Pincushion – Quilt Pattern depends on attention to detail. One useful tip is to press every seam as you sew. This ensures your petals lie flat and your pincushion has a polished appearance.
Another important factor is accurate cutting. Use a rotary cutter and ruler for clean, even pieces. When your shapes are uniform, assembling the flower becomes much easier. Precision is key, even for small projects like this.
Don’t rush the stuffing step. Take time to distribute the filling evenly so the pincushion holds its shape. Overstuffing can cause lumps, while understuffing may leave it too soft. The goal is a firm, balanced cushion.
Finishing stitches should also be neat. Since this pincushion will be used often, durable hand stitching is necessary. Using strong thread for the final closure will make sure your project lasts.
Adding finishing details is the most enjoyable part. Consider adding a small ribbon loop so the pincushion can hang, or attach a felt base to protect your table surface. These little touches take the design from simple to special.
Finally, remember that quilting is about creativity and joy. The Tutorial: 2-in-1 Flower Pincushion – Quilt Pattern is not just a project but an opportunity to explore your style, practice skills, and create something useful with your own hands.
What is the main purpose of the 2-in-1 Flower Pincushion?
It serves both as a functional pincushion to hold pins securely and as a decorative flower to brighten your sewing space.
Can I make this pincushion by hand without a sewing machine?
Yes, absolutely. While a sewing machine speeds up the process, hand stitching works well, especially for small projects like this.
What type of fabric works best for this project?
Cotton fabric is the most recommended because it’s sturdy, easy to quilt, and widely available. However, you can experiment with other fabrics for texture.
How do I ensure the petals look even and full?
Cut your petal shapes carefully and press them flat after turning. Even spacing when attaching them to the base circle is also essential.
Can this tutorial be adapted for larger projects?
Yes, you can enlarge the pattern to make decorative pillows or smaller versions for keychains and ornaments.
Is this project suitable for beginners?
Yes, the Tutorial: 2-in-1 Flower Pincushion – Quilt Pattern is beginner-friendly. It teaches essential quilting techniques in a manageable, fun way.
The Tutorial: 2-in-1 Flower Pincushion – Quilt Pattern is a wonderful project that balances practicality with creativity. By following the steps, you can create a functional pincushion shaped like a beautiful flower while exploring quilting techniques. The design is versatile, allowing countless variations and personal touches. Whether you make it for yourself or as a gift, this pincushion is sure to bring joy to your sewing space. I’d love to hear your thoughts—please share your honest opinion and suggestions for future tutorials.


